Looking for a way to display your photos, art, or even old family recipes? Try this DIY Picture Ledge. We love how it turned out!
DIY Picture Ledge
Laura Here! Have you ever stared at an empty wall in your home and over-analyzed, brainstormed, and Pinterest-ed yourself to death trying to decide what to do with it?
That was me, standing in my kitchen, staring at my breakfast nook. And then, like a cartoon lightbulb, I thought of the perfect solution – this wall needs picture ledges!
Picture ledges are not only trendy, but a versatile way to display a variety of framed photographs and artwork. A shallow shelf with a front lip to keep frames from sliding off, these ledges are popular for a reason!
There are a TON of great options for buying pre-made ledges online or in store, but when I searched for the right shelves, I found they came in just a few common lengths (24”, 48”, etc).
Because I had a particular wall in mind that sits between a bay window and the start of the kitchen cabinets/fridge, I needed my ledges to be a very specific length – 42”. So, I decided to build them myself. And you can, too!
Note: it is NOT necessarily the lower-cost option to build these, but I was willing to pay slightly more and do the work to get my custom length.
Supplies needed to make a Picture Ledge:
Lumber
The ledge is constructed of three boards put together in the shape of a J. For mine, I chose the following:
- 1 x 4” board for the back
- 1×3” board for the shelf
- 1×2” board for the lip*(actual size of these boards is .5” less so 1”x3.5”, etc).
Note: now that I have decorated it, I would have opted for a slightly deeper shelf so I would recommend a 1×4” for the back as well as the shelf.
Other Supplies:
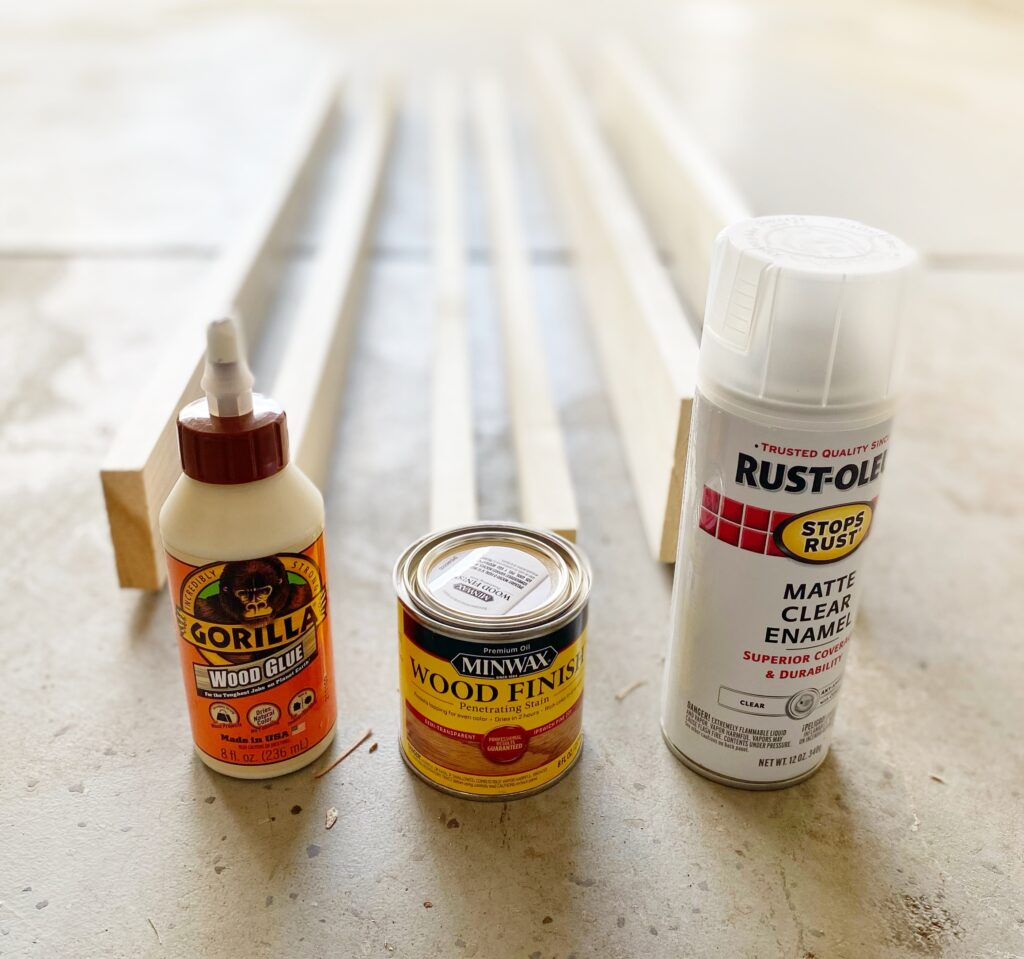
- Wood stain in your chosen color & a polyurethane top coat
- Sandpaper
- Wood glue
- Nail gun or hammer & finishing nails
- Handheld drill & screws
How to make a DIY Picture Ledge:
1. Once you’ve decided on the length of your shelf, you need to choose your type of lumber. Your local hardware store should have these boards available.
I specifically chose a more finished wood (Poplar) so that I would not have to do as much sanding. You can use Pine for a more budget friendly option, just expect to do a little more sanding if you want it to be smooth.
One MAJOR tip – spend some time picking out your boards. You will find that so many of the boards at the store are warped and bent, and cannot lay flat or be attached to other boards. Check your lumber carefully to ensure you have nice, straight boards.

If you do not have a saw at home to cut the boards with, Lowe’s will make the cuts for you (the policy at my store is two free cuts and $.50 per cut after that – so totally worth it in my opinion!) before you leave the store.
2. Cut and sand your wood
If you have a saw at home, cut your boards to your desired length. I made sure to line them up after cuts in their finished configuration to make sure everything was the same length.
Then, take sandpaper and finish to your desired smoothness. If you’re looking for a more rustic, farmhouse finish you won’t need to do as much sanding. I mainly focused on the edges and corners since my boards were pretty smooth.
3. Stain & seal
Wipe down your boards thoroughly after sanding (I used a damp cloth but recommend using Tacky cloth to get all the sawdust off). You can use a cloth, sponge, or paintbrush to apply your stain. You might do more than one coat to get your desired color.
After the stain has fully dried (I would wait a day or so in between), you can apply your top coat sealer.
4. Assemble your boards
Starting with the back board and shelf, make the shape of an L. Apply wood glue where they meet and hold tightly. You can use either a nail gun or a hammer and nails. If using a hammer, I recommend enlisting the help of another person to hold the boards together while you nail.
In addition to the finishing nails, I used a couple of screws to attach the back to the shelf portion – I wanted to feel really confident that I could put a lot of frames on later without a disaster.
Repeat this process with the smaller front lip board. I did not use screws for this since the lip likely won't be holding weight.
5. Attach to the wall
Because we were pretty set in stone on the location of these shelves, we screwed them directly into the wall studs. I got some help from my husband for this part, as you will likely need one person to use the drill while the other holds the shelf in place.
We centered the shelves and marked where the studs are. We then drilled pilot holes into the back part of the shelf. Then, we used some heavy-duty screws to attach them to the wall. They feel incredibly sturdy and ready to be decorated!
I am very happy with the end result! I have since decorated them with artwork and photos and even some special family recipe cards and they are perfect for a previously sad, empty wall!


Leave a Reply