

There are SO MANY Cricut Projects you can do with your Cricut machine. Here are some of our easy beginner Cricut ideas to try!
My Latest Cricut Projects
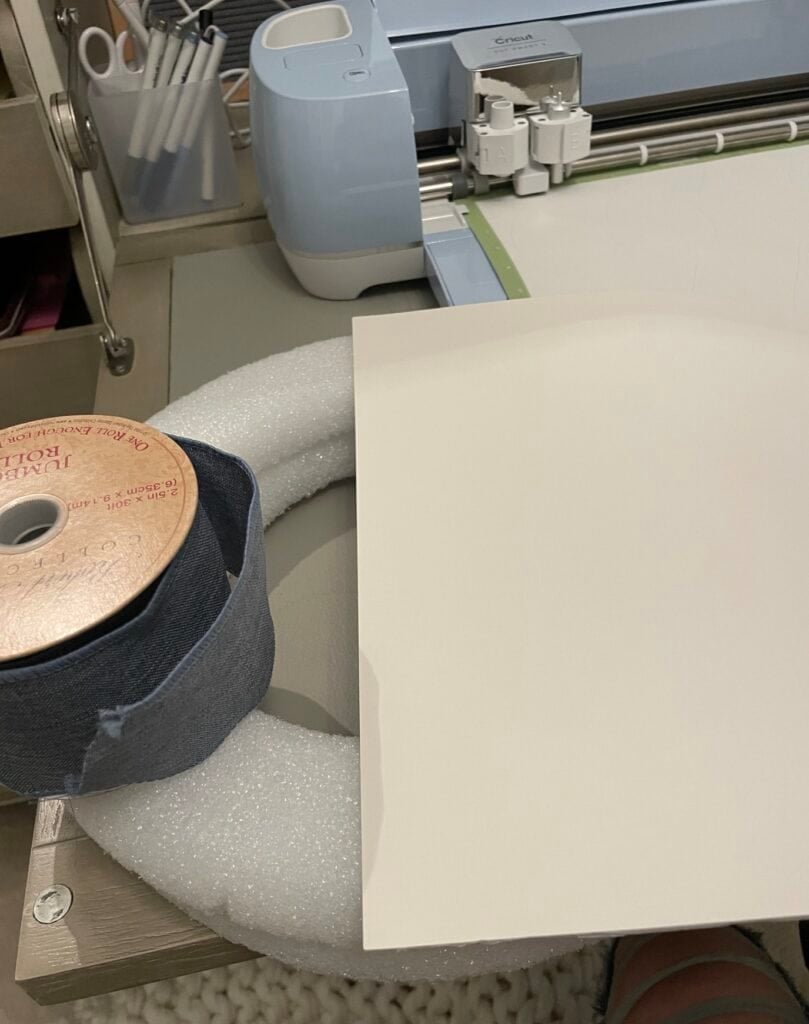
I love playing around with my Cricut – I just rarely find myself with time to enjoy it… however this week I found a little pocket of time and got to make a fun project for Fall! A while back I finally got my craft closet together (I LOVE IT!) and now that everything I need is right there I couldn’t wait to tackle a simple quick project.
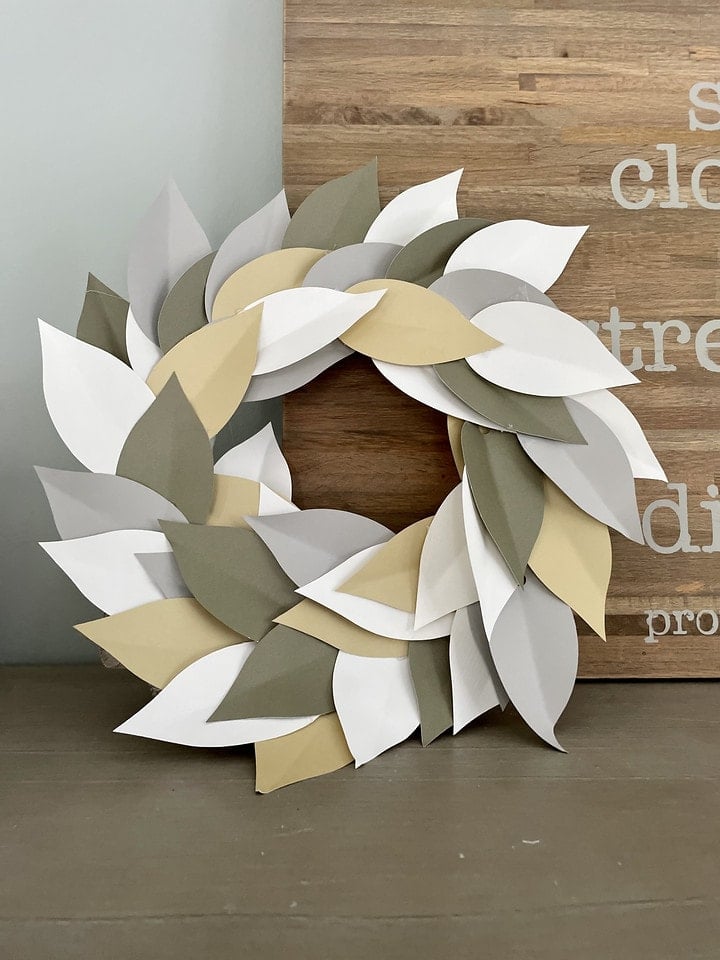
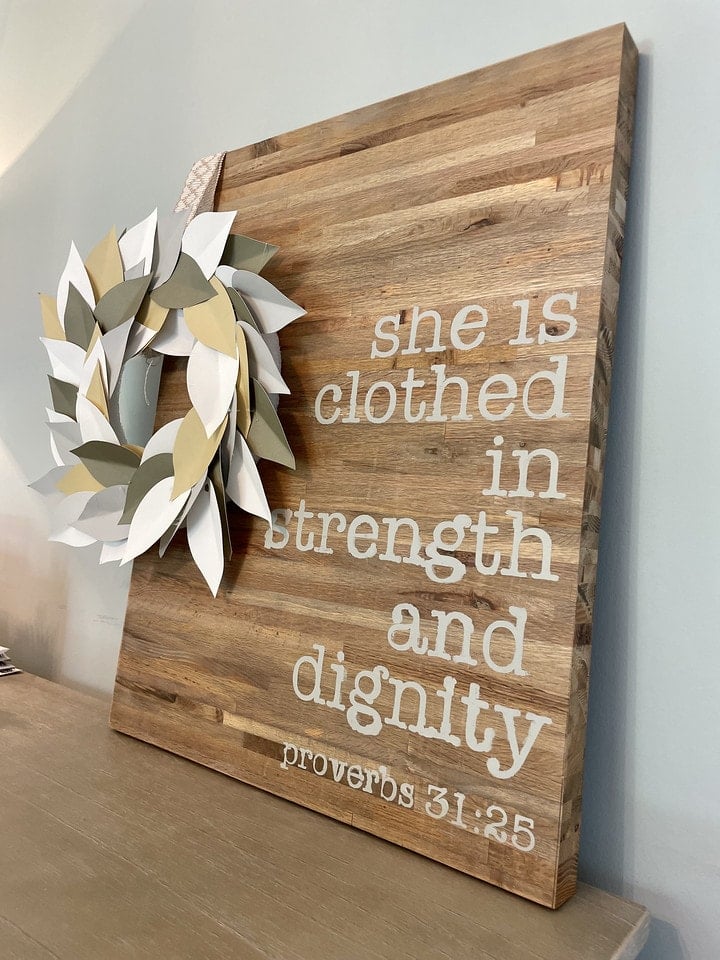
This sweet little wreath took me under an hour to make with my Cricut – and it’s so pretty in person! (The pictures really don’t do it justice ~ but it’s just a fun little happy!) Plus this project was CHEAP.
If you have the Cricut (or even just a pair of scissors and about 30 minutes. . . ) it’s only about $2 to make.
How to Make this Cricut Wreath:
Supplies
- small flat foam wreath (check your local Dollar Tree though – that’s where I found mine!)
- light card stock
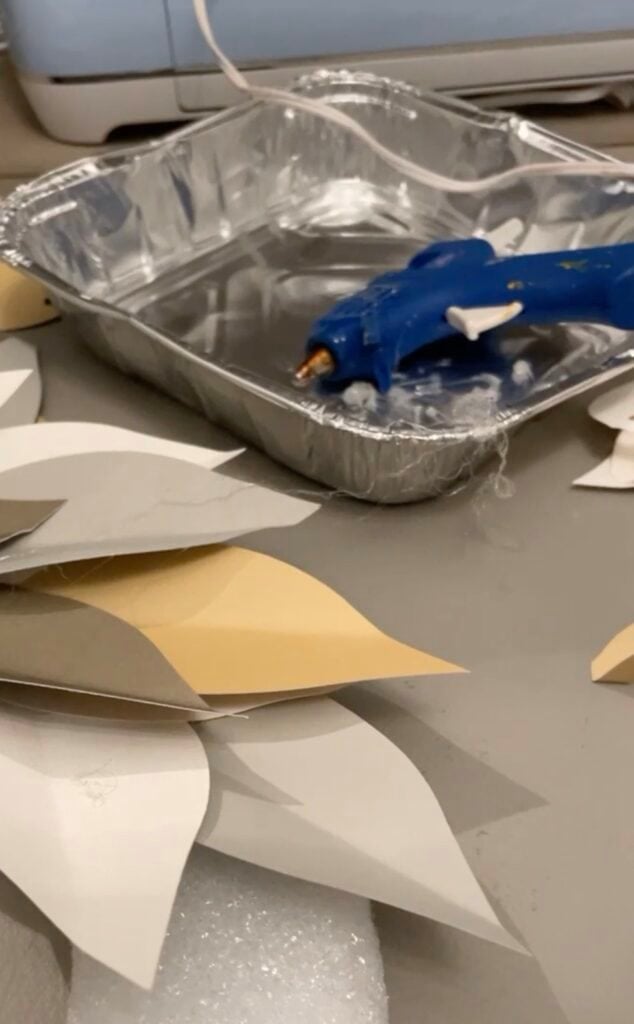
- hot glue gun
- ribbon
- Cricut or just a good pair scissors and some patience 🙂
Directions
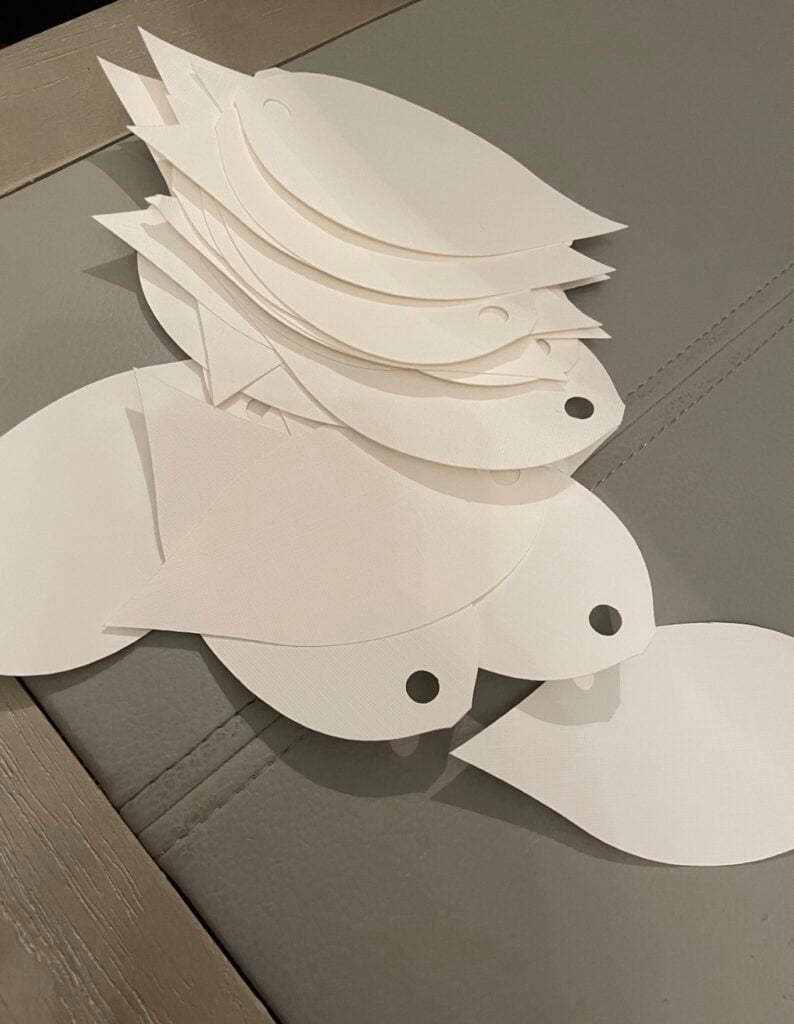
- Cut about 50 leaf shapes (I just searched “leaf” pattern in the Cricut design studio and used one of the die cuts there, but you could also cute them using scissors)
- Start by gluing one leaf to the foam wreath. Slowly add leaves all the way around your wreath form, varying them by space and color
- Keep hot gluing til the wreath form is covered ~ that’s it. You’re all done!

Need a Cricut Machine?
The new Cricut machines though are amazing as you no longer have to pay outrageous amounts of money for a cartridge you will only use once or twice as you can now access everything through Cricut Design Space and Cricut Access (more on that below!)
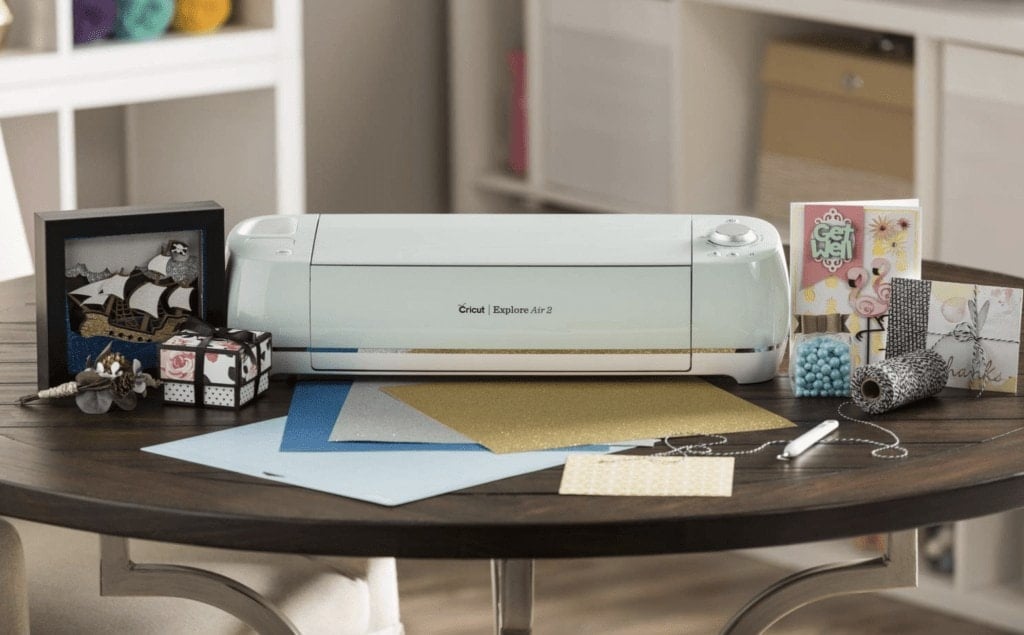
To get started first with your Cricut projects, you’re going to need a Cricut machine.
Here are some more Cricut Projects for Beginners:
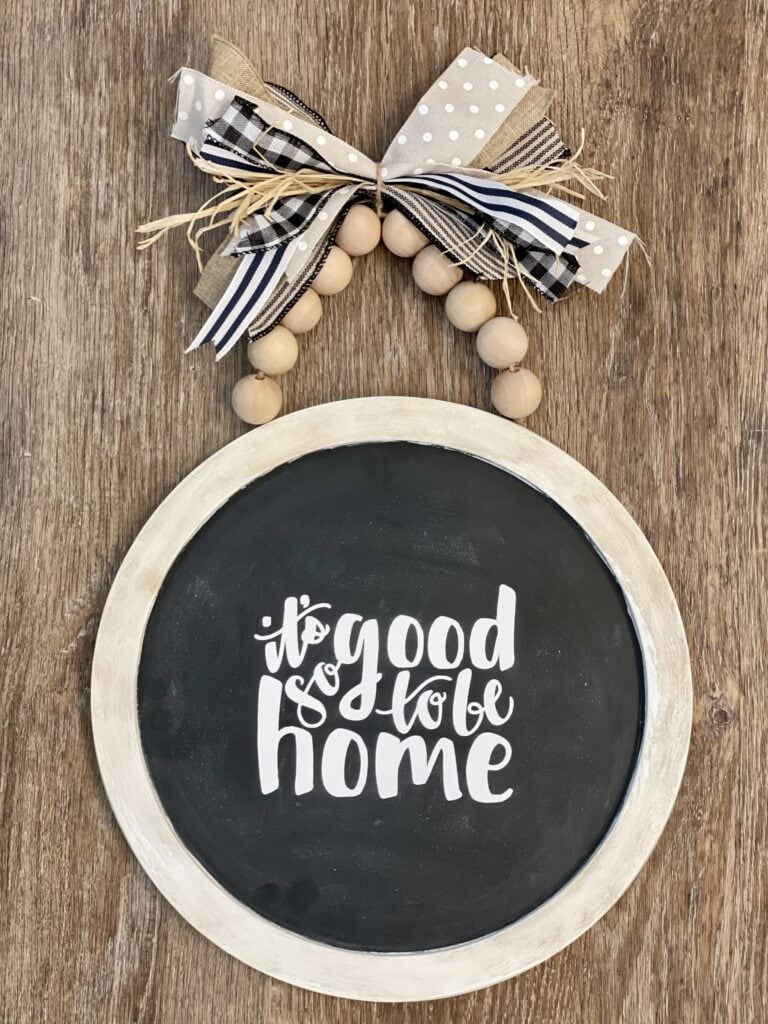
How to make Farmhouse Signs with Cricut – Try this DIY Farmhouse Cricut Chalkboard
This cute little chalkboard was my very first ever craft project using Cricut design space and turned out so stinkin’ cute – I’m pretty proud. 🙂 This Farmhouse Chalkboard was one of the included Cricut projects for beginners.
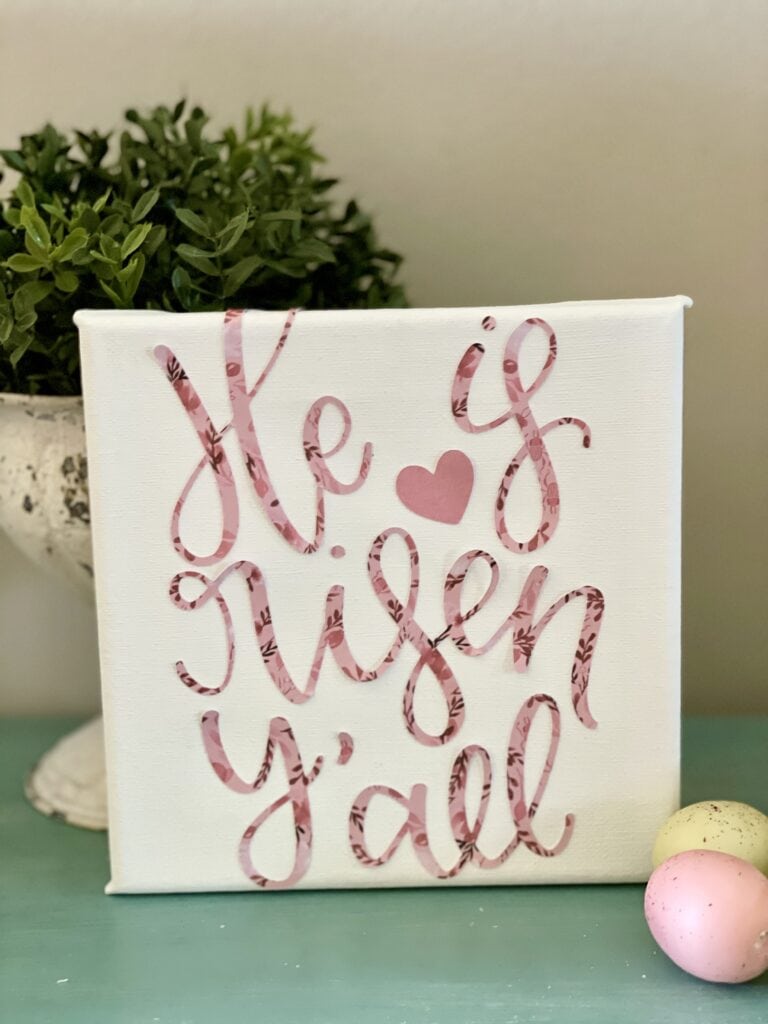
Easter Cricut Ideas – This canvas sign is DARLING!
This was another easy Cricut beginner craft that I whipped up. I used a canvas I found on clearance and some Cricut sticker vinyl. PERFECT for the Easter season and it didn’t take much time or money – love that!
How to Use A Cricut Machine
So, here’s the thing.
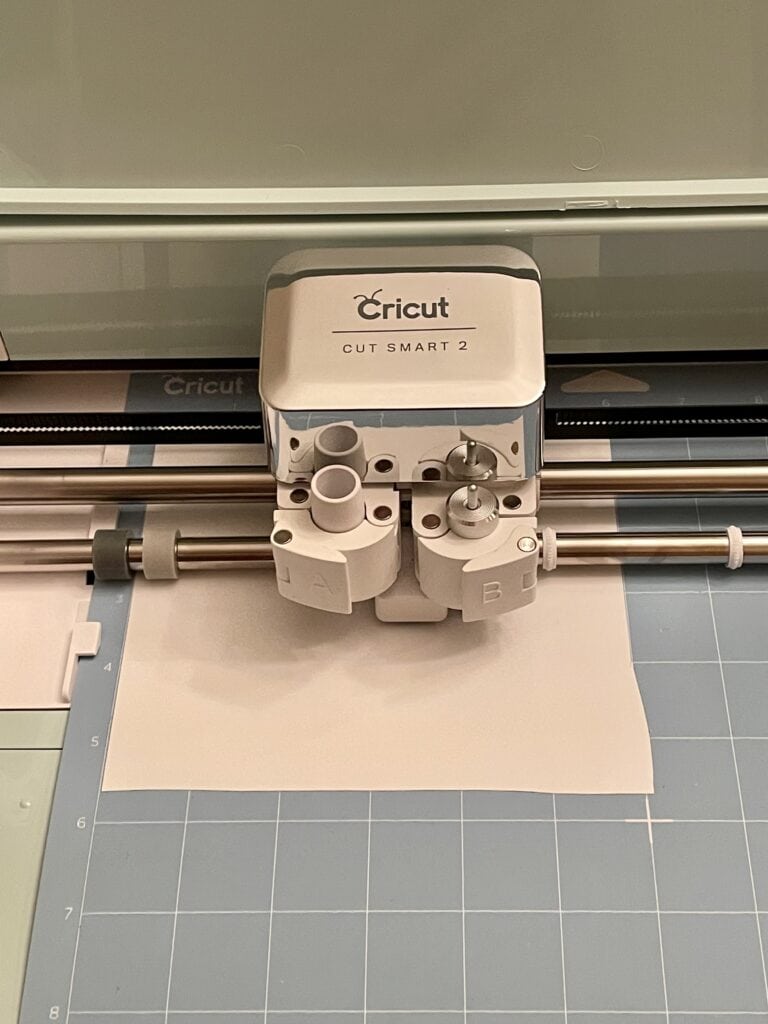
There is a learning curve when you’re trying to figure out how to use a Cricut – you can’t just take the Cricut machine right out of the box and start designing everything you ever dreamed of. It takes some time to get familiar with how it all works.
Full disclosure – I had never used a Cricut cutting machine so I’m a complete newbie and I’m not gonna lie, I was kind of freaking out when I first started.
But, after I watched a few getting started videos, I got the feel of how it all worked and felt MUCH more comfortable. So, if you take the plunge (or you’ve taken the plunge already and never gotten it out of the box) you can do this!
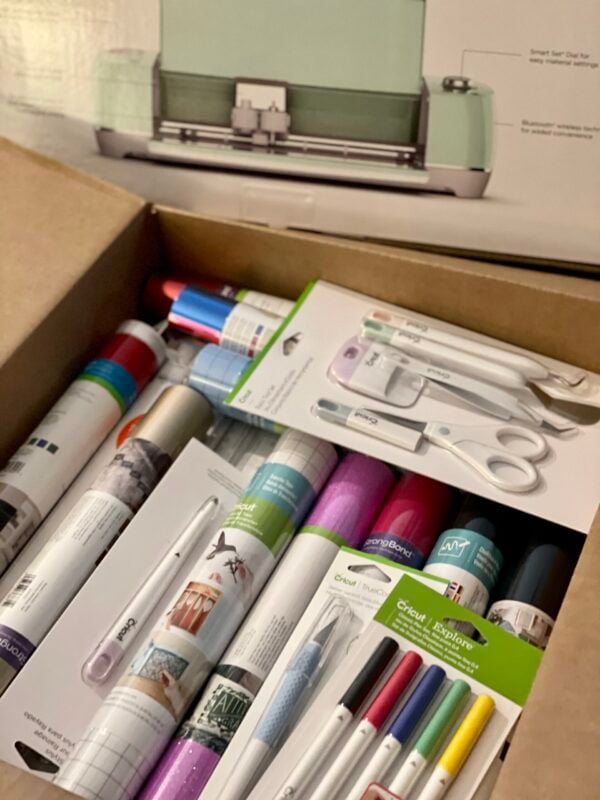
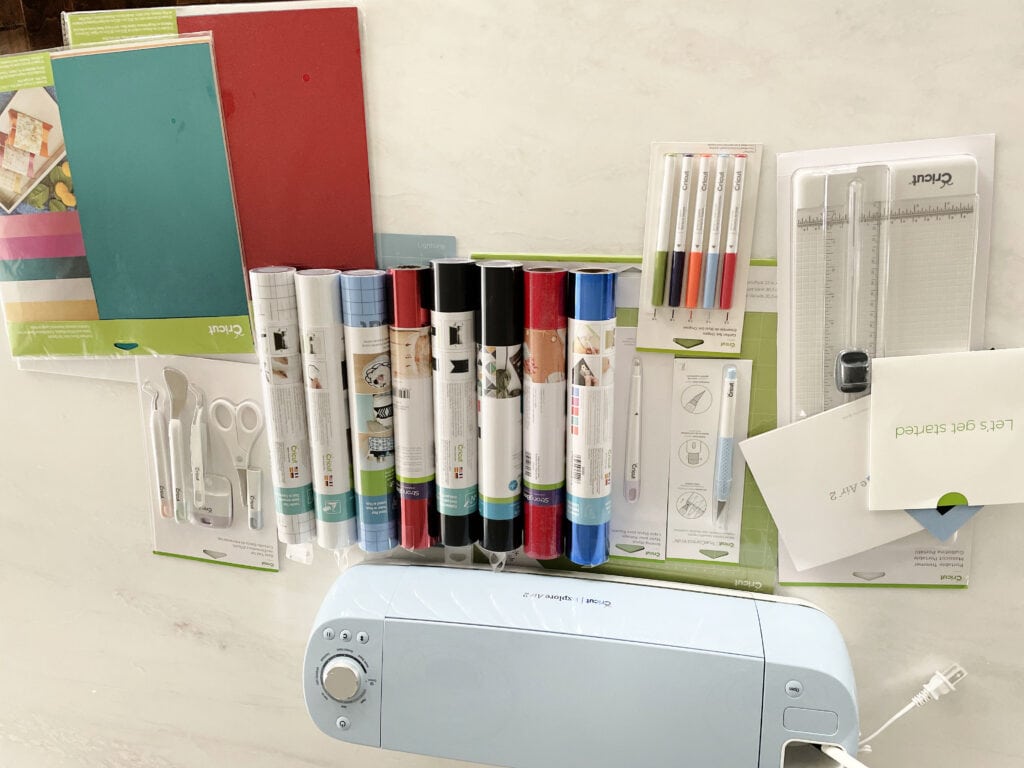
Cricut has so many different heat transfer vinyl types, rotary blades, knife blades – and just a TON of different Cricut vinyl materials that you can purchase.
Buying the bundle made it super easy and convenient to just go through the box and open what I needed to get started with all of the Cricut ideas I had in my head. It was also nice to look through everything and familiarize myself with the products.
How to Use Cricut Design Space
You’ll also want to get familiar with Cricut Design Space.
This is the program that runs on your computer to communicate with your Cricut so you can create all of your projects. It downloads the files (they’re called svg cut files) from the program to your machine.
I’d take a few minutes to get used to the set up and play with some scrap vinyl before you get too into your Cricut projects.
Do I have to have a computer to use a Cricut?
Cricut does have a Bluetooth option, but it can be a bit glitchy on some devices. I’ve actually found that my Cricut program worked much better better in both my iPad and iPhone app than it did on my Mac laptop ~ and the app makes it super simple to design and edit your projects.

If you’re looking for some more DIY inspiration, here are a few of our favorite garland crafts so you can accessorize your Cricut projects:


Leave a Reply