

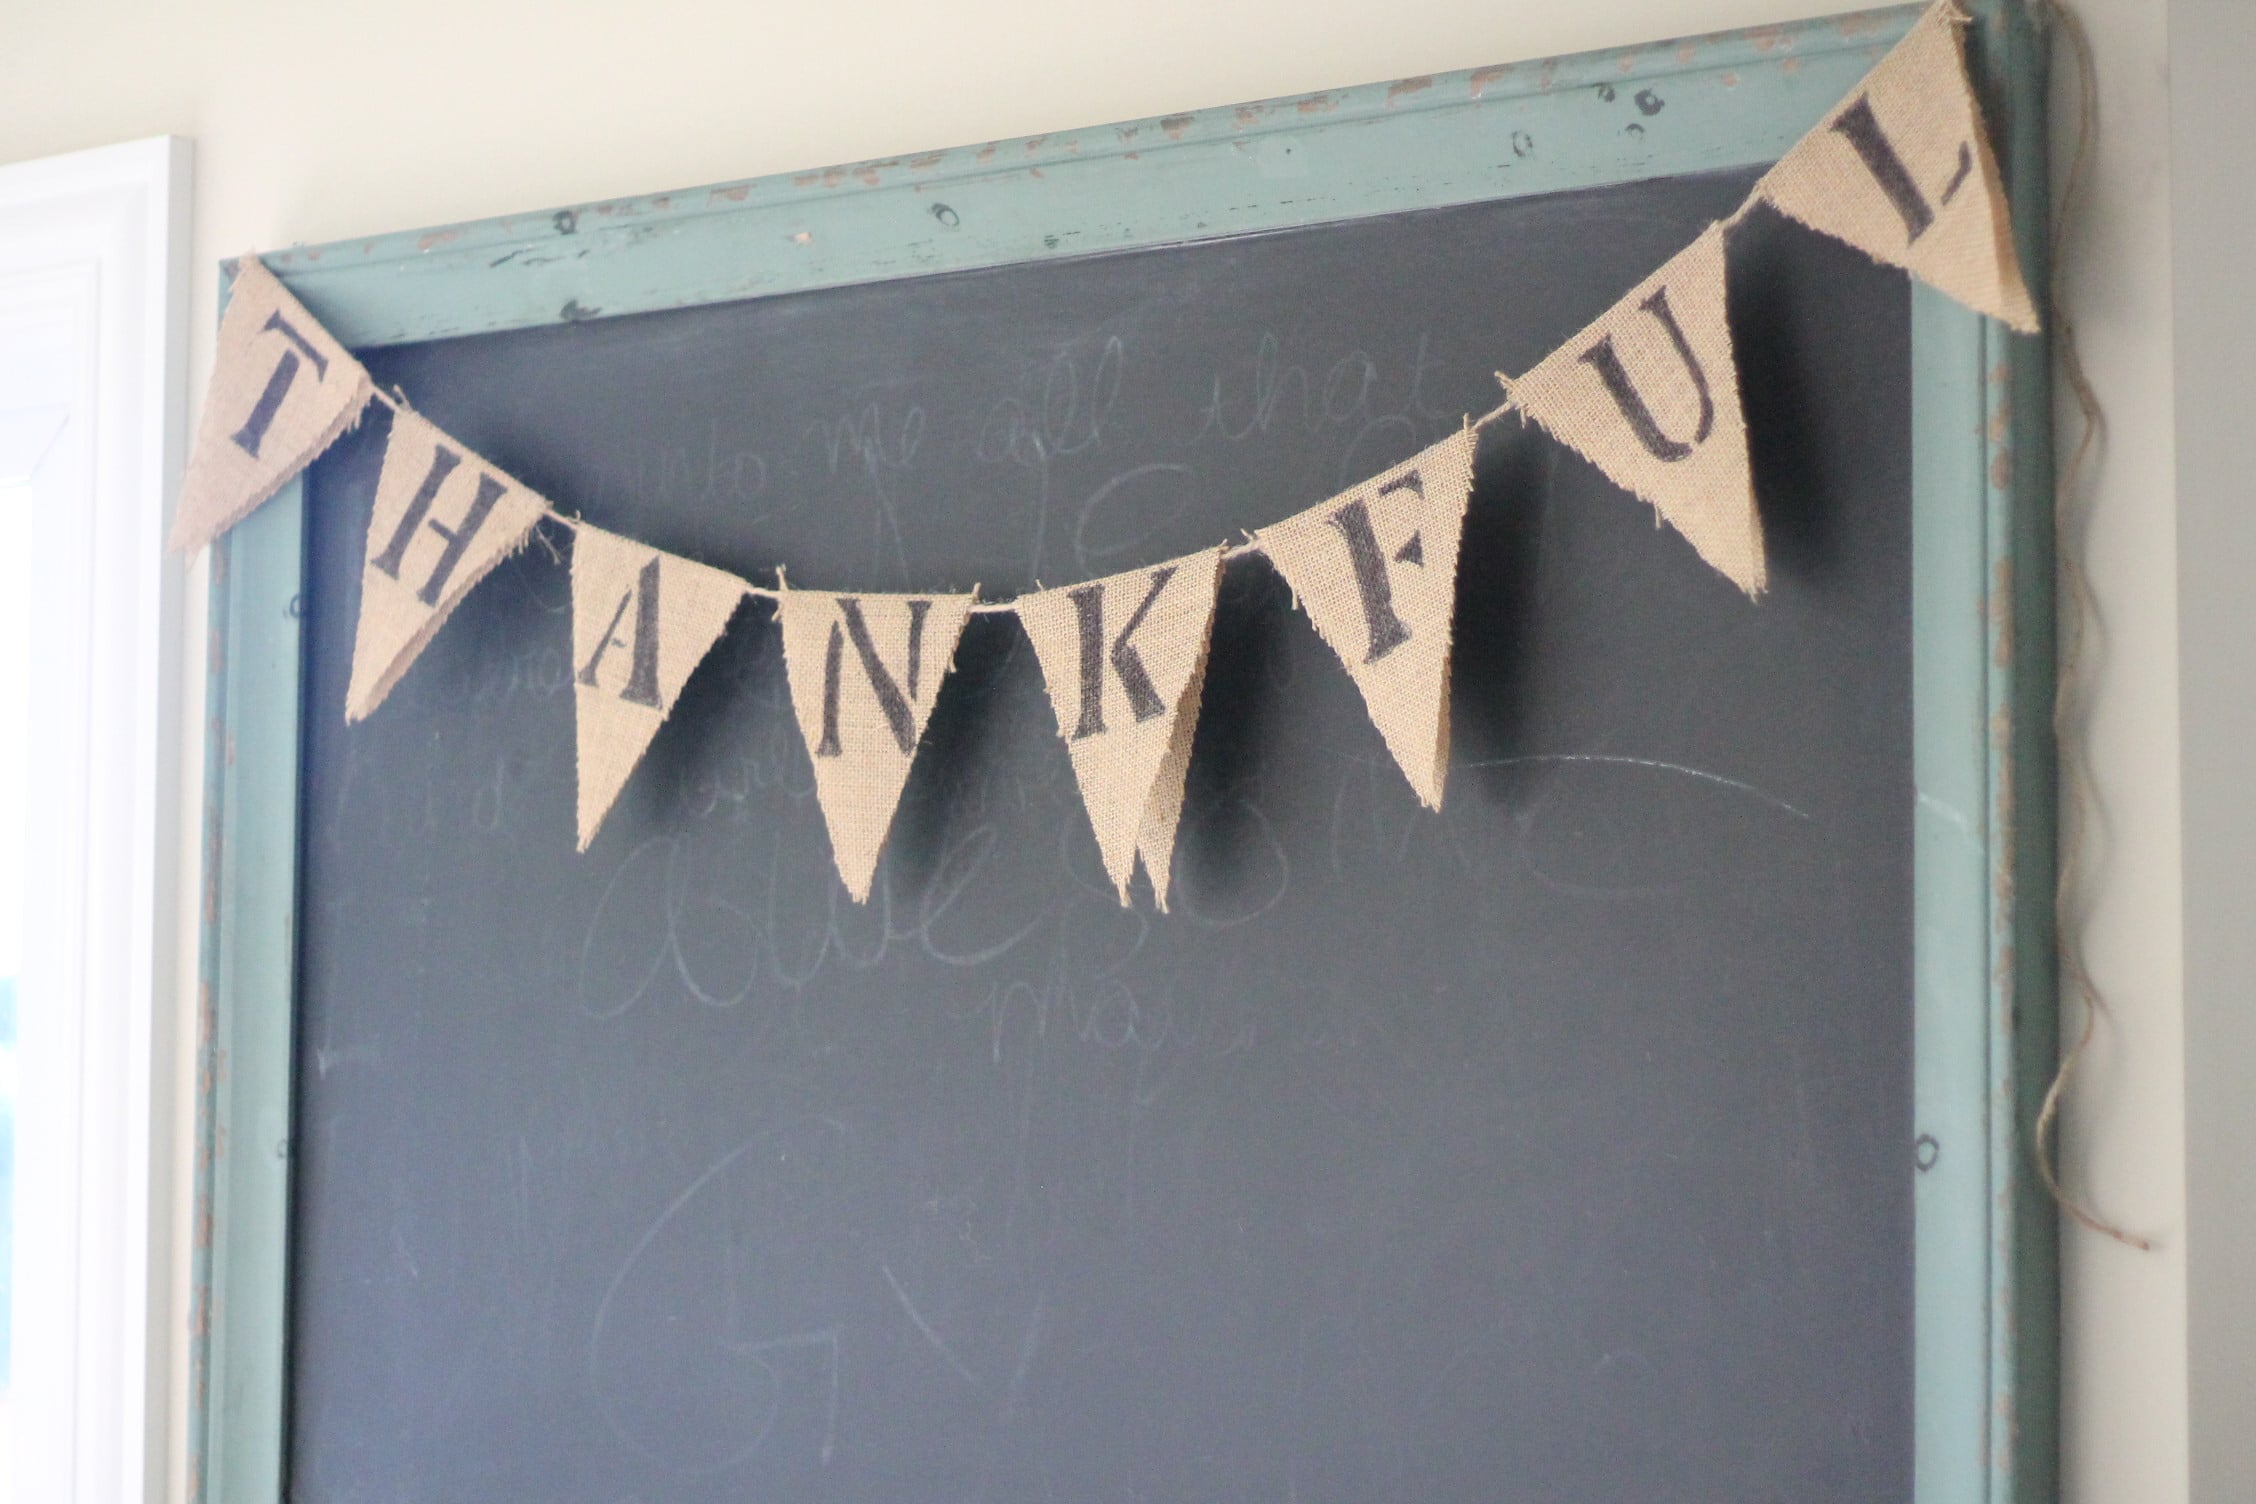
No Sew Pennant Banner
I loved this project so much that I made one for my in-laws a few weeks ago, and had to come home and make one for our home too! It was so. easy. to do, and I used a few tricks the second time around that I didn’t see online, so I thought I’d share a quick tutorial with you.
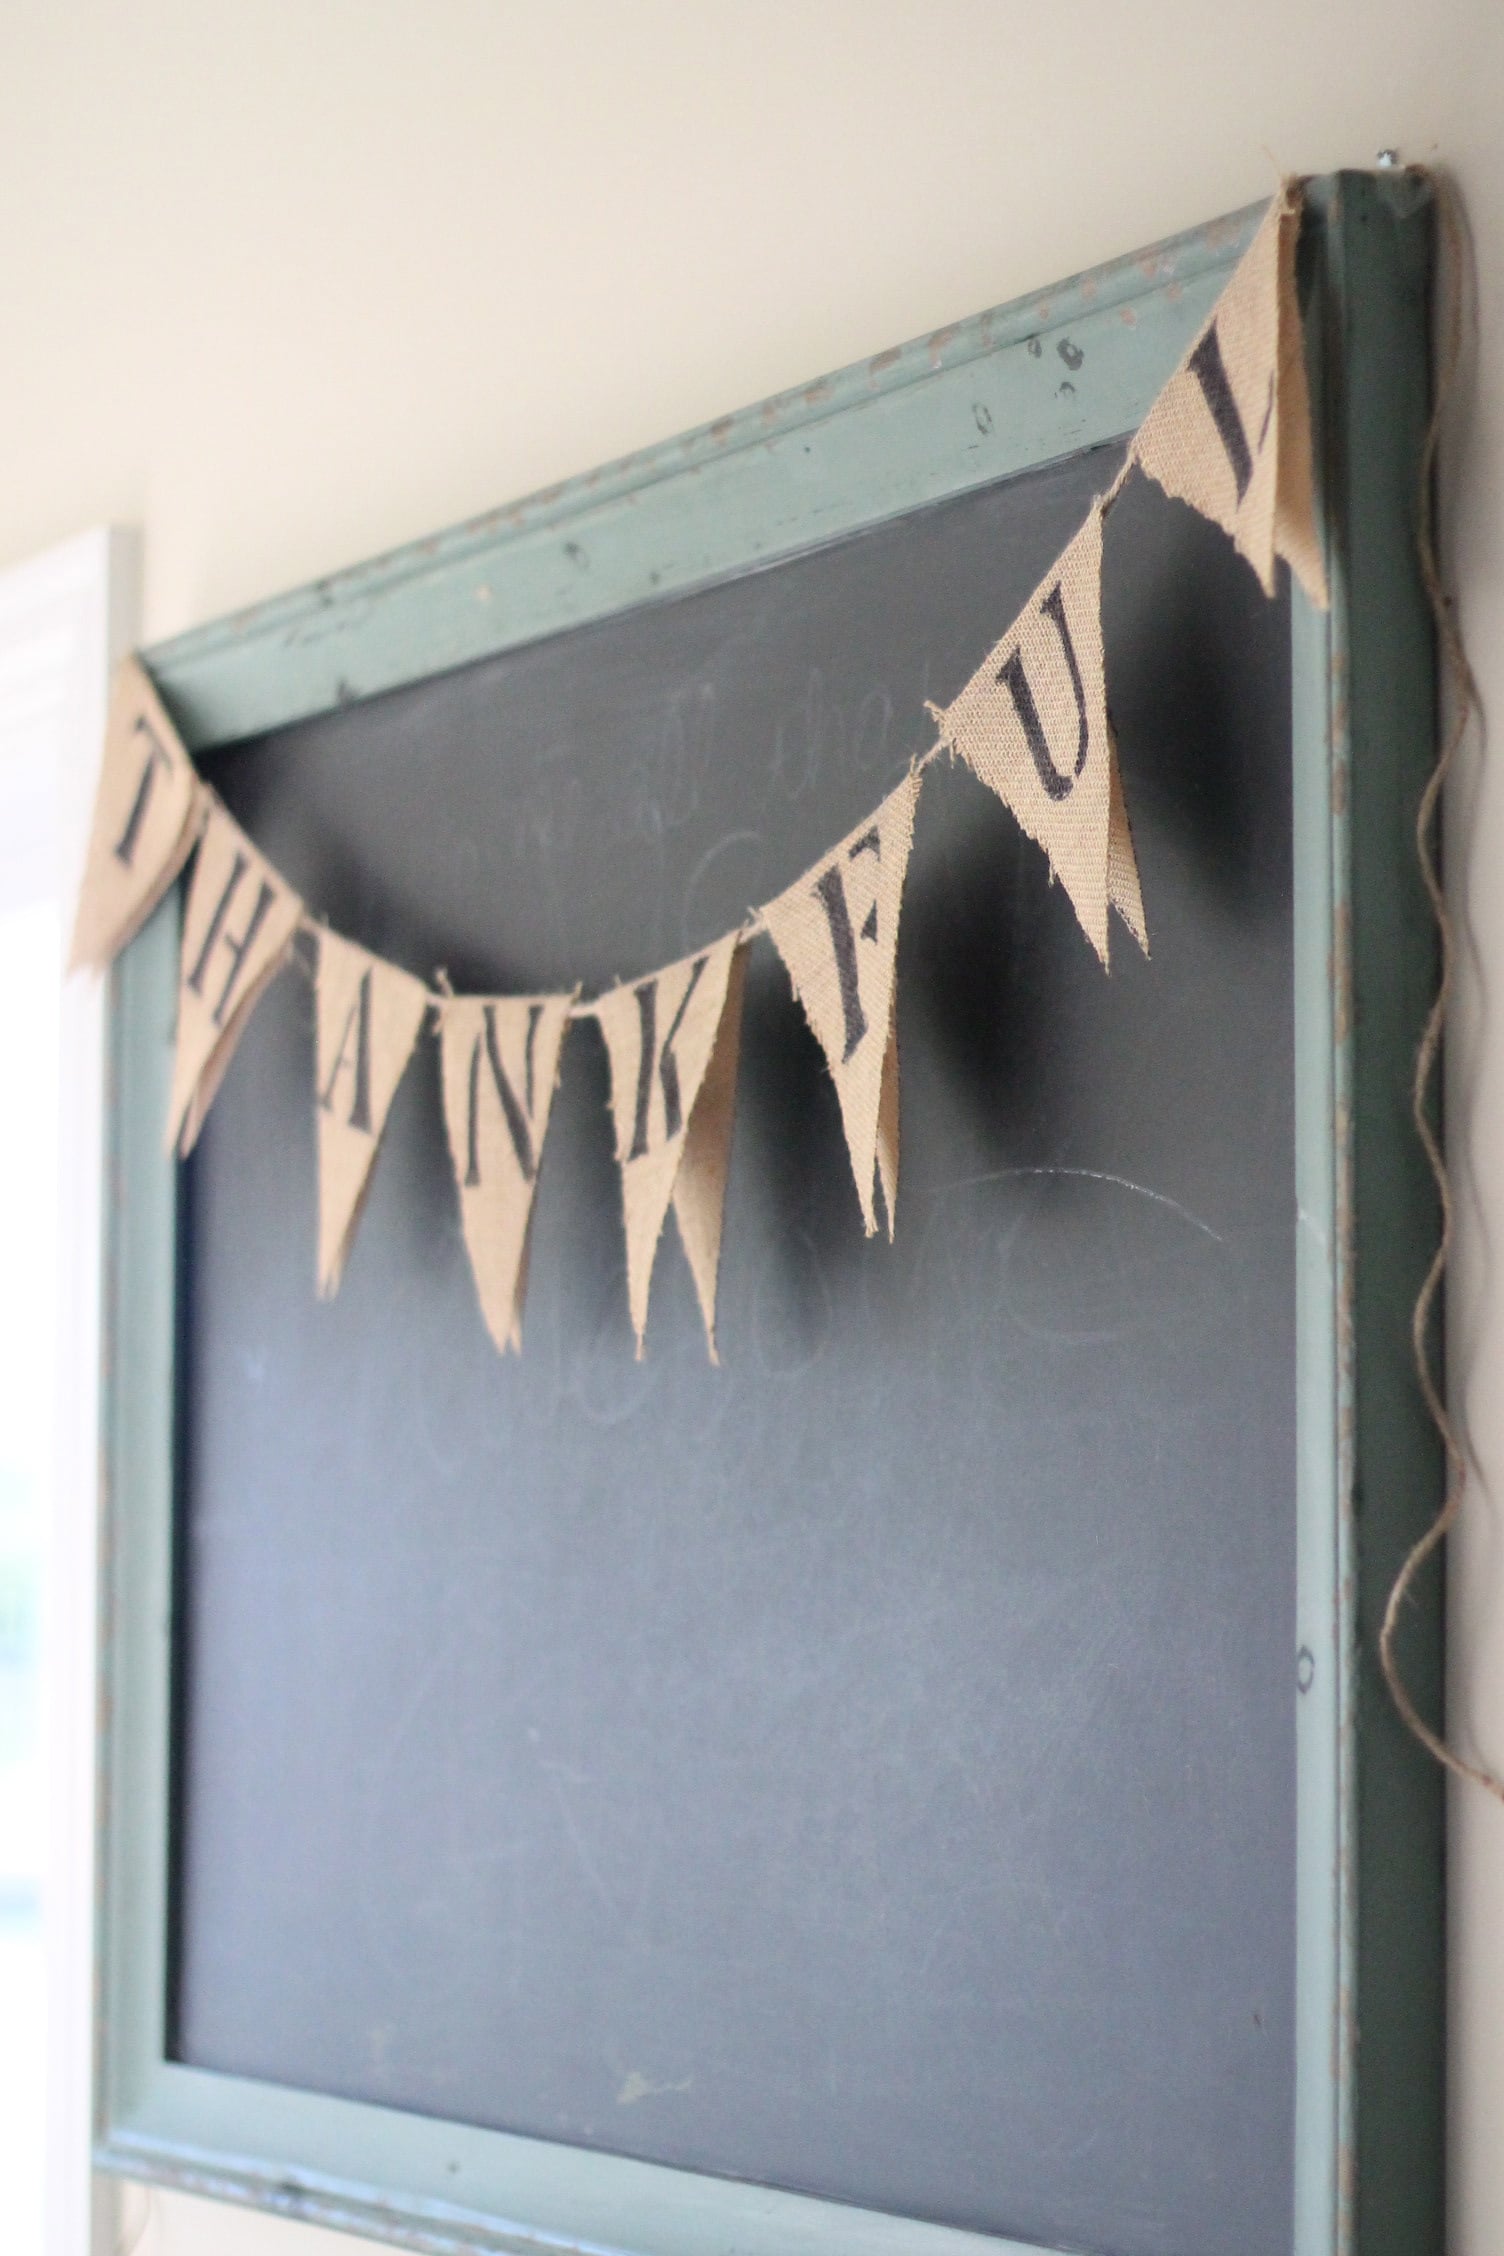
I have no sewing skills, so I wanted a quick and easy way to make mine without a whole lot of extra steps. This was so simple, and in less than an hour it was completed!
Here’s what you’ll need:
- Burlap (I bought 1 yard – cost was $4)
- Sharpie Marker
- Jute string (I had this at home, you can find it at your local craft store)
- Stencil kit (I found mine at Hobby Lobby for $2.99)
- iron
- glue gun & glue sticks
- cardboard box
And here’s how you’ll make it . . .

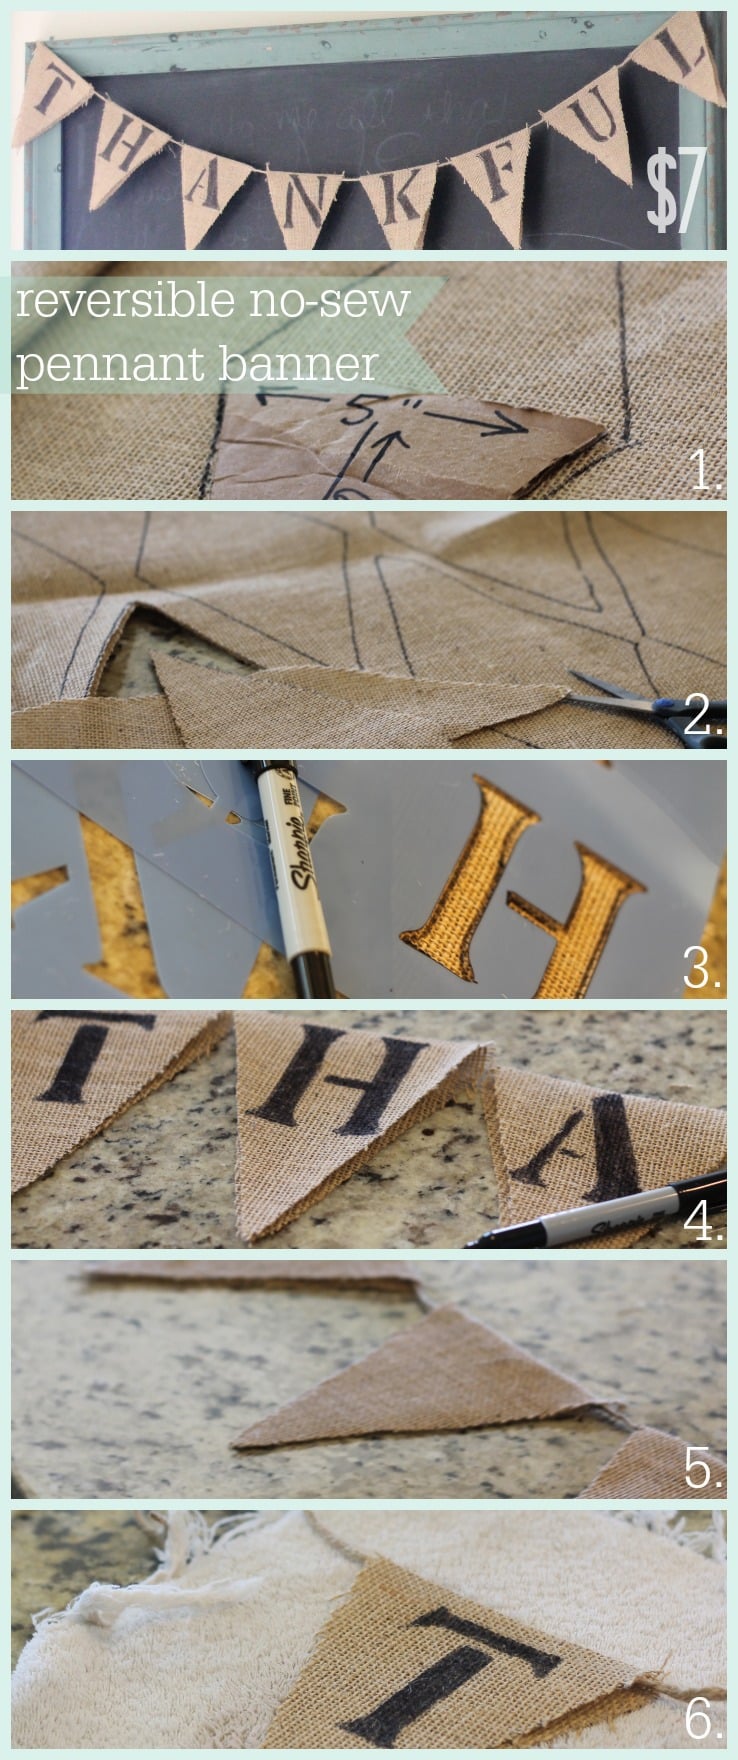
- Create a template out of a cardboard box. (This is the hardest part ~ promise.) 😉 Using a ruler, create a triangle the size that you’d like your burlap pieces. (Mine measured 6″ long by 5″ wide.)
- Trace your template onto the burlap with your sharpie marker – but instead of just tracing the triangle, once you’ve done one long side flip the triangle over to actually create diamonds. (See the picture in step 2 above.) This will actually create the pennant shape to hang over your ribbon.

- Once you’ve cut enough letters for whatever word you’re using, use your stencil and Sharpie marker to trace each letter onto the bottom section of each diamond shape on the burlap. Then, just use the Sharpie to fill in your letter.

- After your letters are finished, fold the burlap in half with your letter on the outside, and use an iron to iron it down into place.

- Lay your word out in order over the jute (leave extra jute at either end so you have plenty of room to hang it with.) Leave about 1 1/2″ – 2″ inch of space between each letter.

- Once your letters are in place, use your glue gun to place a thin stream of glue between the burlap and jute to hold it in place. (I didn’t get a great picture of this – above is when I flipped it over to make it reversible, but basically you’re just going to open up the triangles and put a thin strip of glue between the jute and the burlap to make your banner stay in place.)
- Once the glue is dry, you may want to press it out with the iron again just to make sure the pennant stays in place. You can also flip it over and stencil another word on the opposite side to make it reversible!

Looking for more frugal fall decorating ideas? Click the images below to see a few of my favorites:


Be sure to stop back next Friday when I’ll reveal my big piano painting project ~ I’m so excited about this one and can’t wait to share!

I’d love for you to join me over on Pinterest (I love that place!) If you have a blog and have done a little fluffing in your home, I’d love to see it, so leave your link in the comments section. Also, if there’s a craft you’ve seen on a website that you’re hoping to make, feel free to share that link as well (I’m always looking for new ideas!)
See previous Friday Fluff Up projects and ideas . . . and Happy Fluffing!


This is so cute! I’m going to give it a try tonight as I begin my Christmas crafting. I’m wondering why you didn’t glue the tips at all?
Probably because I’m lazy Debbie! You don’t need to too much (if you iron them they’ll automatically stay flipped), but it would definitely help them stick together a bit. Hope that helps!