
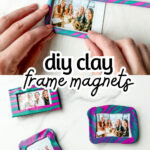
These DIY clay frame magnets are simple enough for beginners, and so fun to make!
DIY Clay Magnet Frames
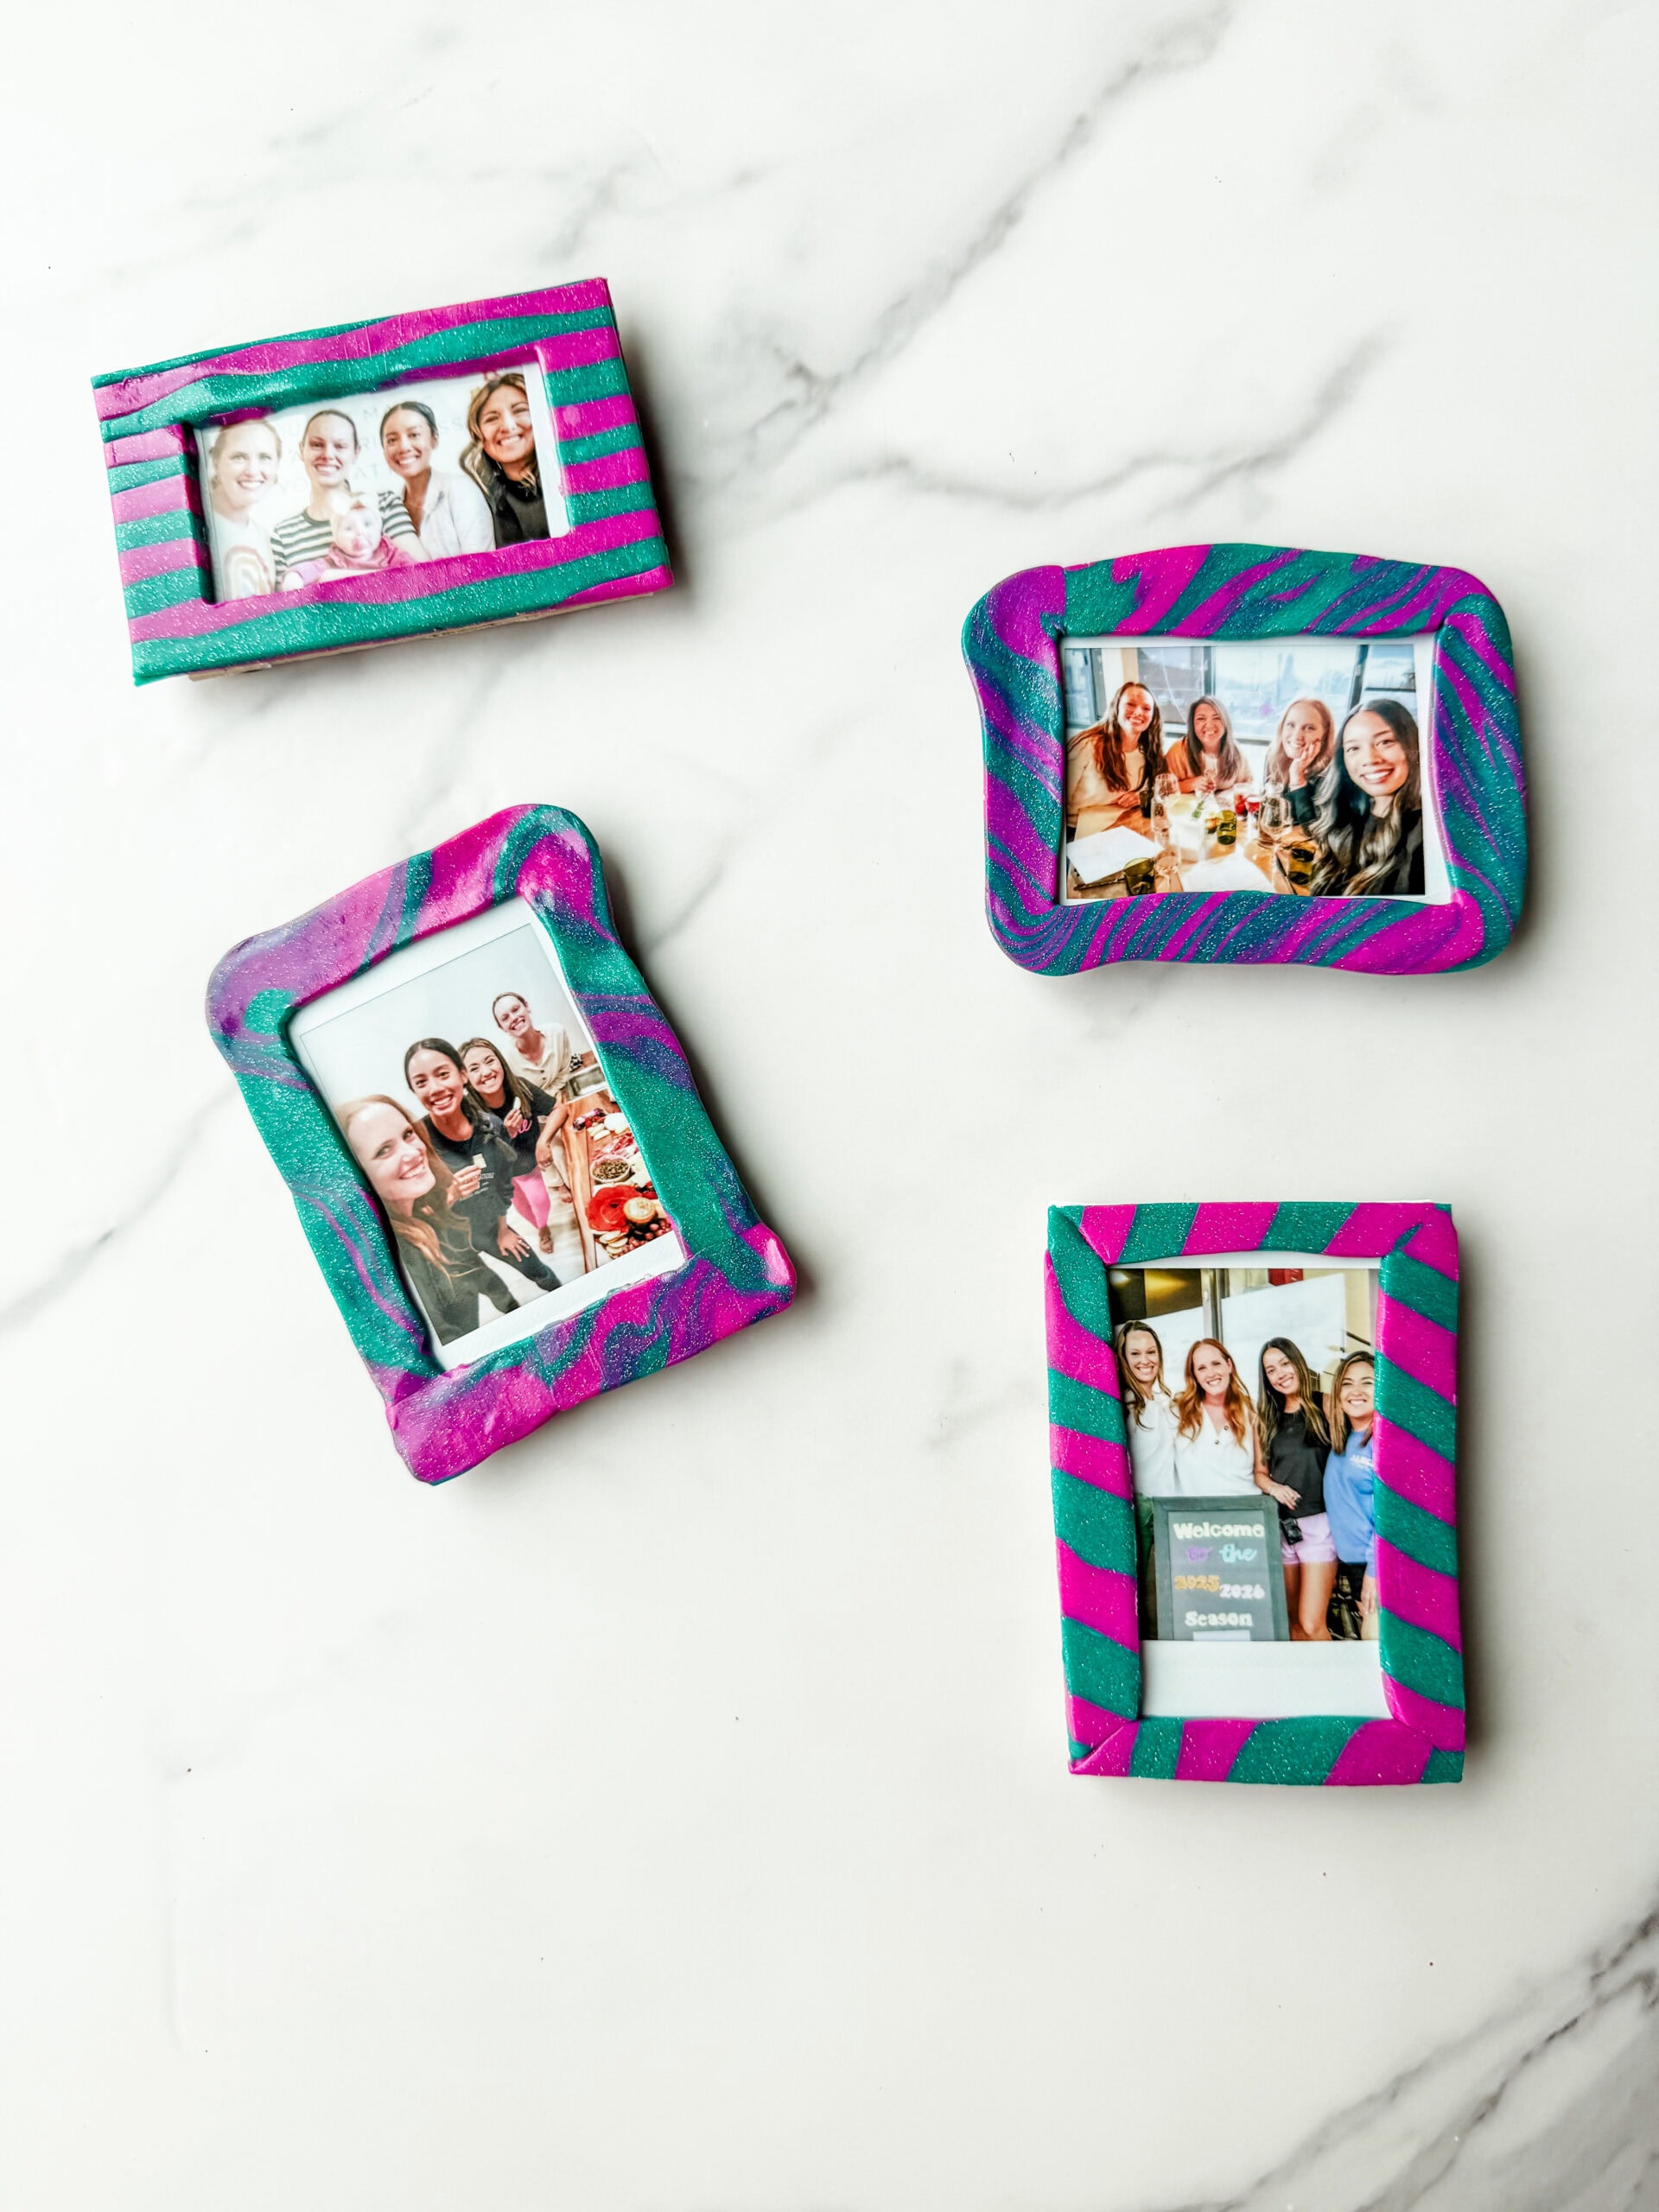
These DIY clay frame magnets are personal, thoughtful, and completely one of a kind. They make the sweetest handmade gift, and the best part is they’re budget-friendly! One pack of clay can be stretched into several frames, so you can create a whole set to keep or share.
Don’t worry about making them perfect. Mine certainly weren’t, but that’s what gives each one its own charm and personality. I can just picture these little frames brightening up a fridge, locker, or dorm room, holding onto favorite Instax photos and memories.
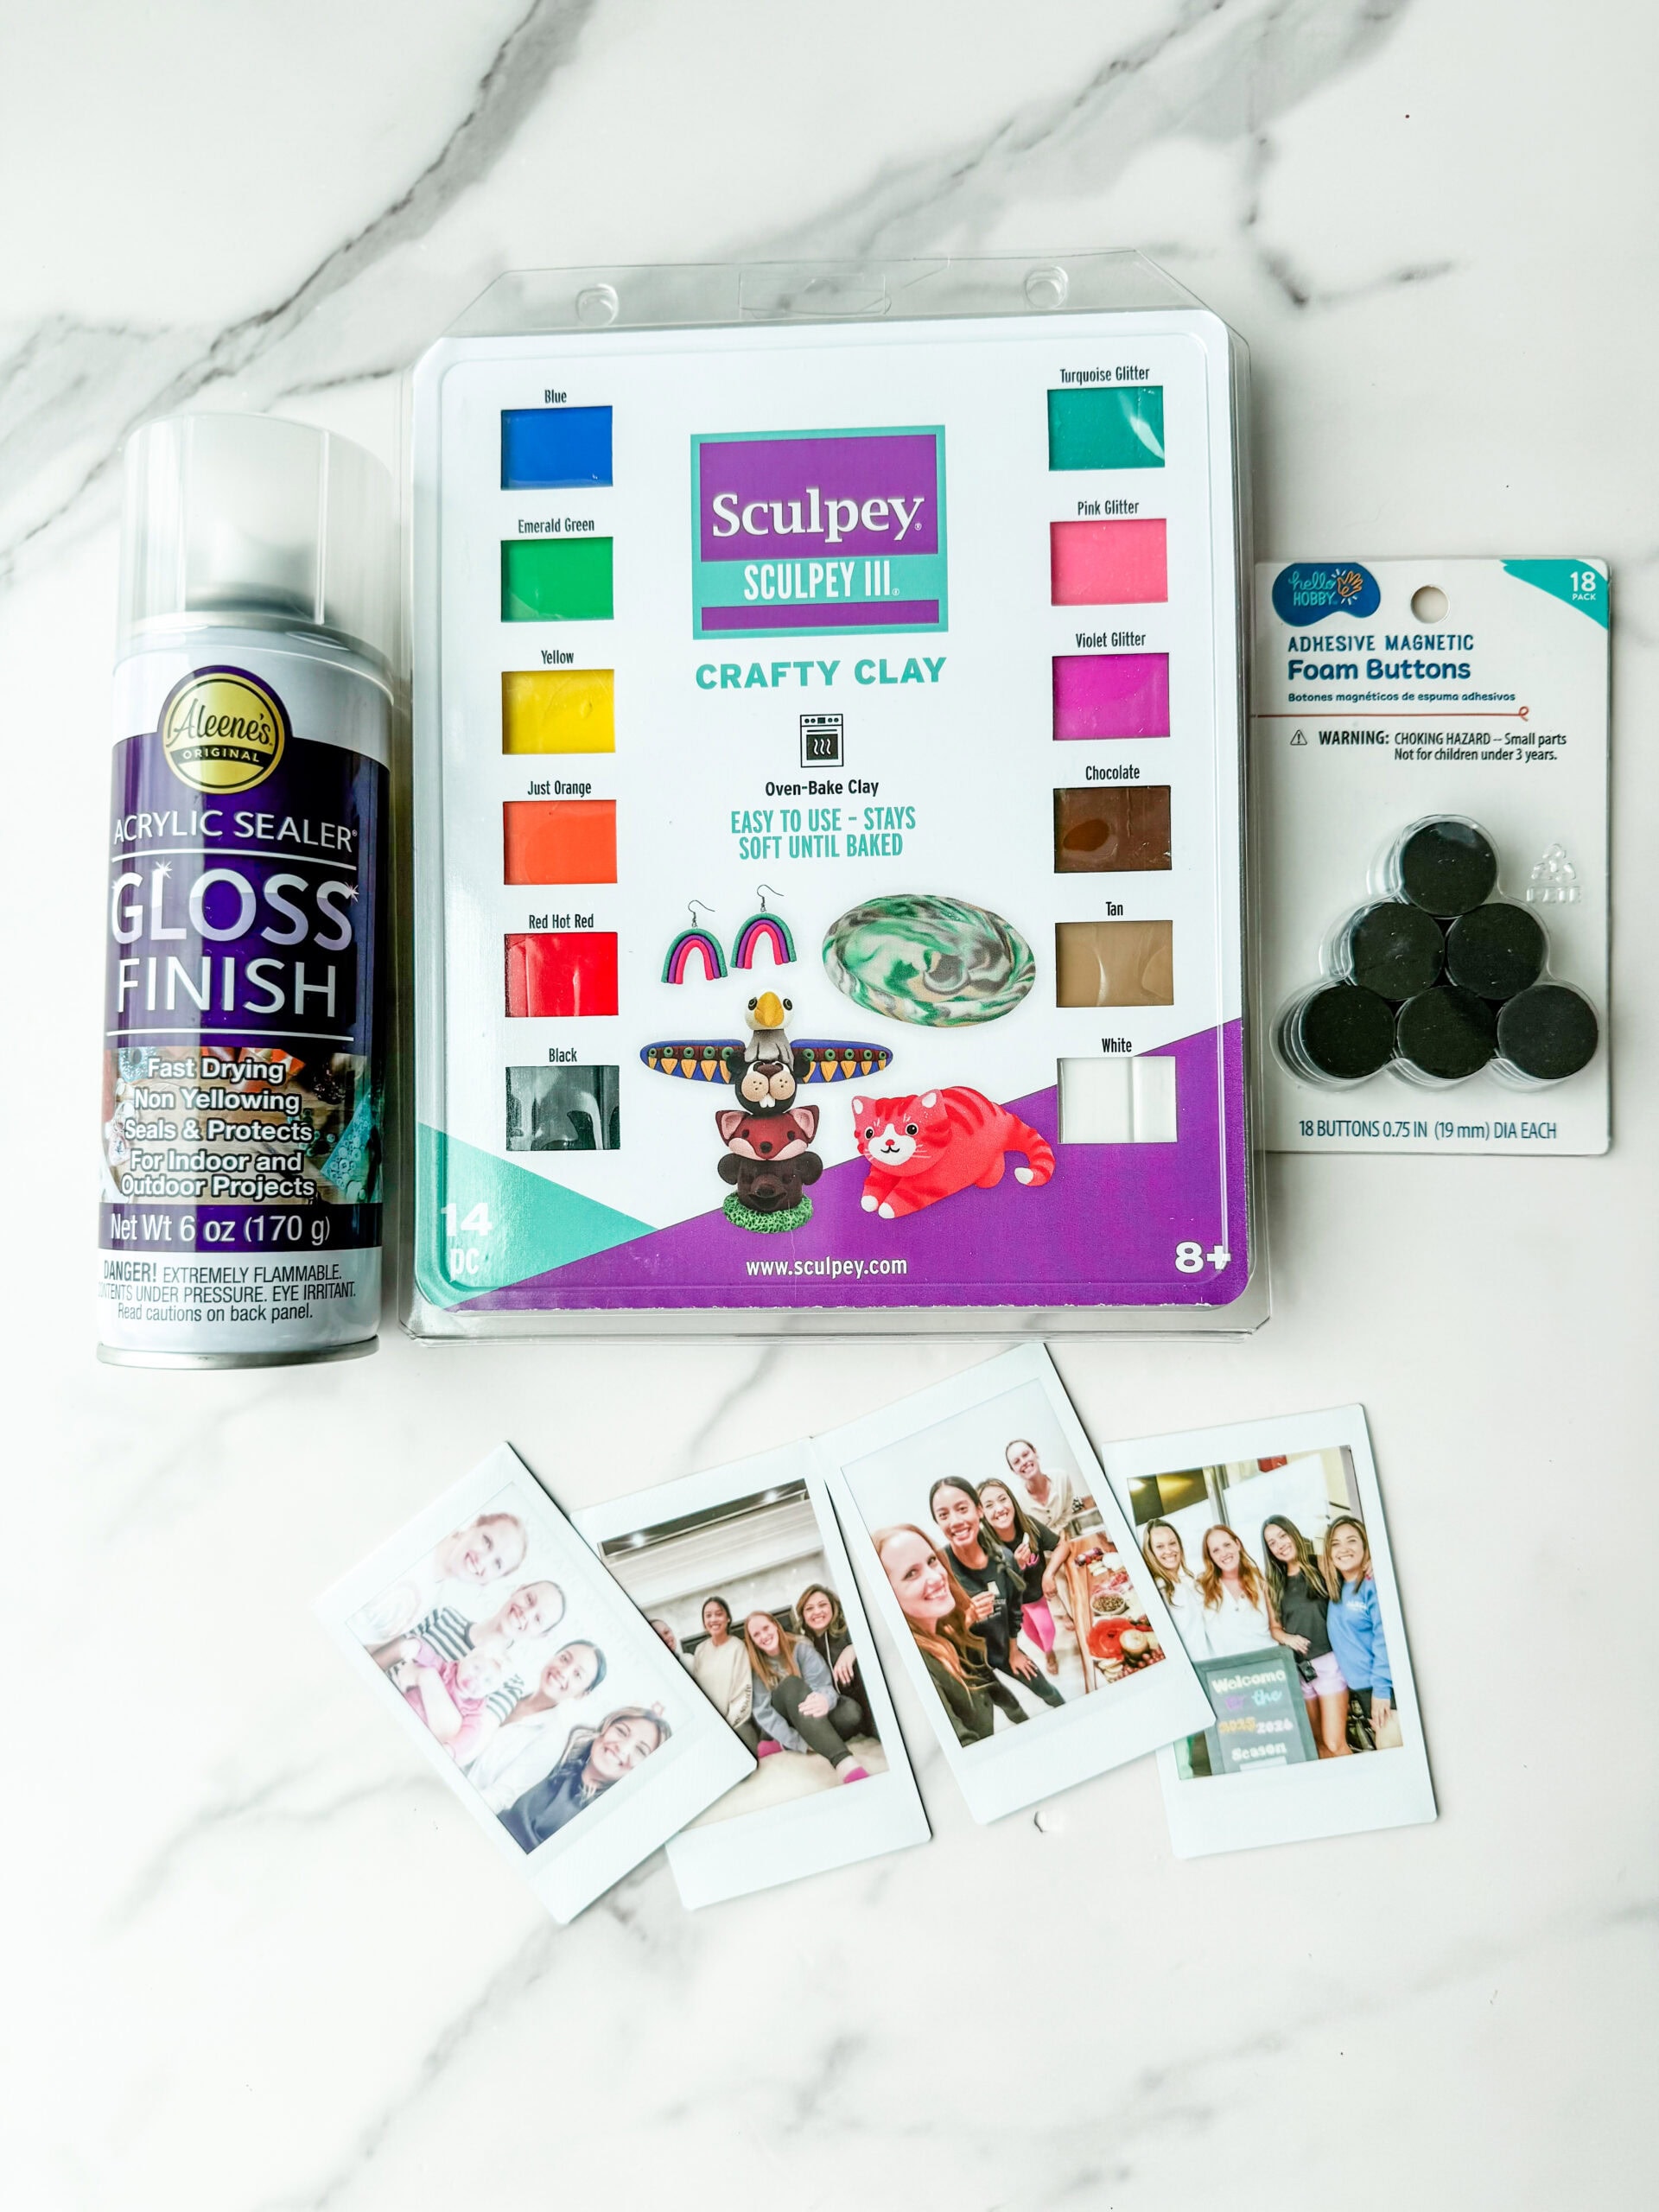
What You’ll Need:
- Oven Bake Clay (This one is a variety pack)
- Gloss Finishing Spray
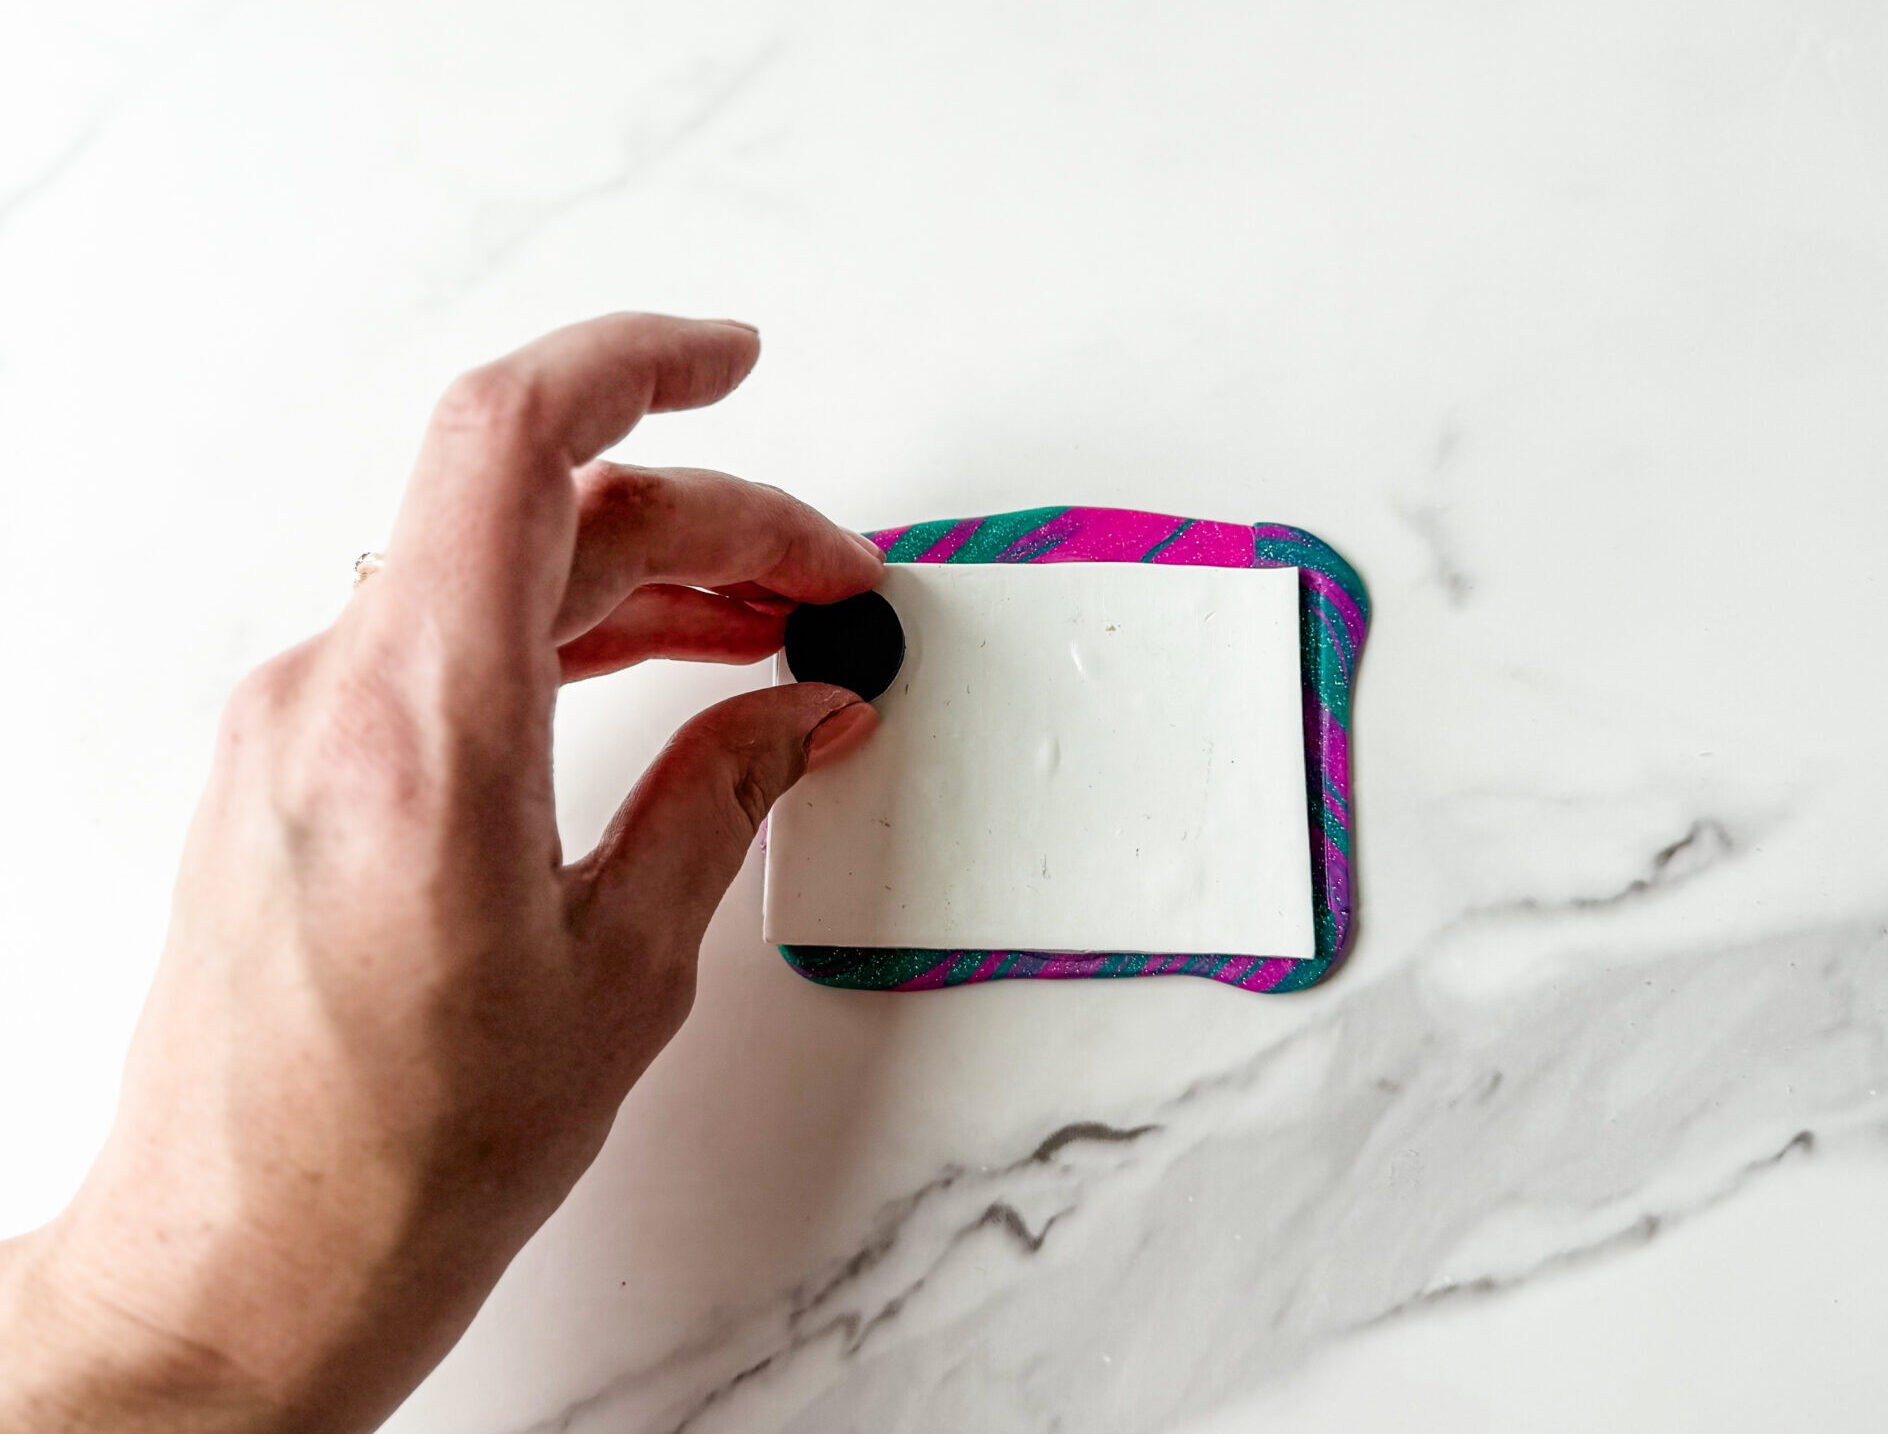
- Magnets
- Strong Glue (craft glue or super glue both work)
- Instax photos or small printed pictures (I use my Instax camera that works like a Polaroid!)
How to Make Clay Frame Magnets:
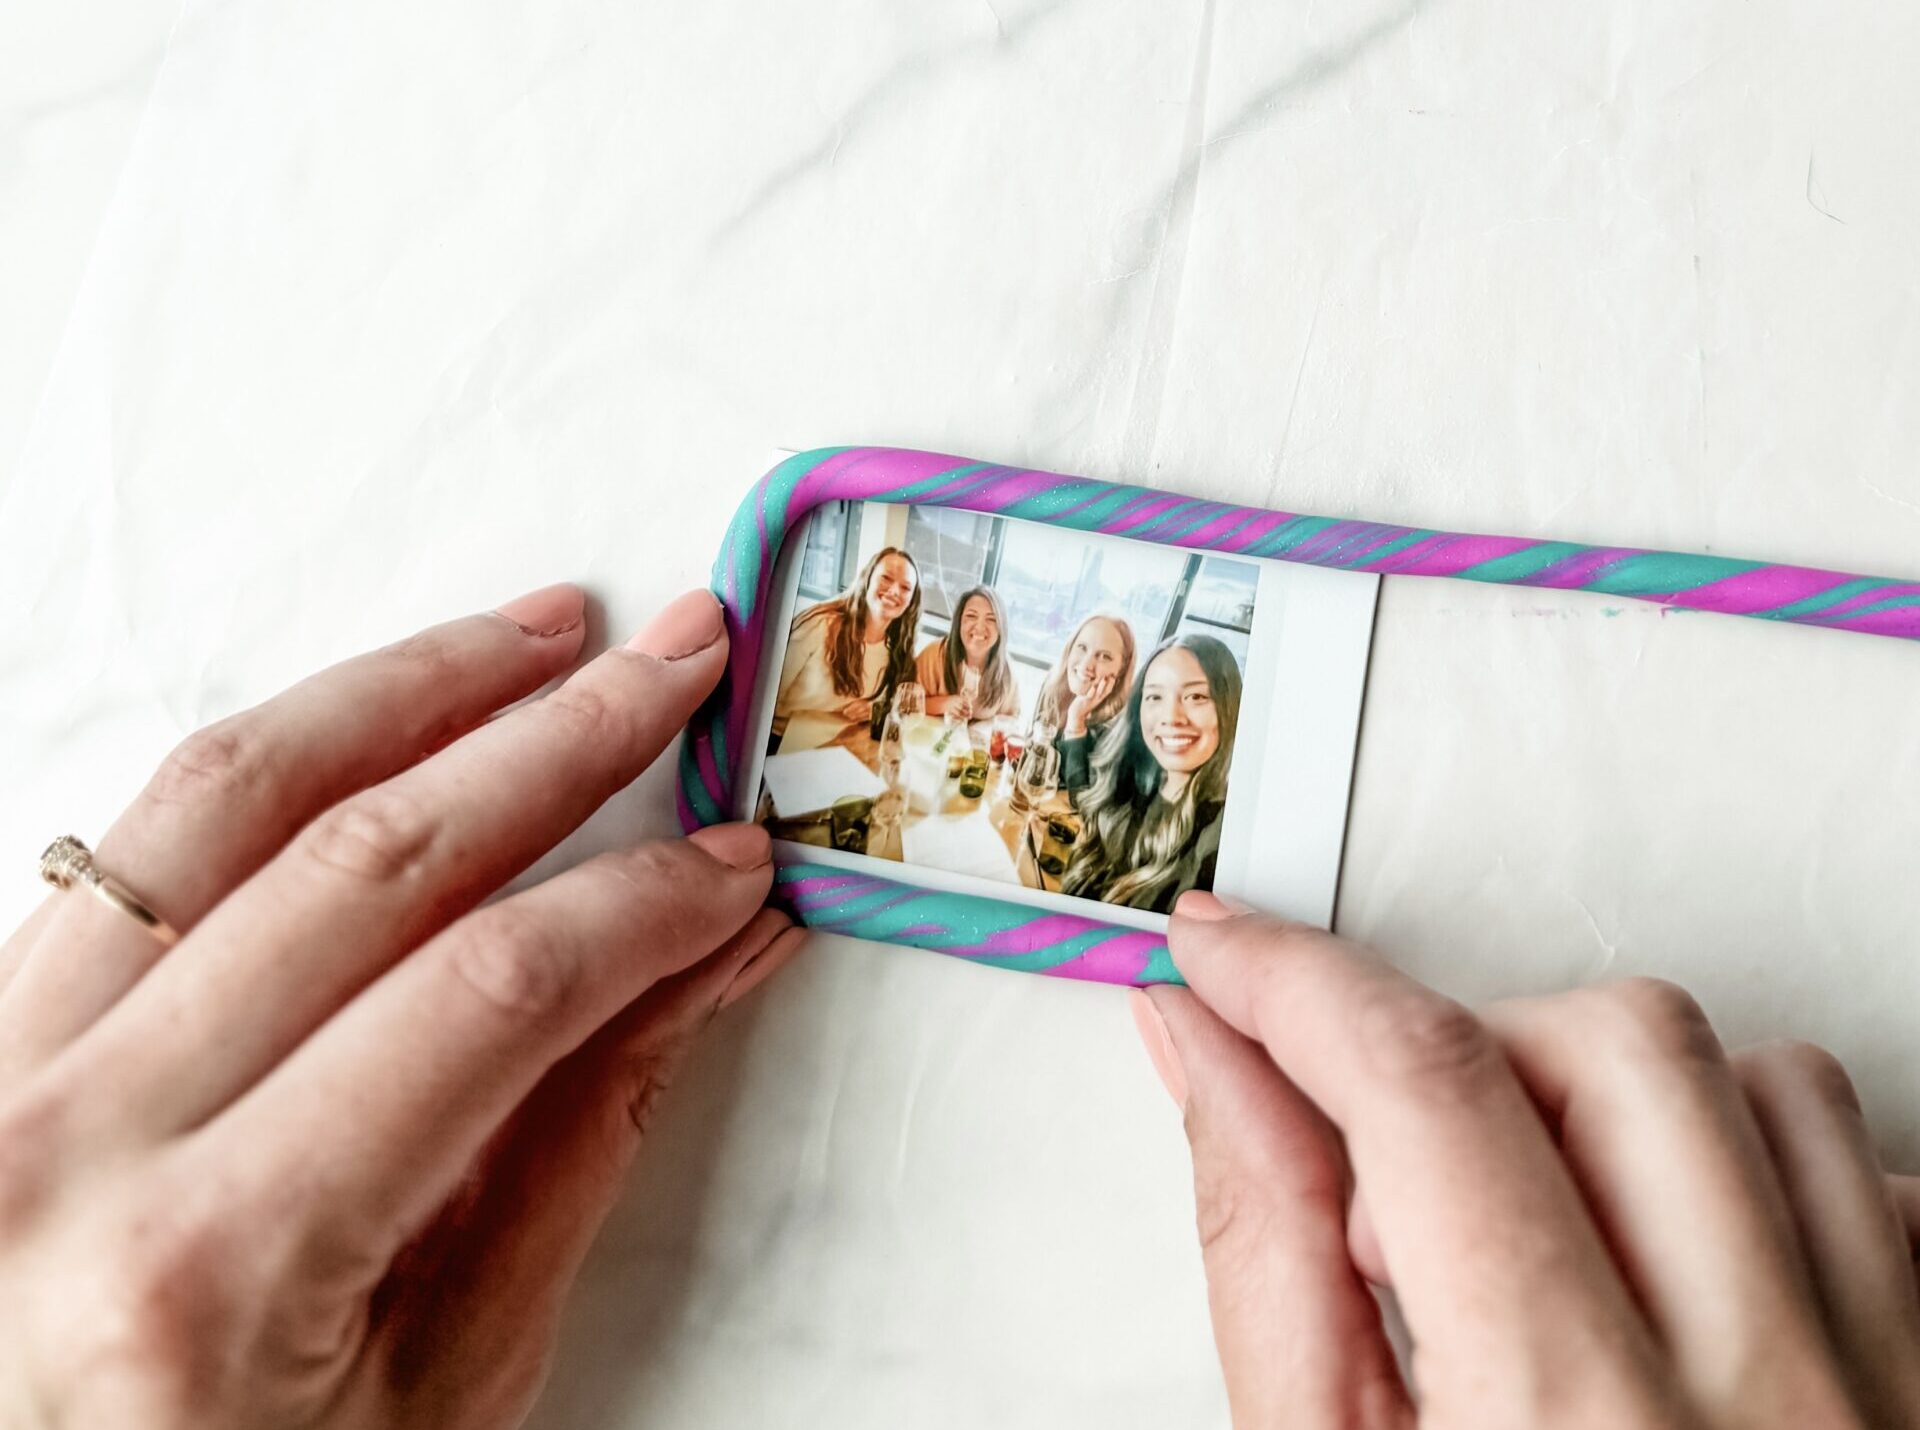
Shape your clay into a frame (it can be square, round, or even wavy). Don’t stress about making it perfect, because quirky edges look adorable!
Follow the baking instructions on your clay package and let the pieces cool completely.
Spray your baked frames with gloss finishing spray to give them a polished look.
Now you are going to assemble your frames. Glue the layers of your frame together: the back layer, your photo in the center, and the front piece on top. Let the glue dry fully.
Flip your frame over and stick a magnet to the back. These magnets come with adhesive stickers, but you can add a drop of glue for extra strength.
These DIY clay frame magnets are such a fun way to showcase your favorite memories. Whether you’re gifting them to a friend, sending them with your college student, or keeping them for yourself, they’re sure to make your photos extra special.
Let us know if you make them! We’d love to see how they turned out!
Here is another way we like to share our Instax photos! Check out this post below:


Leave a Reply