
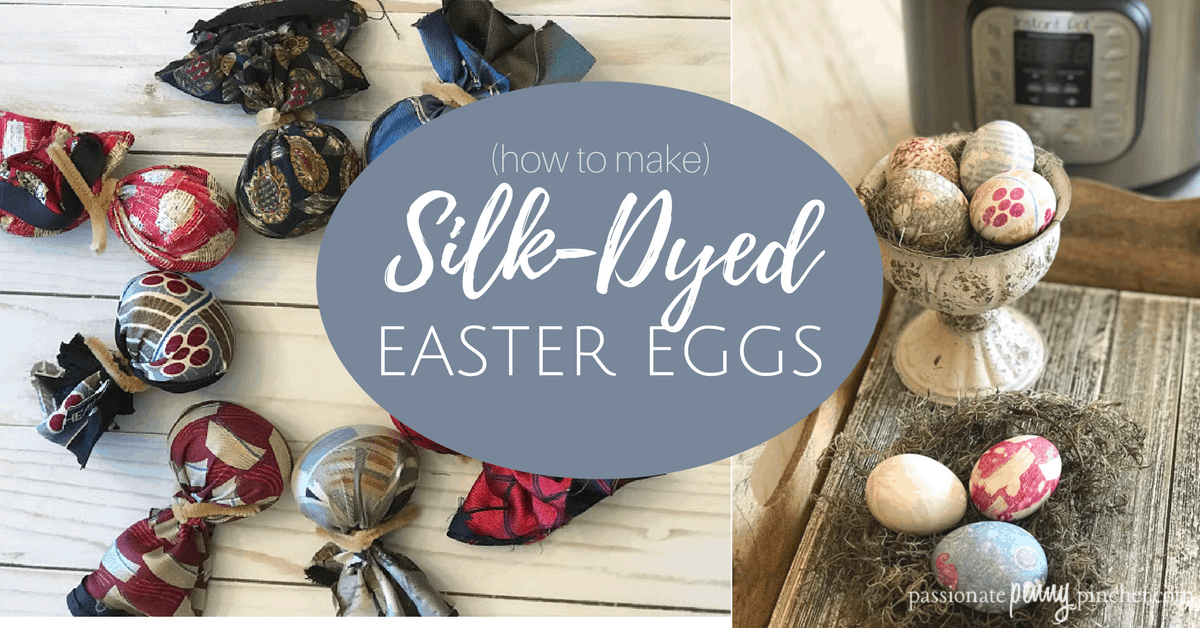
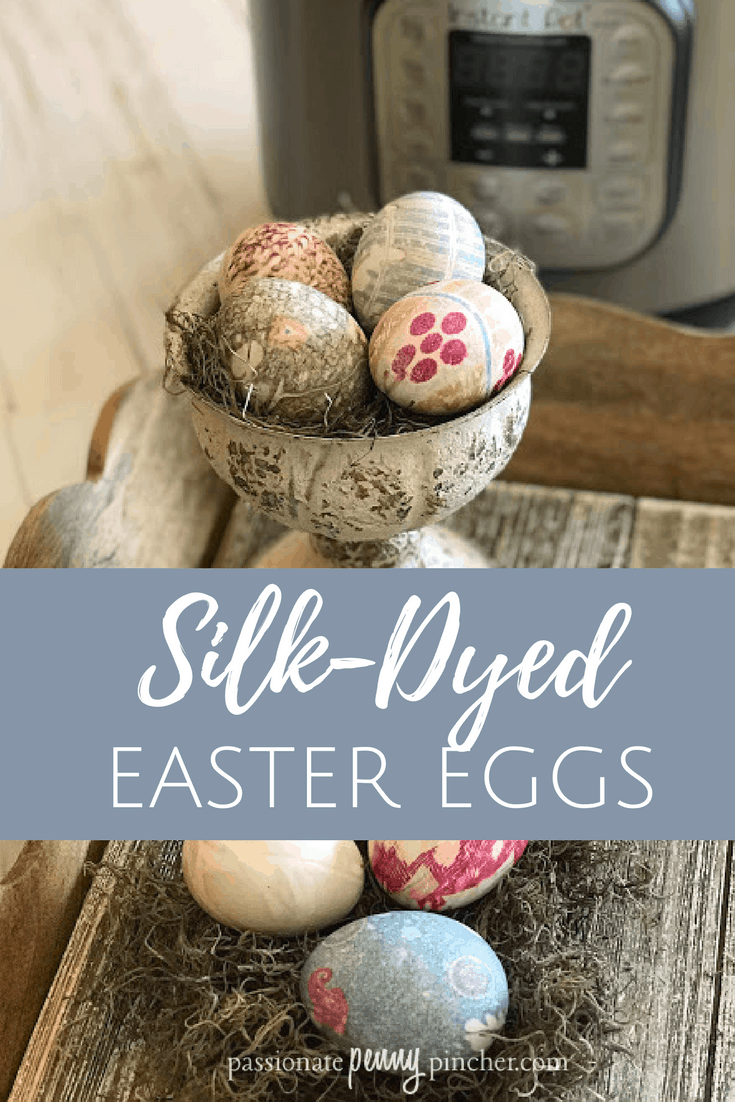
How to Make Silk Tie Easter Eggs (In the Instant Pot!)
PPP Team Member Cheree spent some time several weeks back busily trying out all sorts of Instant Pot Easter Egg recipes – in this one she shows us how to use silk ties (or scarves) to make silk dyed eggs in the Instant Pot. These aren’t JUST for Easter time though – they have a bit of Farmhouse charm and could even be used for Fall decor!
Cheree here! Have you ever heard of making silk dyed eggs for your Easter eggs? This was new to me and maybe it is to you too…
I had been testing out several methods of dying Easter eggs in the Instant Pot. And when I saw this idea over on Pinterest, I was definitely intrigued and wanted to see how it would work.
Oh My Stars, the results were AMAZING!!!
If you don’t have an Instant Pot, no worries – this method works great on the stove top as well! Scroll down for stove top instructions!
I was fortunate enough to have a friend who recently retired and needed to “retire” some ties as well, haha!
This would also be a fun outing to search thrift stores for the ugliest ties (those make the best designs). 🙂
How to make Silk Tie Easter Eggs
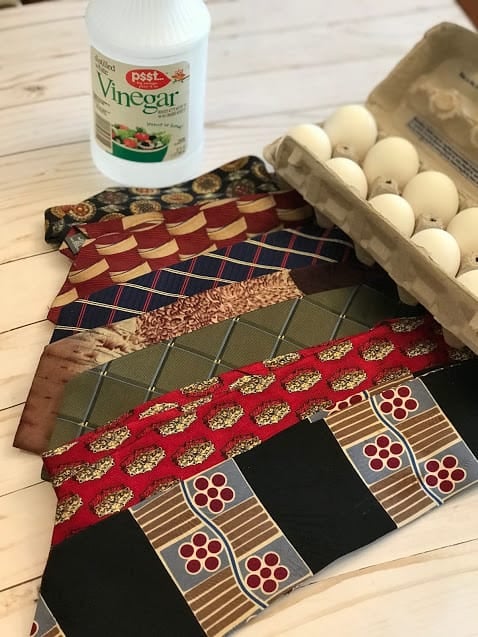
Supplies needed:
- 100% silk ties or scarves (it must be 100% silk, so check your labels)
- 1 old white t-shirt, or white pillowcase, sheet, etc.
- White vinegar
- Twist ties or rubber bands
- Trivet
Step by Step Instant Pot Silk Dyed Eggs Instructions
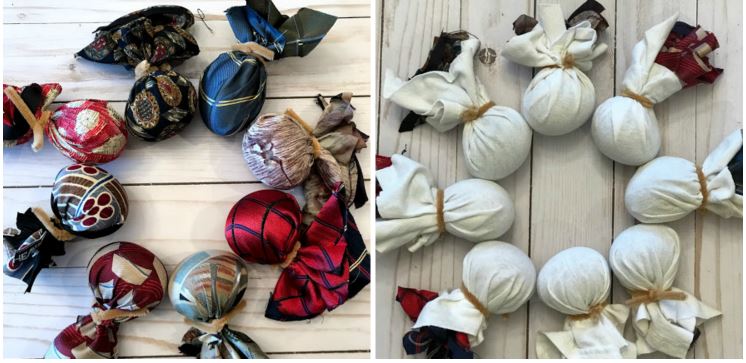
- Cut the ties and t-shirt into about 6″x 6″ squares.
- Bundle the tie square tight around the egg (making sure the most vibrant side of the fabric is against the egg) and secure with a twist tie. (I cut some chenille stems and used those)
- Next, do the same thing with the t-shirt squares.
- Place the trivet in the instant pot and carefully add your wrapped eggs.
- Add enough water to cover the eggs and add 1/2 cup vinegar.
- Lock lid into place and use the manual high pressure for 5 minutes to boil your eggs.
- Allow the instant pot to natural release for 5 minutes. Fill a large bowl with ice water while the instant pot is releasing.
- Do a quick release for the remaining pressure and immediately place eggs into the ice bath for an additional 5 minutes.
- Remove the eggs from the ice bath once they are cooled completely and carefully remove the silk fabrics.
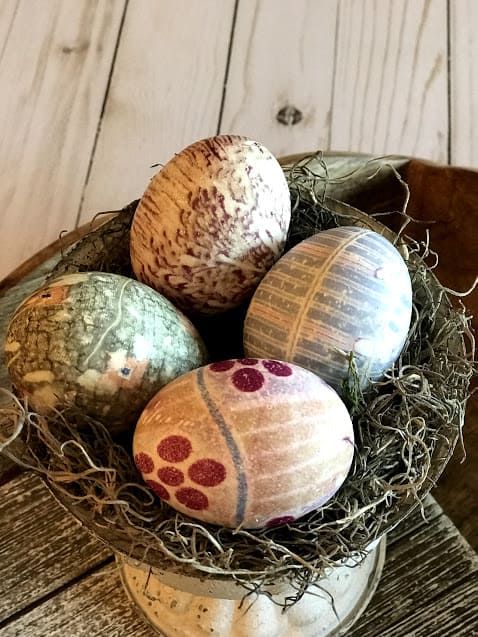
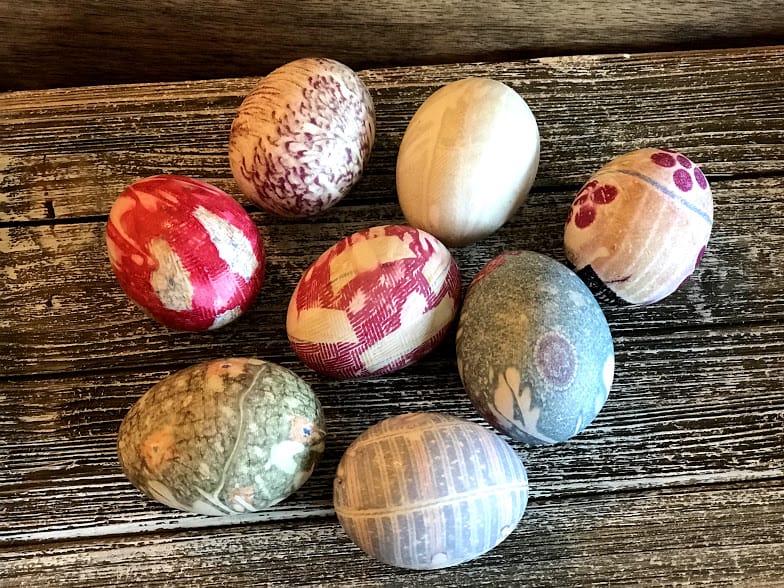
- Enjoy and be surprised by the beautiful designs you have without using all different kinds of dyes!
Stove top Instructions for Silk Tie Easter Eggs
Follow wrapping directions above and place the wrapped eggs in a large stockpot. Fill with water 2 inches above the eggs. Add 1/4 cup vinegar.
Next, bring to a boil, reduce heat and simmer 20 minutes. Carefully remove eggs with tongs and lay on paper towels. Let cool to room temperature and unwrap.
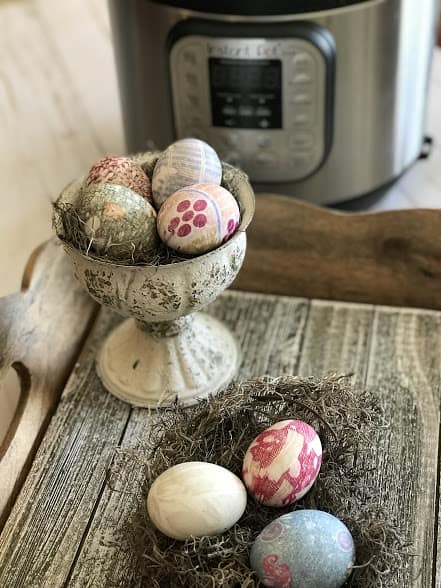
You’ll want to store your eggs in the refrigerator until you are ready to display your beauties!
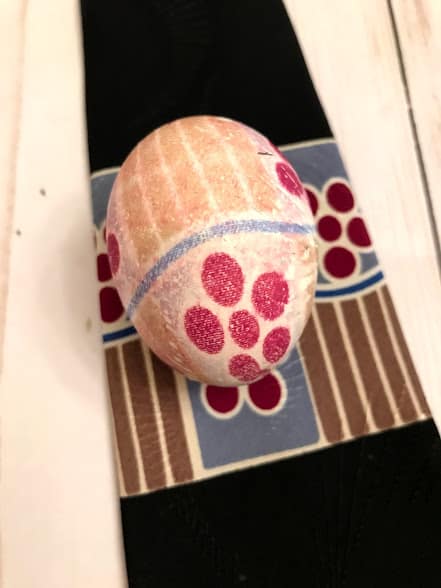
Unwrapping the eggs is a big surprise – there are so many colors and patterns that show up using this egg dye method:

every
single
time…
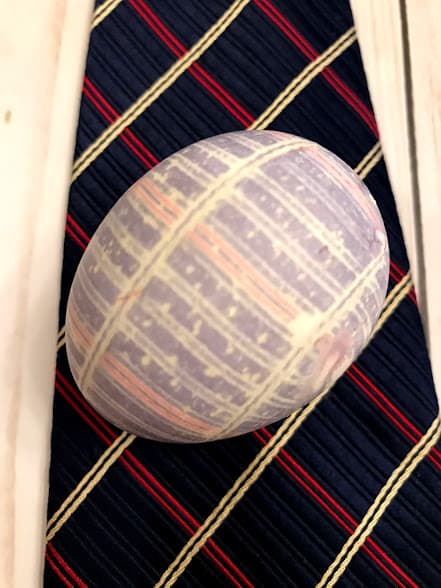
This was seriously so cool!
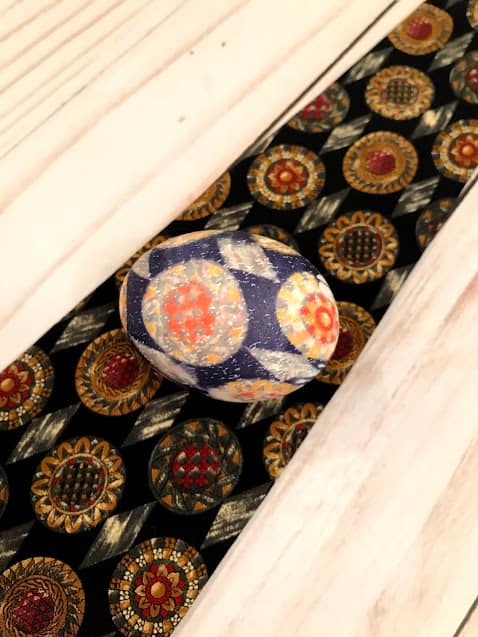
WOWZA!!!
It was so interesting and fun to open each silk tie Easter egg bundle to see what you would get – like eating a box of chocolates, ha! 🙂
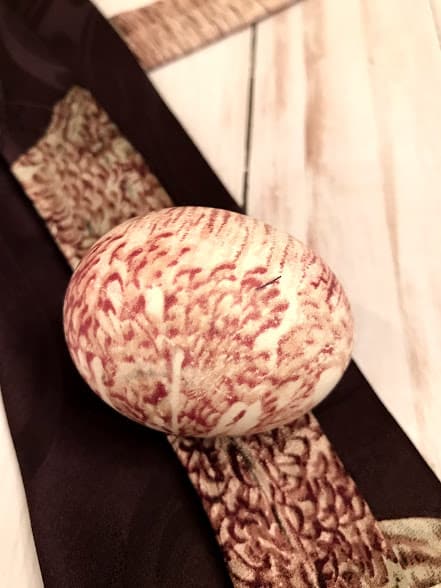
Have I said that this is COOL?!?! Even my engineer husband was impressed! 🙂
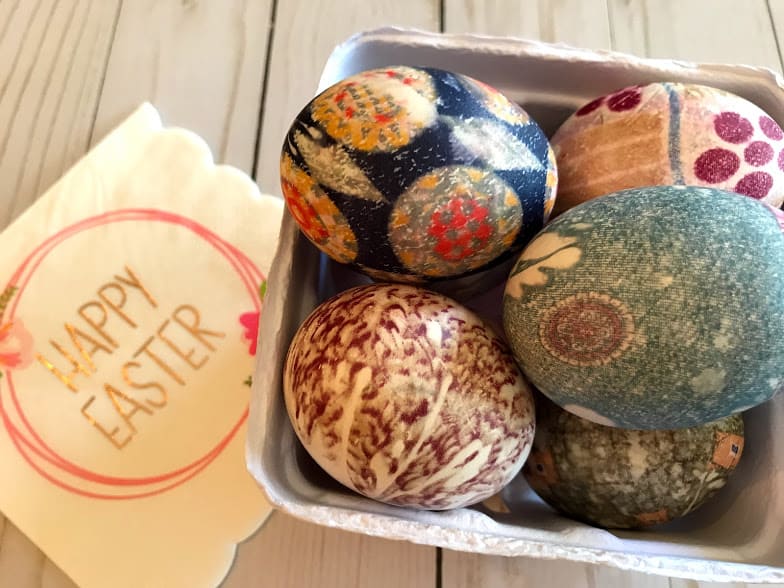
I read that you can apply some type of acrylic coating to the eggs so you can keep them from year to year. I skipped this, but would love to hear if any of you have done this and if it works. I had mine out a few days and they did just fine!
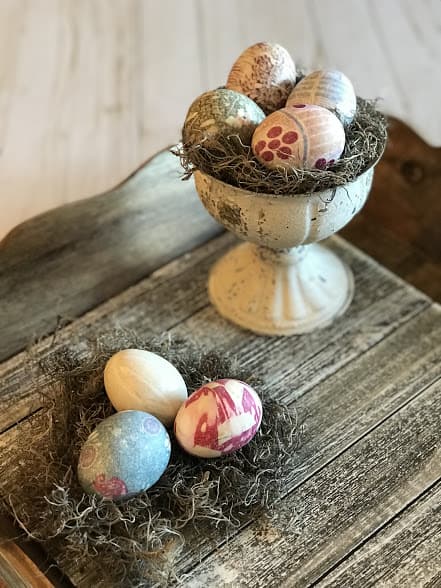
I’m really digging the farmhouse vibes that these silk tie Easter eggs have.
***Also please note that the silk dying process involves chemicals so you can not eat the eggs in any fashion**
Looking for other ways to dye your Easter eggs? Here are a few we’ve tried!
- Naturally Dyed Easter Eggs
- Eggmazing Easter Egg Decorator (See our review!)
- Easter Eggs in the Instant Pot (Boil and Dye at the SAME Time!)


On stove top, cover and cook for 4 hours. After uncover and completely cool cover eggs with clear nail polish. Keep out of any closed container for at least ONE YEAR and then they are good to go forever and use all year long or every season. Use all sizes of eggs, quail eggs, medium, large, extra large or even duck eggs.
Can cover in wet small squares or circle fabric then wrap in bias tape or cloth cut on the grain and place straight pins to secure while boiling.
The yolk will become like a ball inside the shell sometimes so don’t shake them, handle with care. I have eggs that are over 15-20 years old.
Thanks so much for the tips Melissa! 🙂
Since these are not safe to consume, how about draining the raw egg from a small hole in the end before dyeing? That way you can still eat the eggs. Would the shells survive the dyeing process if empty??
I was just thinking the same thing! They are beautiful and I would want to keep them.
That is what I was wondering!