
Check out how one of my readers created her own version of the tiered tray from our recent post, 25 Days of Thrift Store Makeovers Day 19: Picture Frames ~ I love this! I asked her to tell me just how she made it so I could share – and here’s what she did. Love it!
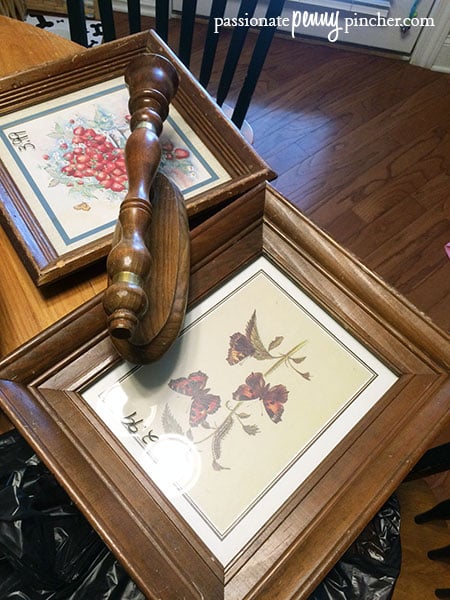
After seeing this idea, I wanted to try and make one myself. I found 2 sturdy frames at a thrift store for $7 and a large wooden candlestick at another thrift store for just $1.
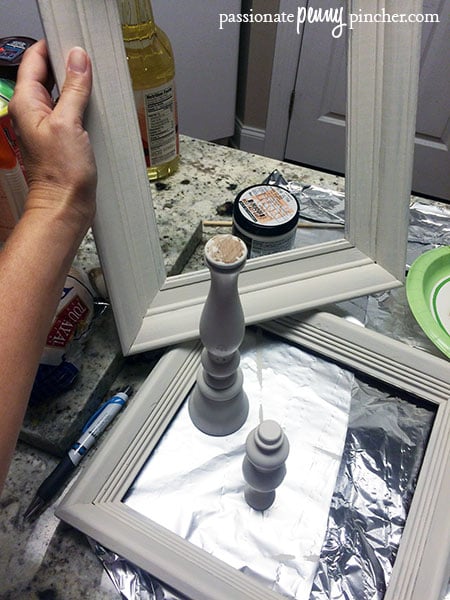
I was able to knock the wall mount off the candlestick and just sand down the spots where it attached. After wiping the dust from all three pieces, I used a leftover jar of sample paint to freshen them up. (Can’t beat free!) 🙂
The next step was adding the bottoms to the frames.
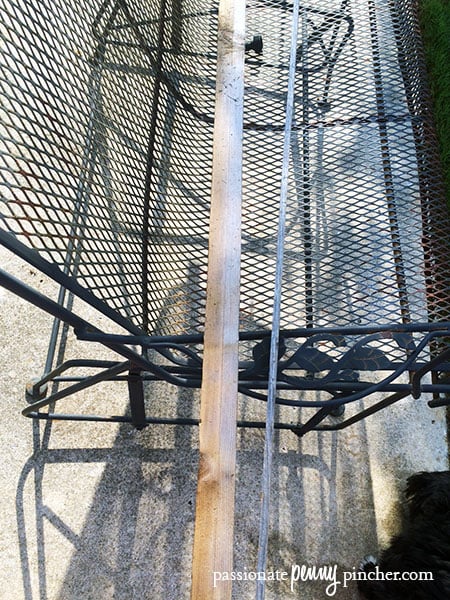
This project used pieces of pallet wood, but that was going to be too thick for my frames. I ended up using strips of lattice wood I had leftover from another project which just happened to already have that “weathered” look since they had been outside in the weather for almost a year 🙂
The thickness of the lattice wood was the perfect match for the frames. It was also easy to cut down to size with a small saw. After cutting them down, I glued the strips into place with a little E6000 Adhesive.
The next step was adding the candlestick to each tray. You’ll need a drill and a few long screws for this part.
The large end of the candlestick already had a hole in it (where the candle would normally sit), so I drilled a pilot hole into the center of the bottom tray and used a long screw to attach the large part of the candlestick to it.
For the smaller top piece, I drilled a hole into the top tray and used a screw from the top tray down into the top of the candlestick underneath. Before attaching the top tray to the bottom candlestick, drill a pilot hole for another screw to go up into the top candle stick. The holes will need to be close together so the screws will be hidden by the candlestick pieces. (You could also use glue for the this part!)

That’s it! Pretty simple. 🙂 I think it turned out great and only cost about $8 ~ yay!
I’d love for you to join me over on Pinterest (I love that place!) If you have a blog and have done a little fluffing in your home, I’d love to see it, so leave your link in the comments section. Also, if there’s a craft you’ve seen on a website that you’re hoping to make, feel free to share that link as well (I’m always looking for new ideas!)
See previous Friday Fluff Up projects and ideas . . . and Happy Fluffing!


Super cute! What color is the paint you used? Loving it!