
DIY Paper Garland – Turn Old Books Into Darling Decor!
Y’all – this sweet craft has everything I love in a project. It’s easy, uses supplies you have on hand, and looks absolutely adorable mixed in with your seasonal decor.
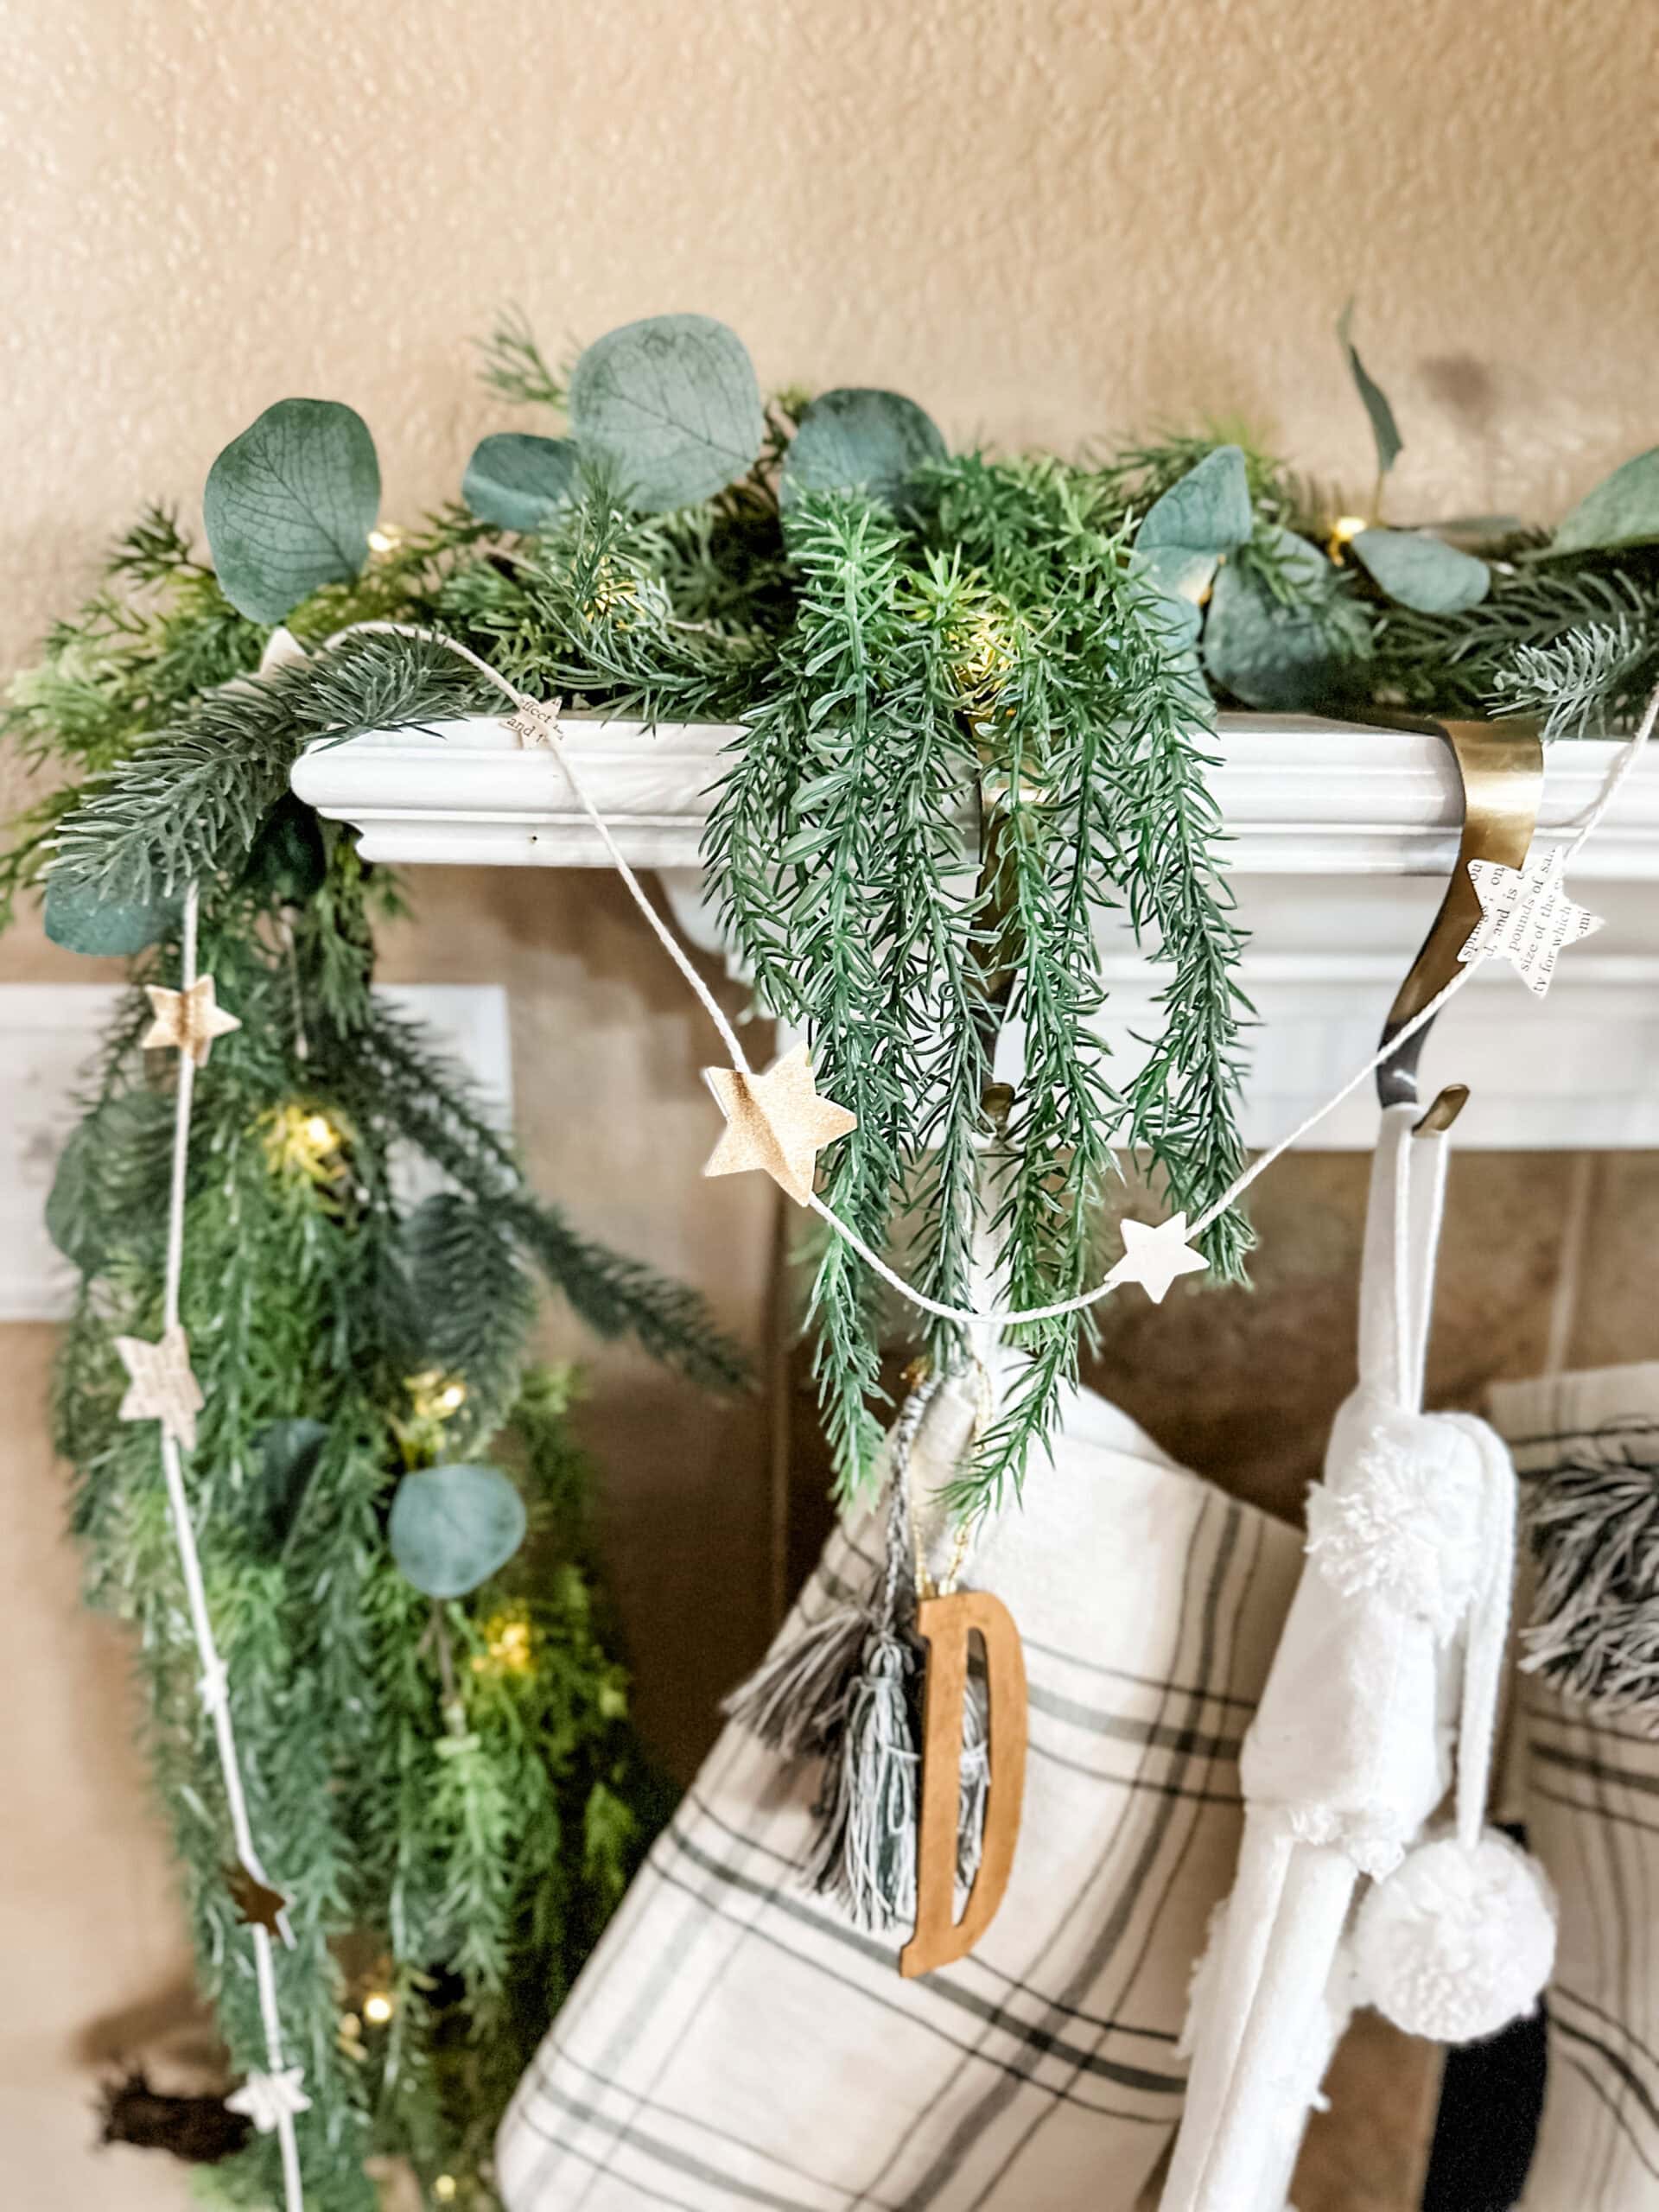
Today we’re making a DIY paper garland – turning old book pages and scrapbook paper into an old-fashioned & gorgeous Christmas keepsake.
I knew going into this DIY that it would be pretty simple, but I was a little surprised at just how easy it is to create! You might think you’re missing a step along the way because it’s moving so quickly, but I promise this one is fool proof.
I love how the little stars are such a simple and elegant design. You can even incorporate this same project into other holidays, birthday parties, or even use your paper garland to wrap your Christmas presents! We love a versatile DIY 🙂
What supplies do you need for a paper garland?
You might have guessed but your main supply is going to be paper. Check your old books for one that can spare a few pages (I like to look for a more antique-y look: slightly sepia pages, old timey font) and raid your scrapbook paper stash. If you don’t have scrapbook paper on hand, you can grab a few sheets at the craft store – just watch for sales.
I used book pages, a shiny gold scrapbook paper, and a plain ivory paper. I love that you can incorporate ANY color scheme into this project – just grab the color paper you like!
You’ll also want to grab a star hole punch. I snagged this cute set of 3 on Amazon and ended up using all 3 sizes for this garland so I was really happy I did. If you have a Cricut machine, you can probably use it here to cut your stars instead of the hole punch.
Lastly, you’ll need a few other craft supplies you likely have on hand. Grab your scissors, regular white glue, a small paintbrush, and twine. I used a twine similar in color to my ivory scrapbook paper but go with a color you like or have already!
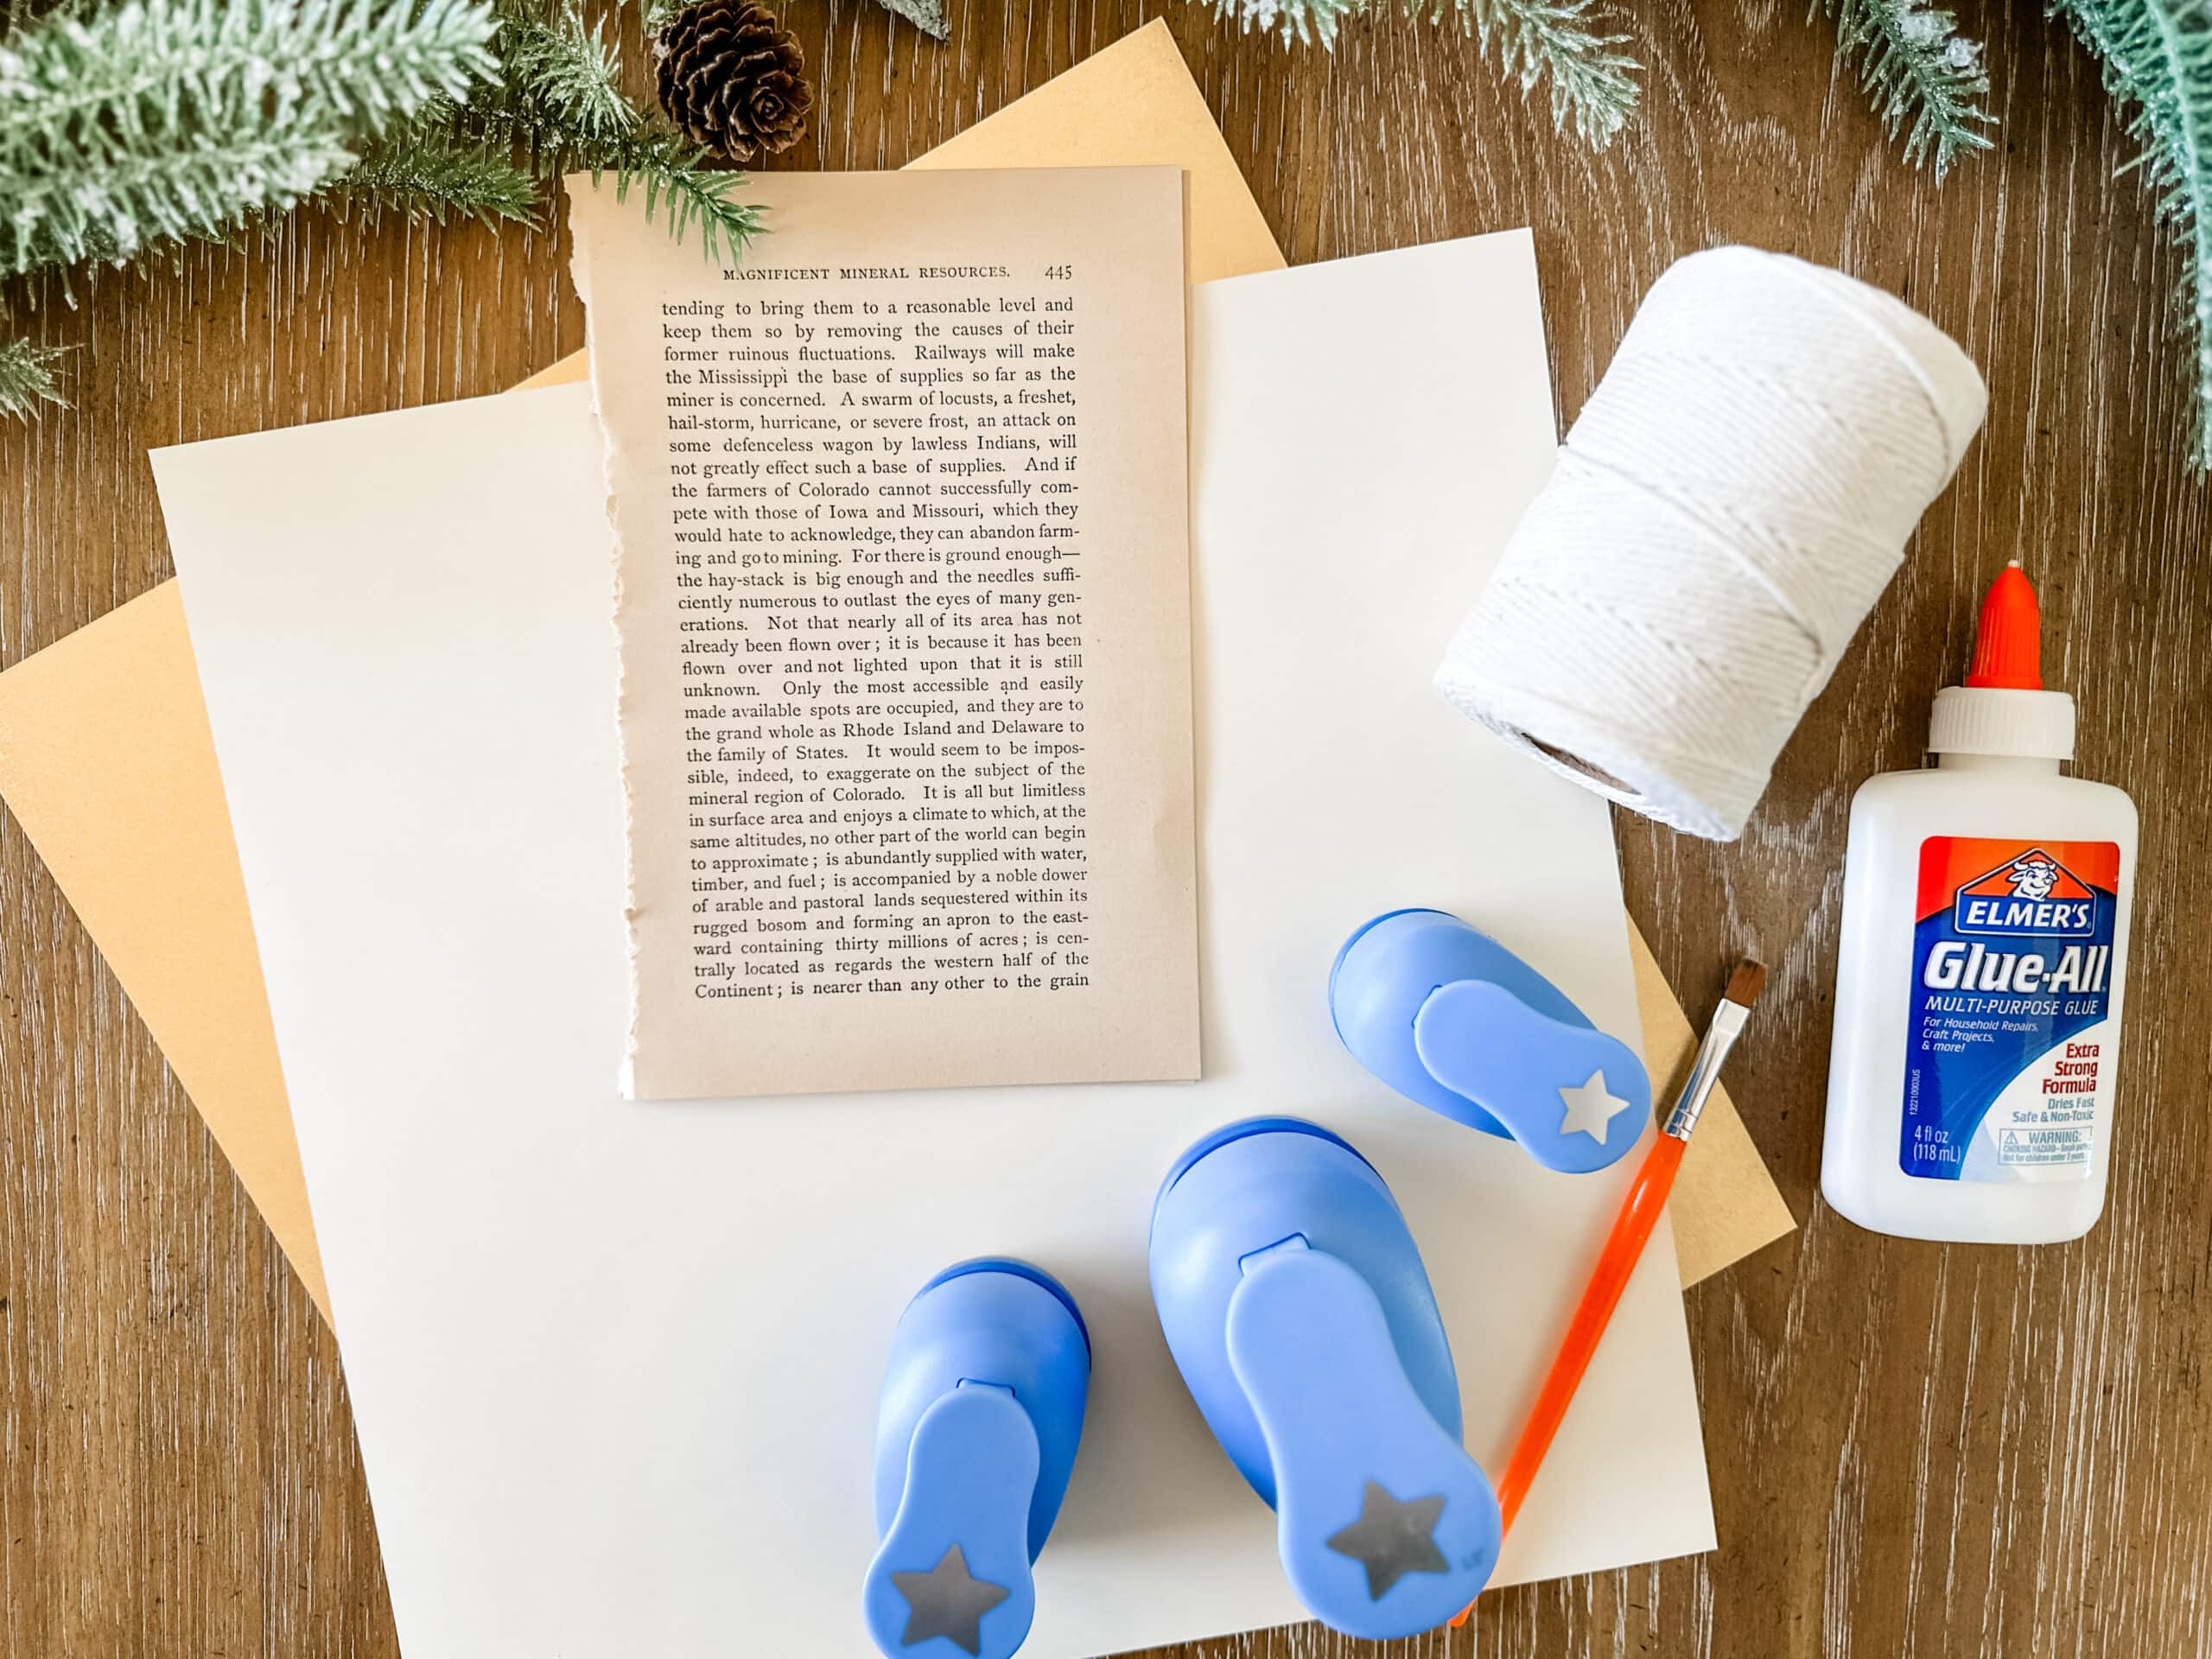
Supplies:
- Paper – book pages & scrapbook paper in your choice of color scheme
- Star hole punches
- Twine
- Elmer’s white glue
- Small paintbrush
- Scissors
I made a similar book page garland for Easter a few years ago and still love it!
How do you make a paper garland out of book pages?
Start by cutting the twine to your desired garland length and set aside
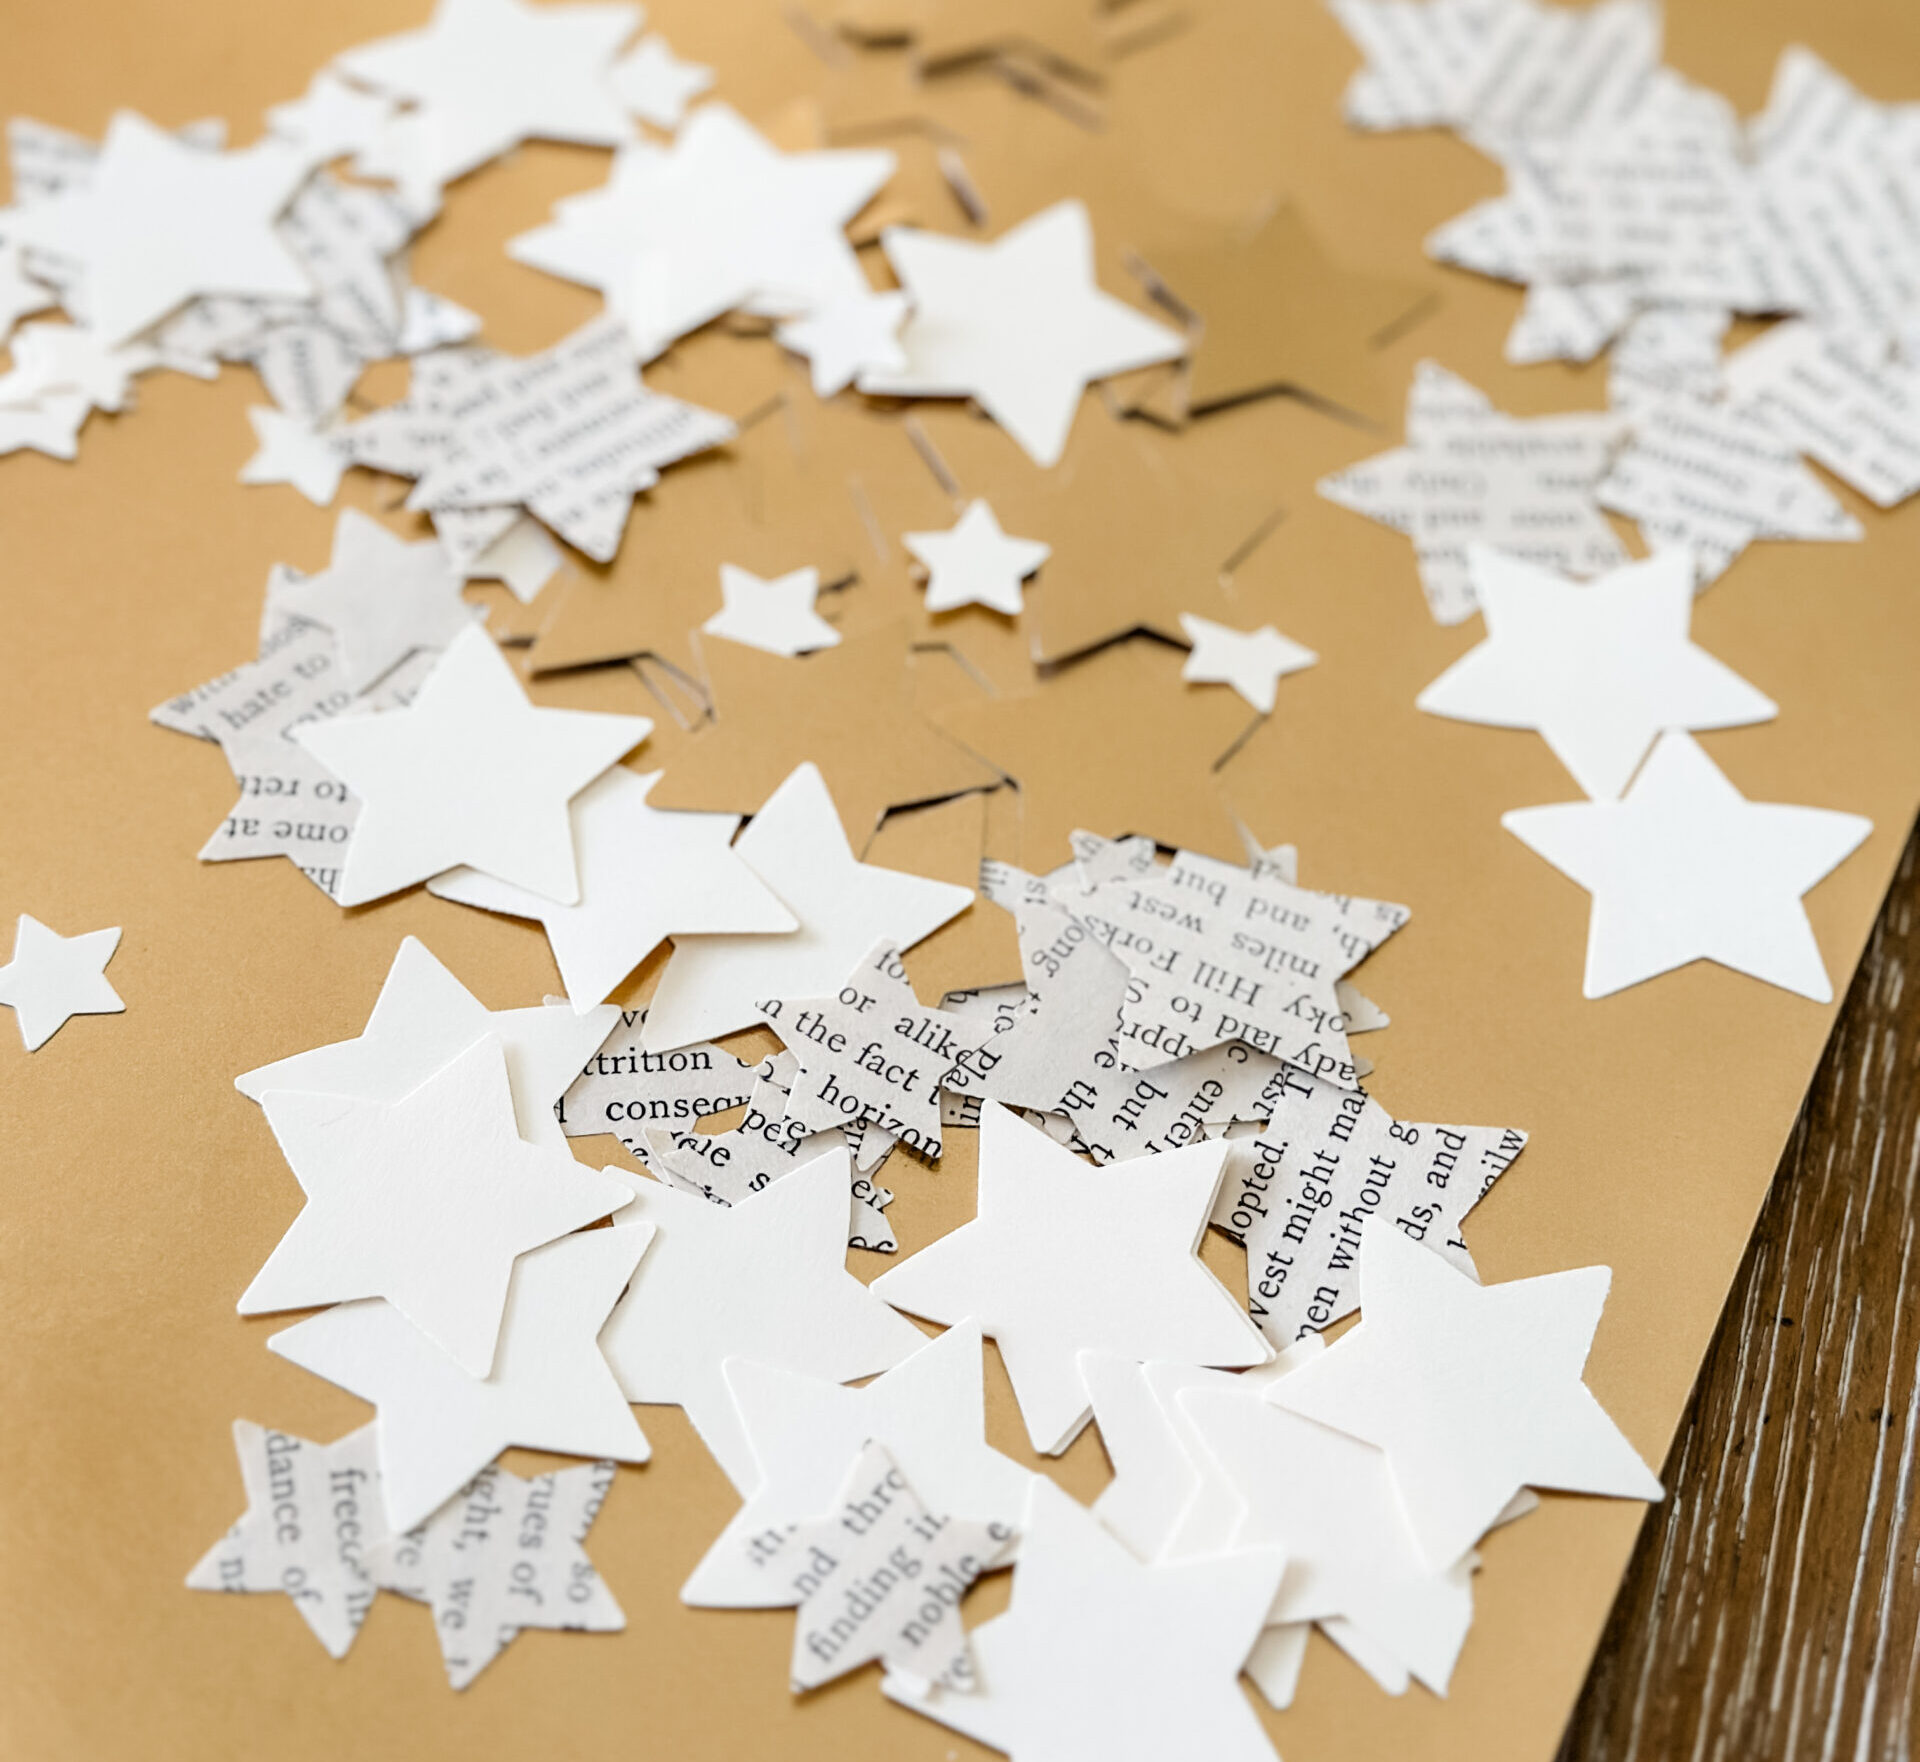
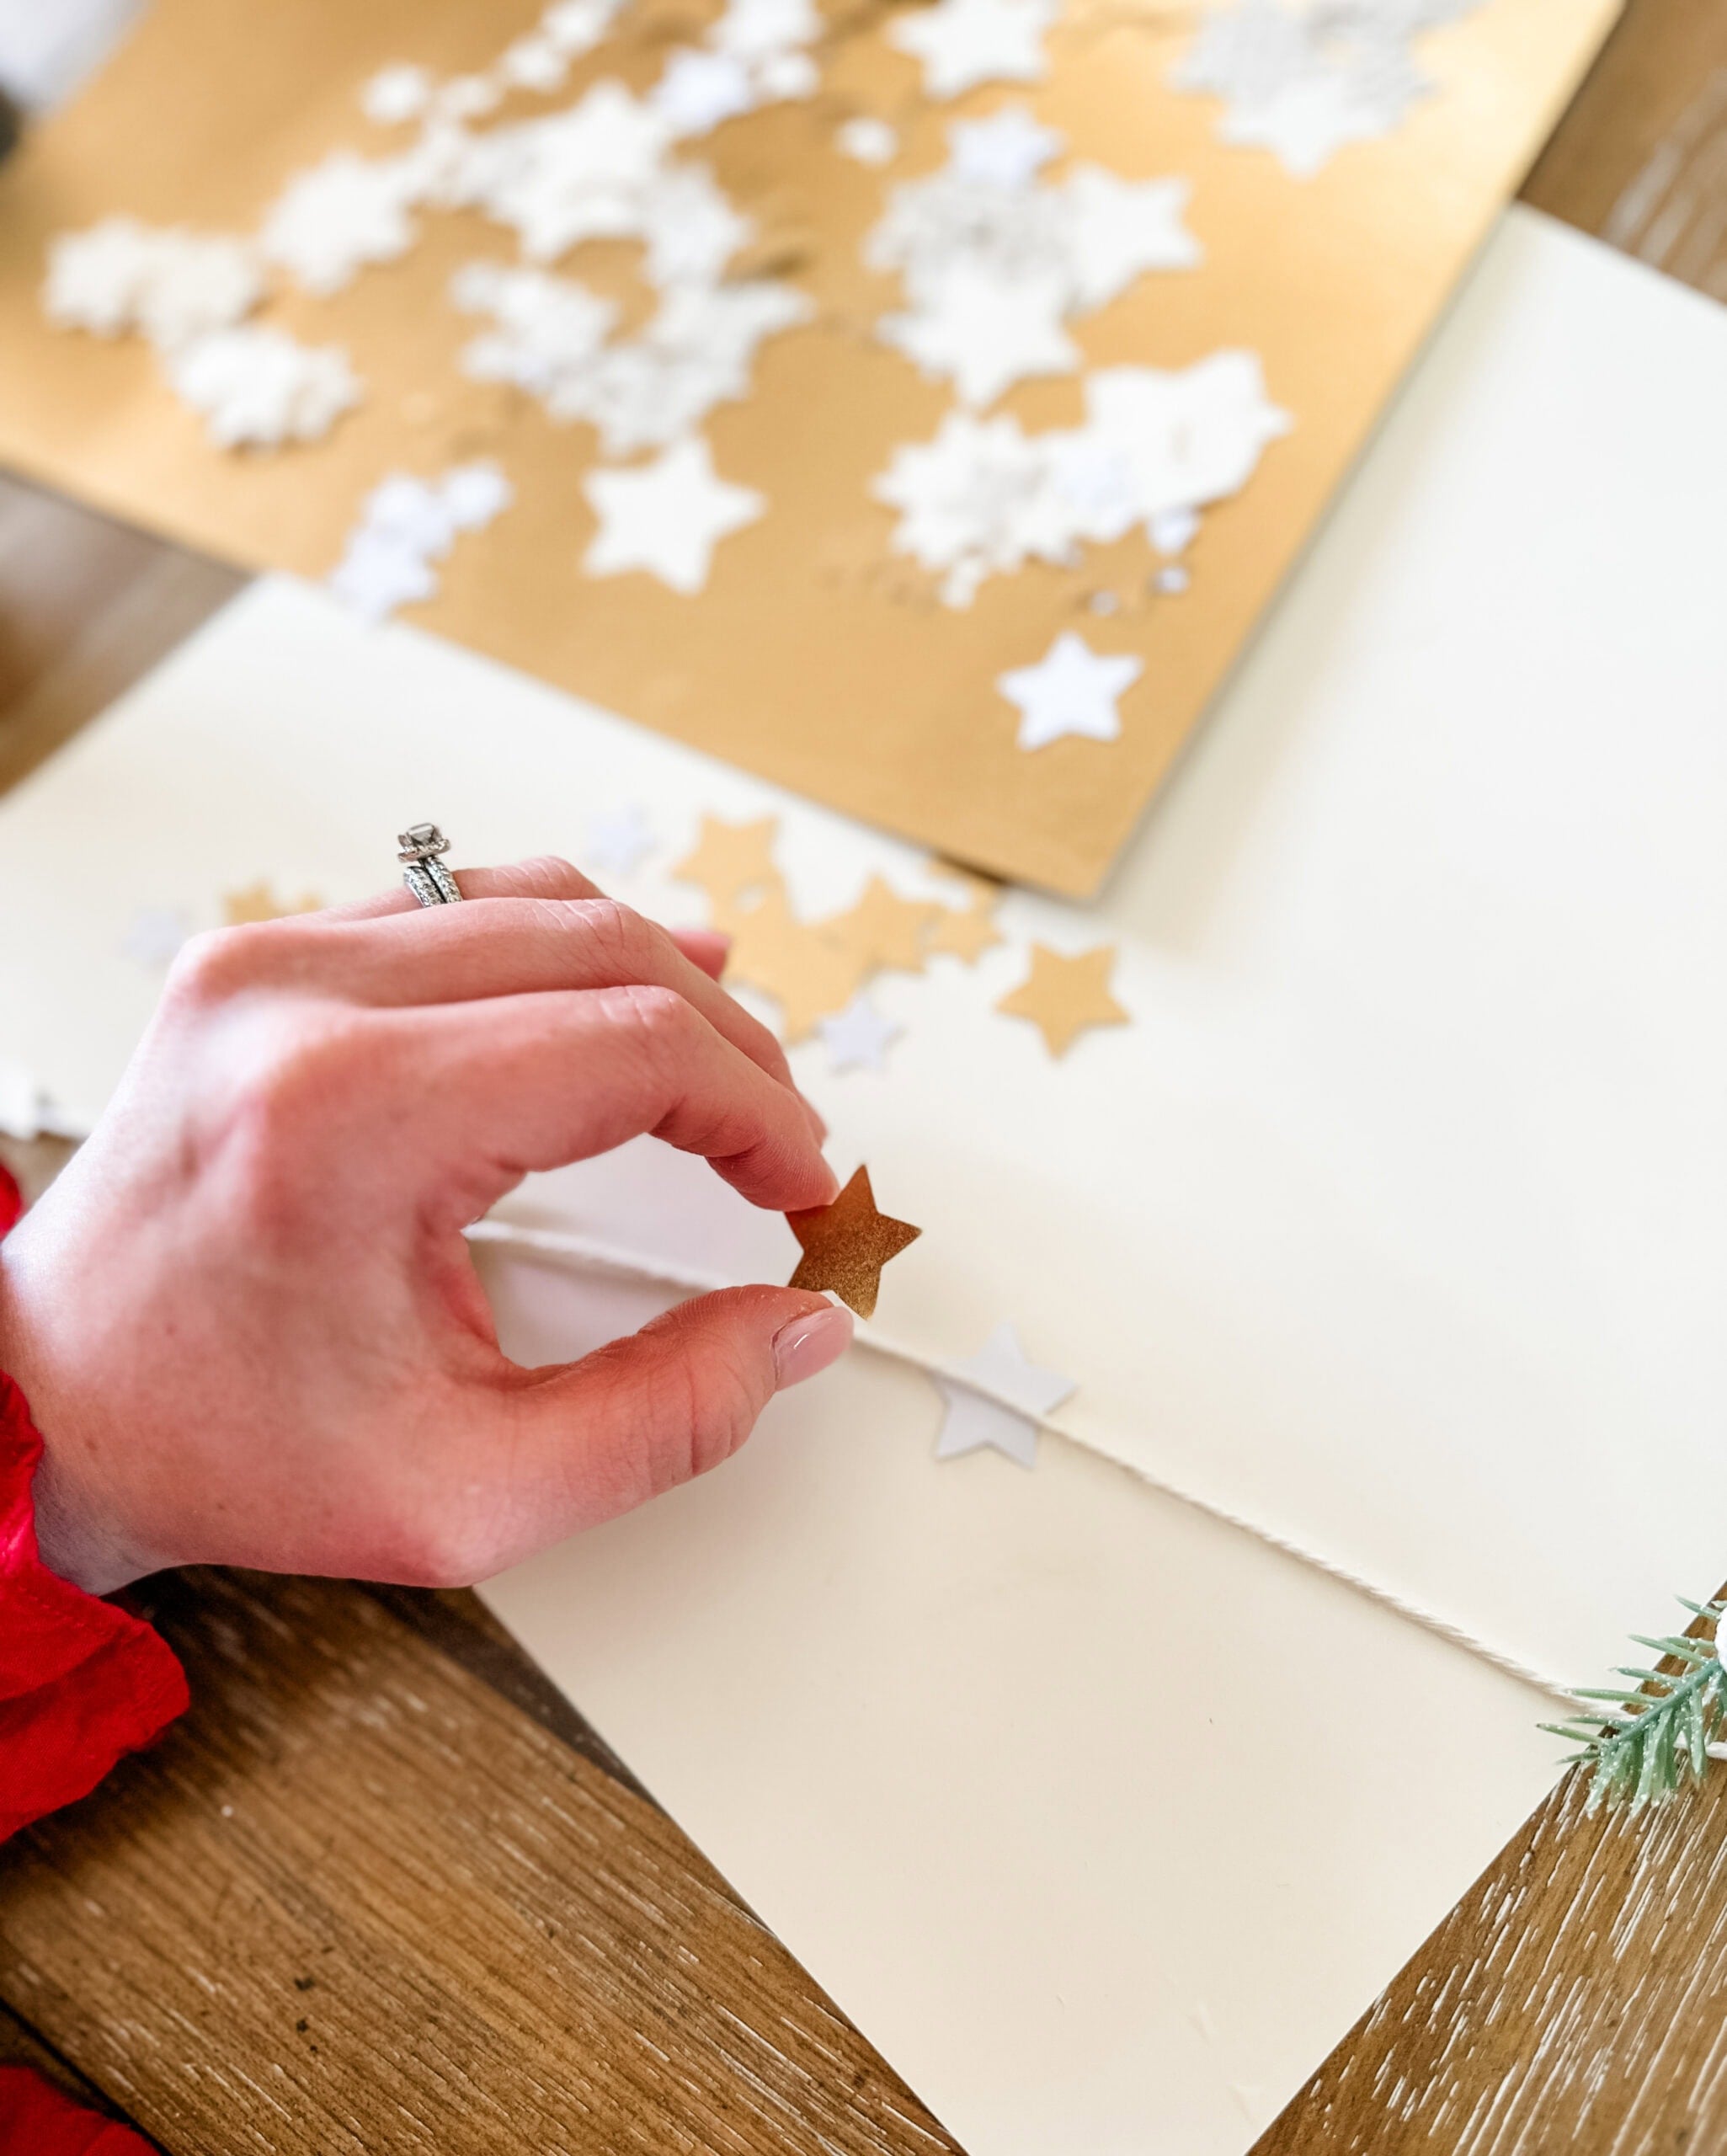
Next, use your star hole punches to create your stars. You’ll want a variety of each size and pattern as you go along. Each star you see on the garland is actually two stars put together, so factor that in when you’re making the hole punches.
My mind wandered a bit as I was making the stars so I ended up with a LOT extra 😉 but you can more closely keep an eye on your inventory as you work. I also mixed all my stars together and regretted it a bit later. When I make this craft again (because I definitely am going to!), I will keep the sizes and colors separate so it’s easier to quickly grab during glue time.
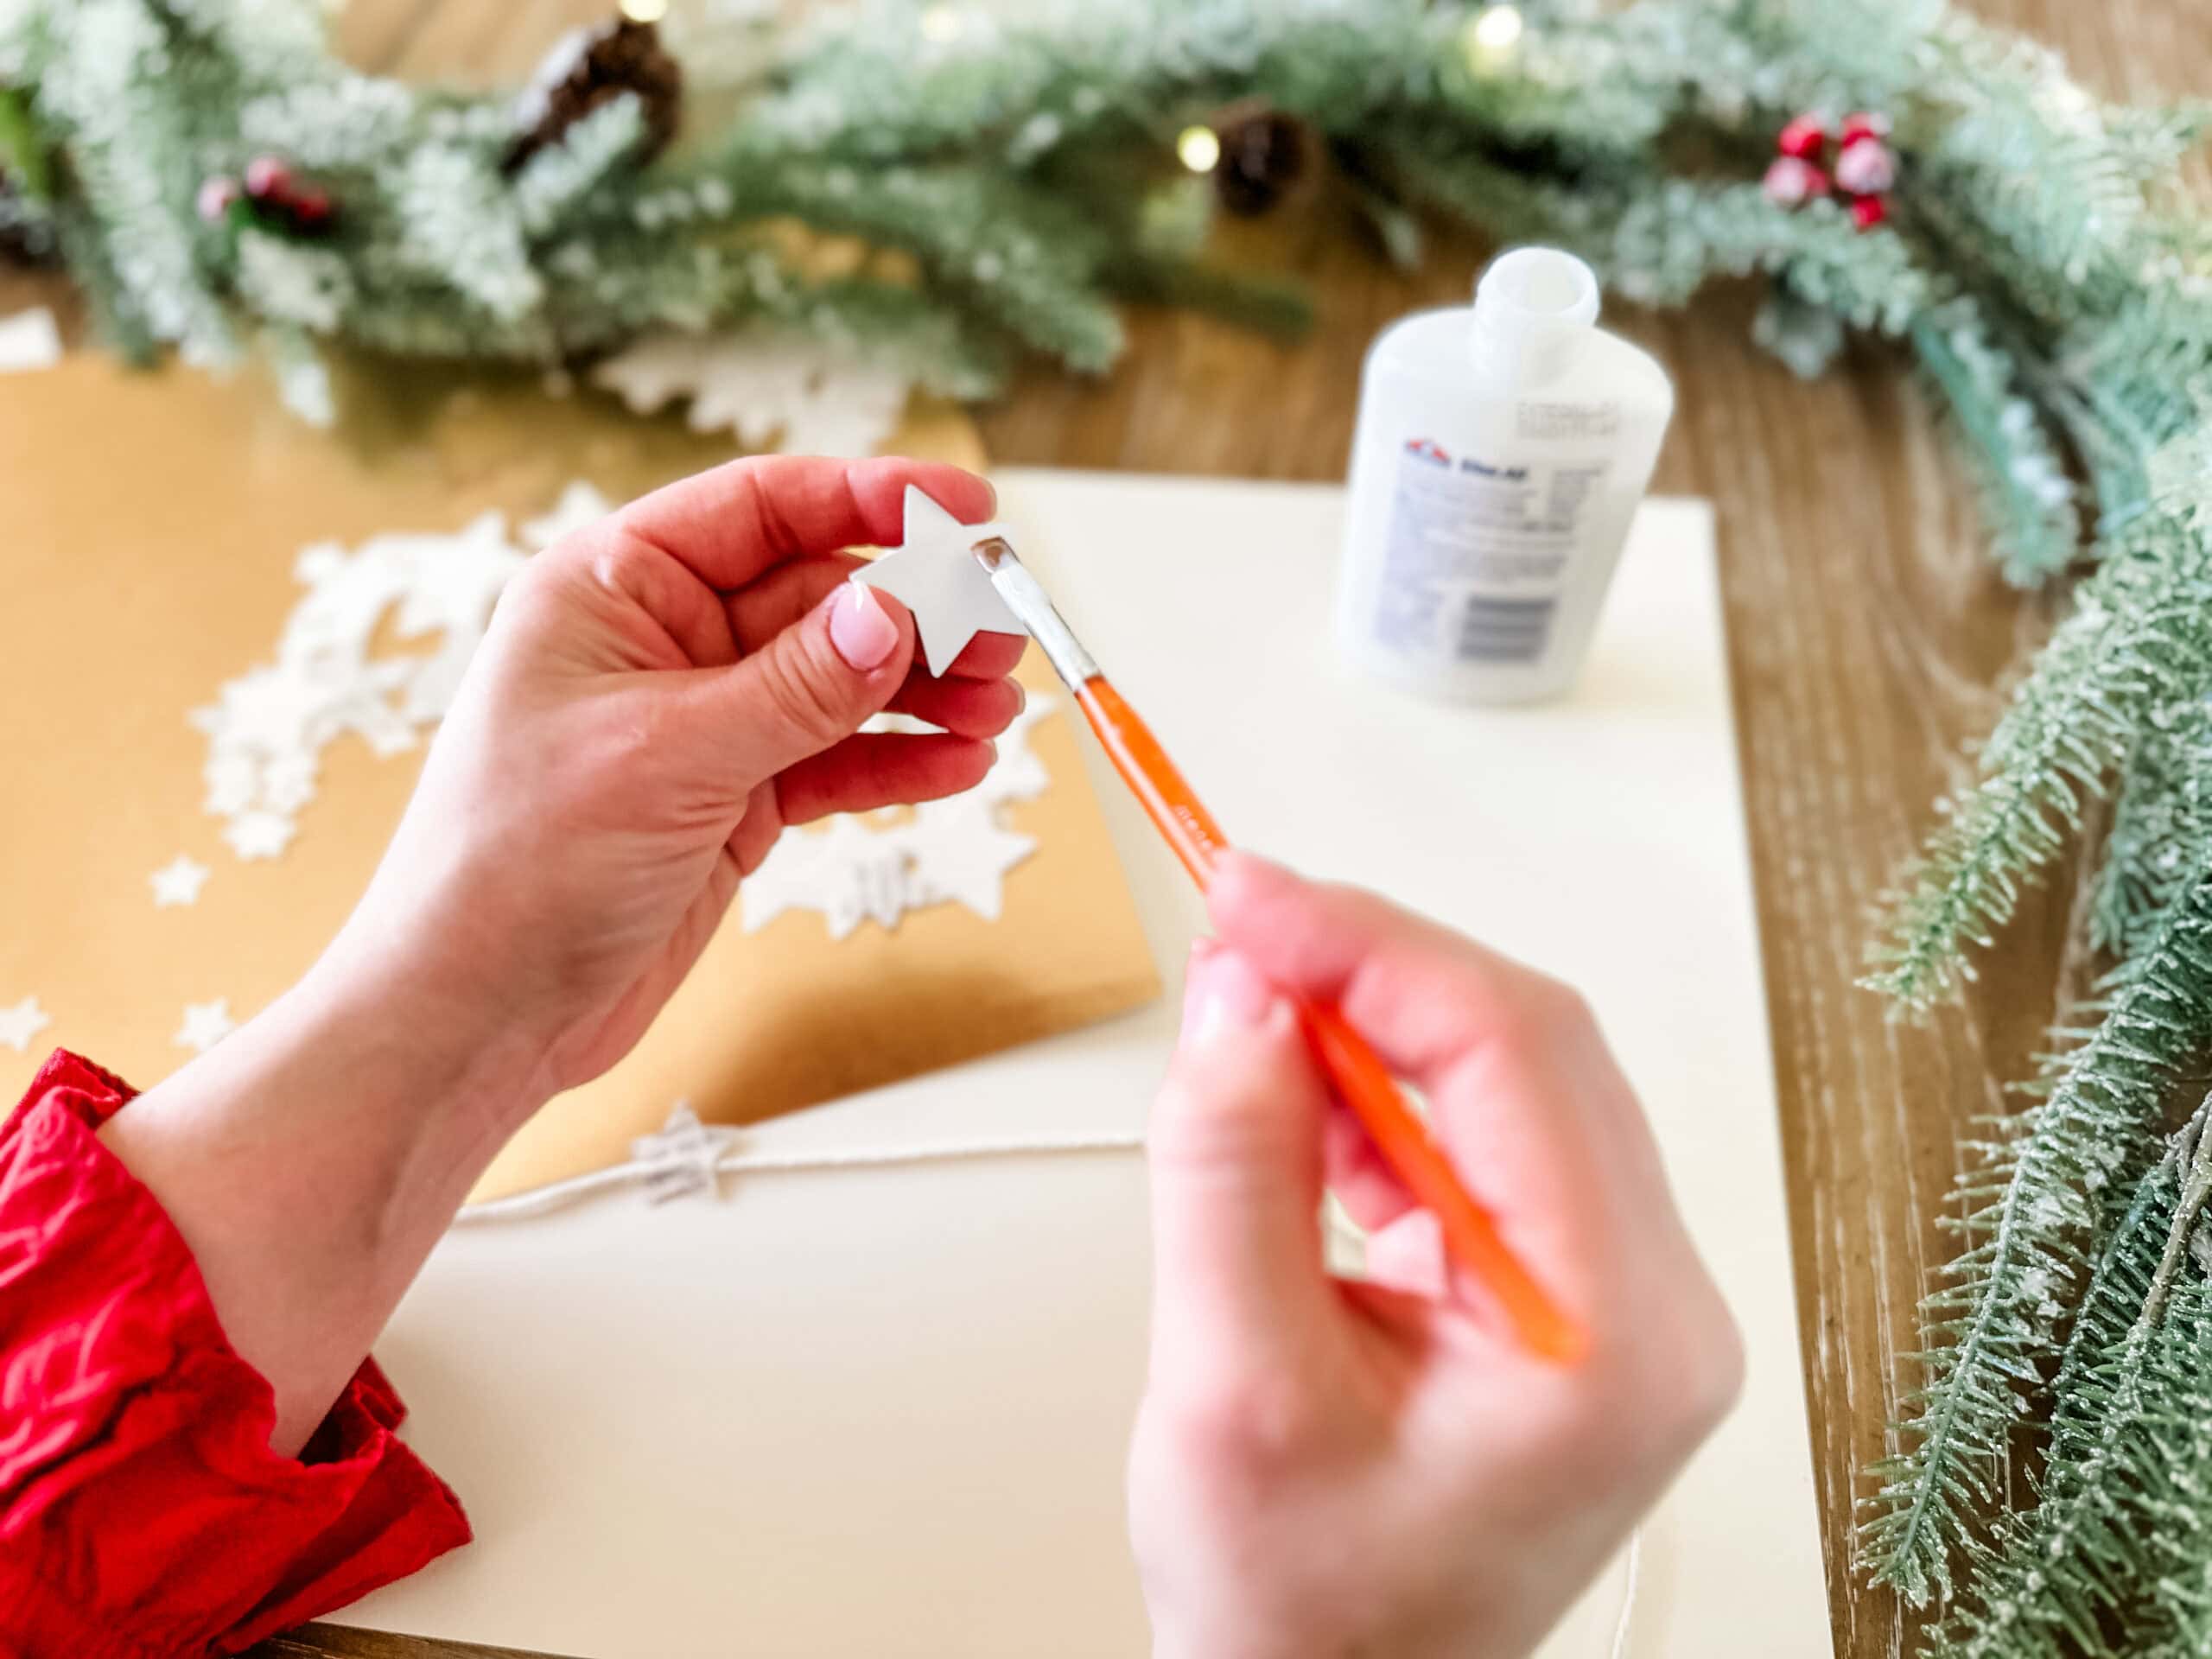
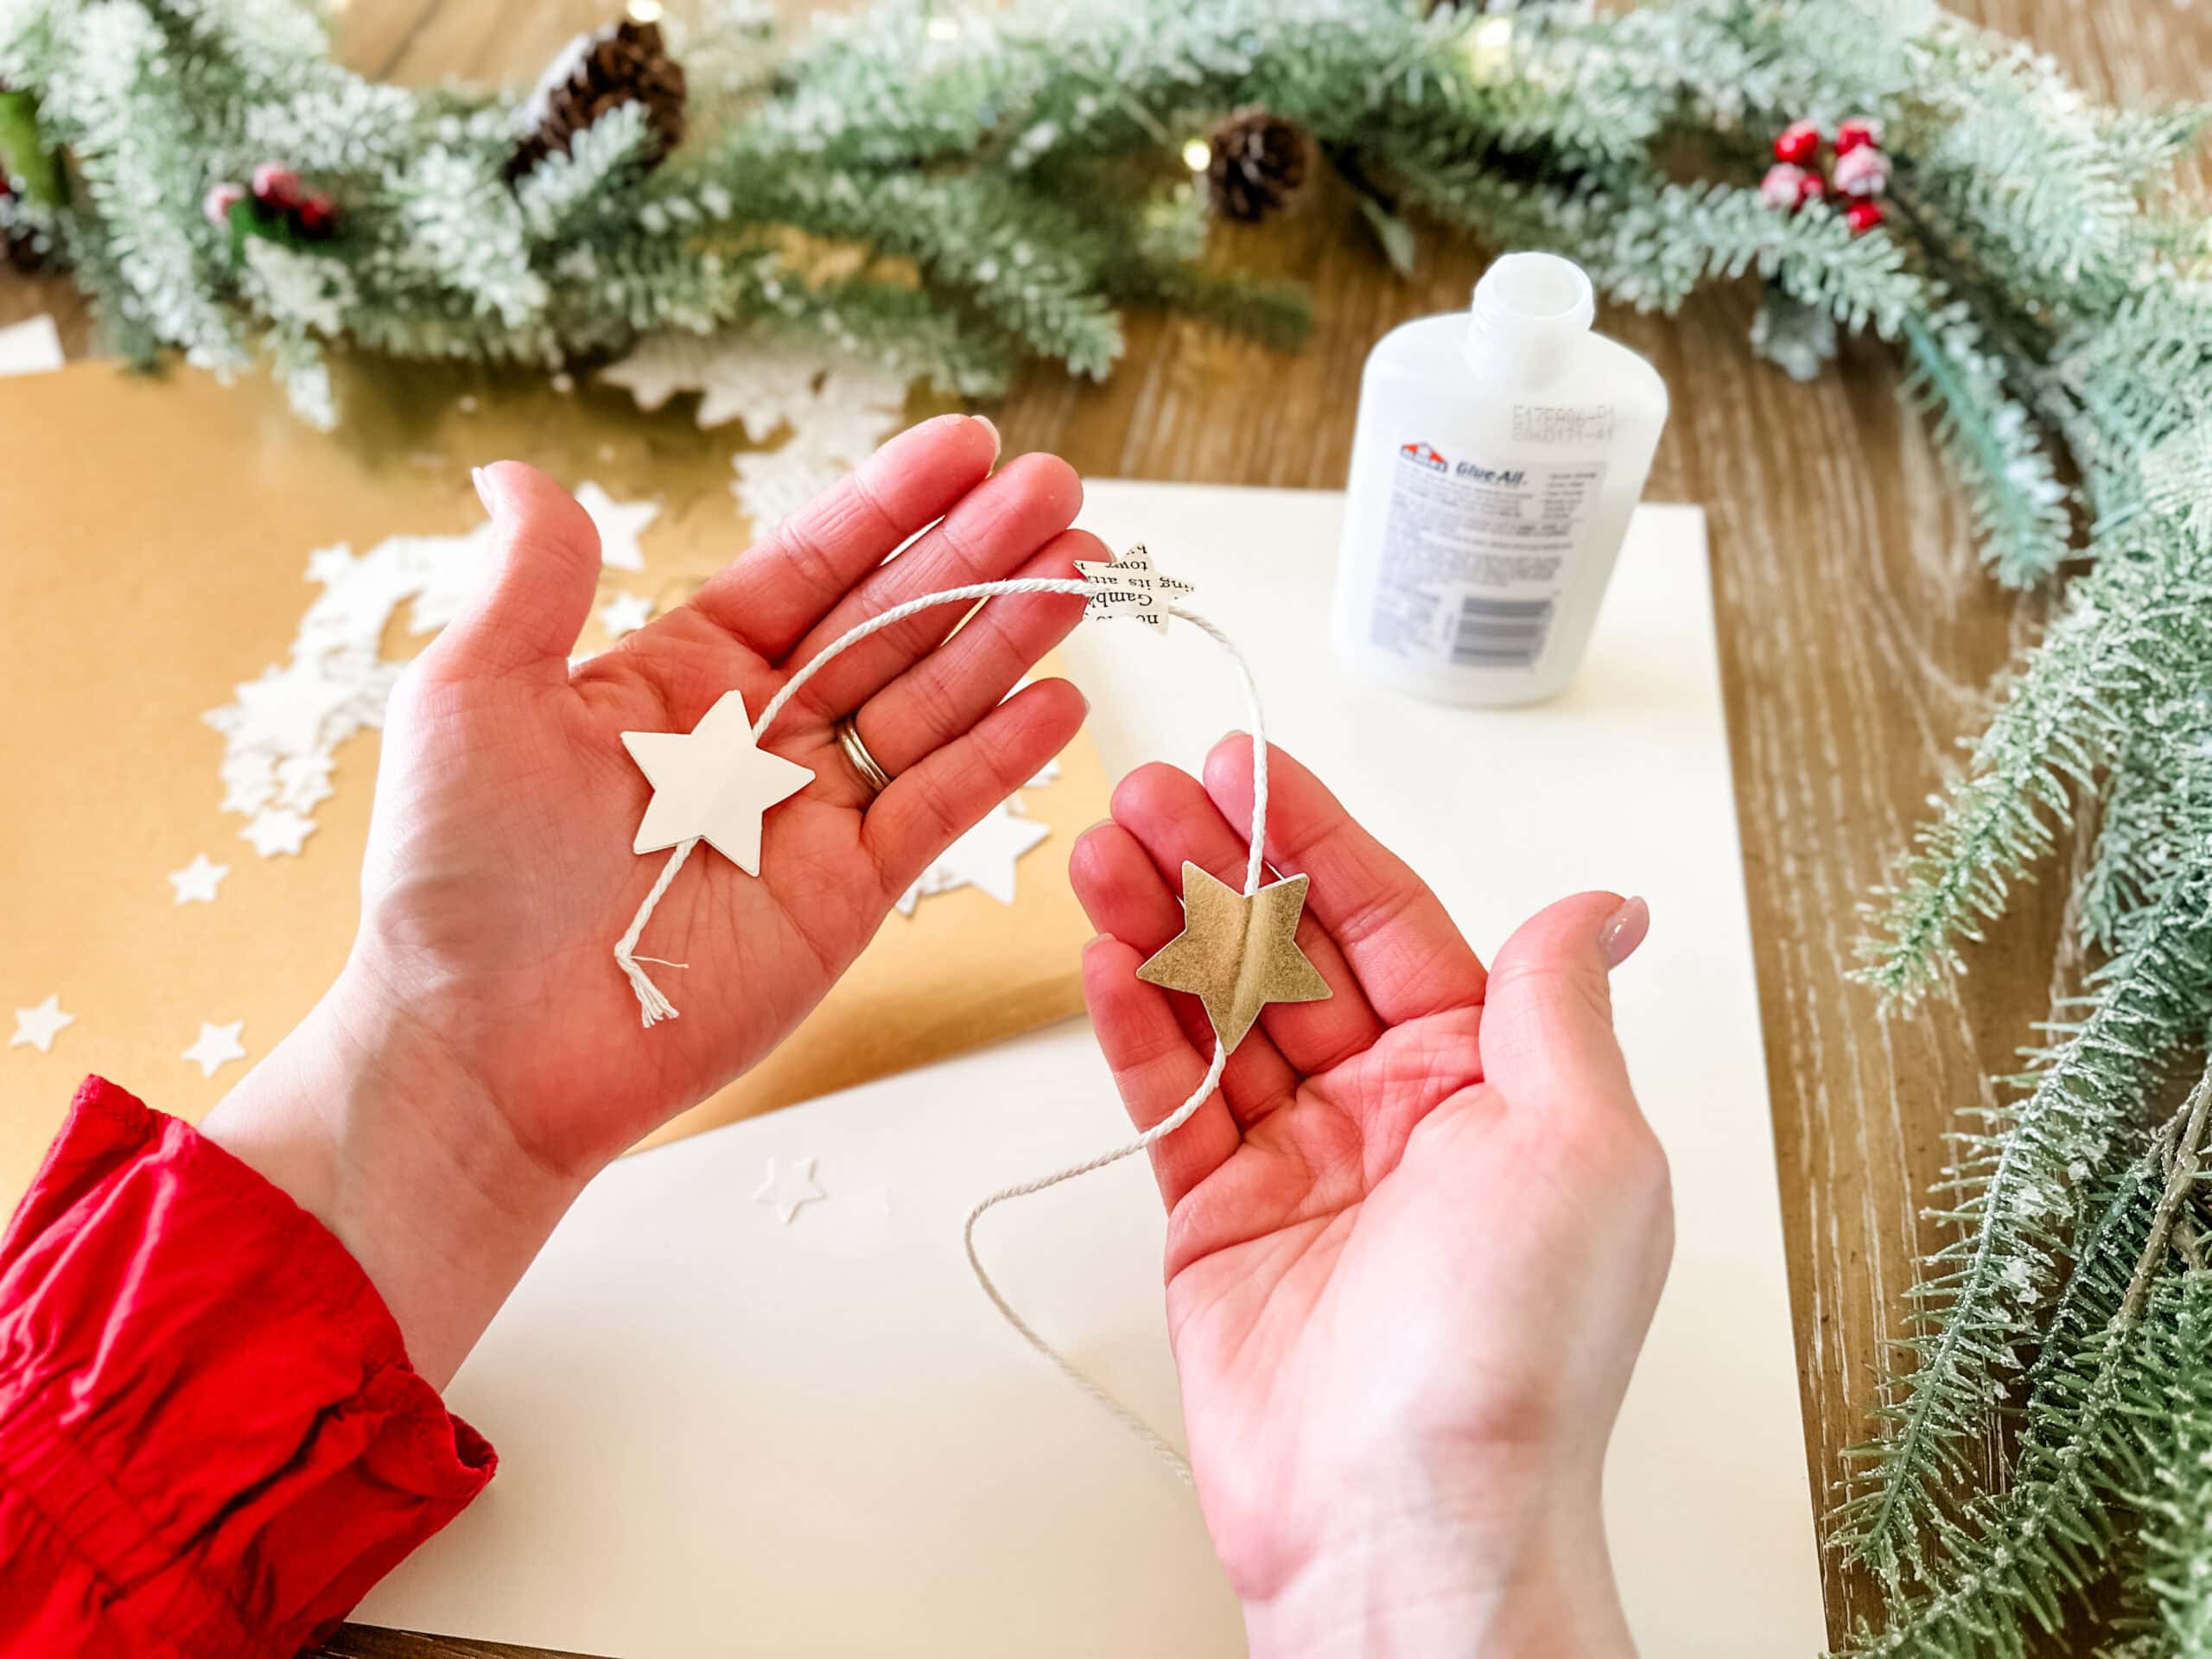
Once you have enough stars cut out, you can begin gluing. I found using the paintbrush and dipping in the glue allowed me to apply just enough glue without saturating the paper or having drips.
Paint one side of the star, set it down, and lay the twine across the middle. Then, using the same size & paper, apply another layer of glue and place on top of your other star, sandwiching the twine in between.
Gently press the stars together until the glue sets.
I had about 3-4″ between each star and actually wished I had scooted them a little closer together. Consider one star every 2″ of twine or so – but you can play around with it beforehand and see what you like!
I didn’t have a specific pattern of size in mind, but I did alternate the paper styles – 1) ivory, 2) book page, 3) gold, repeat.
You’ll continue this process along the full length of the twine until you’re left with a beautiful and timeless DIY paper garland to display in your home!


Leave a Reply