
Photo Sharpie Drawings – The Perfect Gift!
Turn your photos into wall art using only a Sharpie!
PPP team member, Laura, made this gorgeous Sharpie Art this past week – I love how beautiful it turned out and I can’t wait to try this one myself!
This would make the PERFECT personalized gift for a loved one for Mother’s Dday, Father’s Day, Christmas, or just because – and it’s pretty easy to do too.
Looking for a fun and unique way to display your family photos around your home? Here’s a quick DIY to turn your photos into gorgeous artwork! These sketches look very “artsy” and would make a great gift for anyone special 🙂

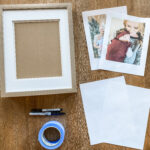
Supplies for This Sharpie Tracing:
- Sharpie pen (This Ultra Fine Point pack is best)
- White printer paper
- Painter’s tape
- Photos
- Picture Frame with Mat
- Window or glass door
This Sharpie DIY portrait takes less than 10 minutes and gives you a beautiful sketch of your favorite photos. Just tape your picture to a window and trace it! It’s easy, fun, and will get your creative juices flowing…
Step 1 – Pick your photos
Decide which photos you’d like to give an artsy makeover. For this project, avoid photos that are a direct shot of someone’s face as it can be hard to get facial features just right. Instead, search for some of your out-of-the-box photos (someone hugging, cuddles between kiddos, your family’s hands together, etc). If you don’t have one you like, you can always snap some new pictures!
Idea: Break out your wedding photos and look for some of the detail shots like your bouquet or rings!
Step 2 – Print your photos
You can use your home printer to print the photos (you can size all the way up to an 8”x10” photo using your average 8.5”x11” printer paper). You don’t need the photo to be pretty, just legible. If you don’t have a printer, office supply stores like Staples and OfficeMax offer printing for a low cost or you can check with your local library for printing options.
Note – you can use an actual photograph but keep in mind your Sharpie markers might bleed through the paper onto the picture.

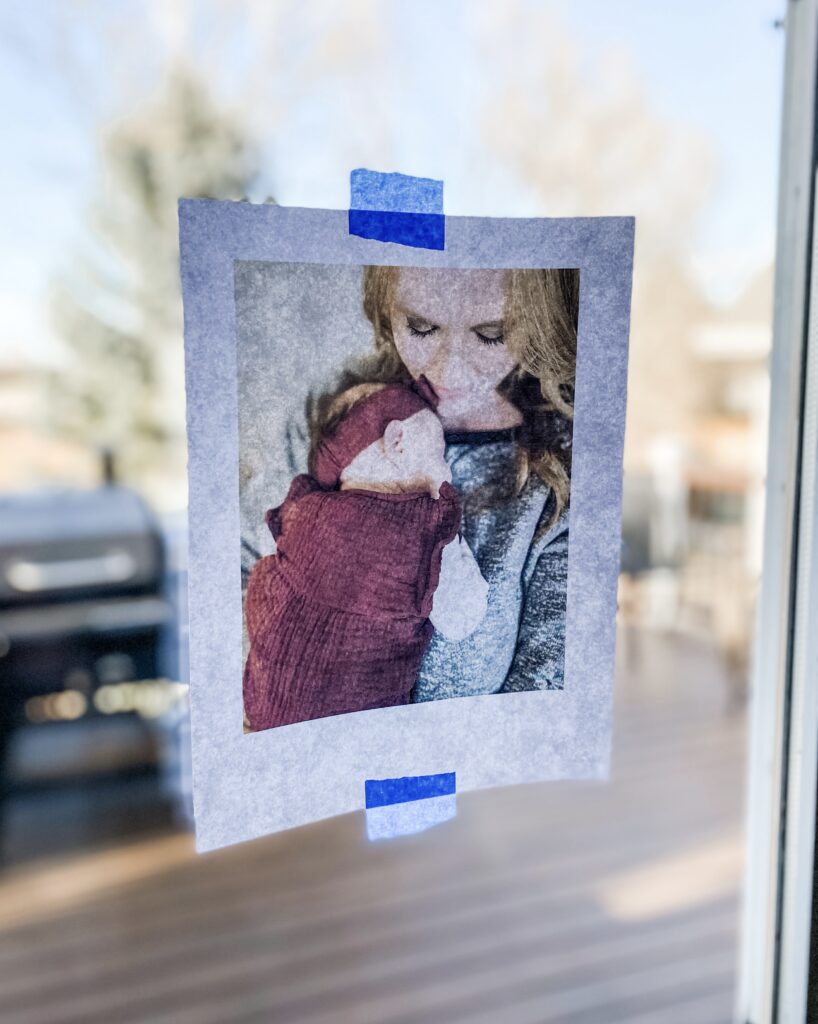
Step 3 – Find a window & tape
Find an accessible window or glass door with room to tape your paper to. First, tape your printed photo to the glass using painter’s tape. Next, tape your blank printer paper over top of the photo. You should be able to easily see the photograph through the paper.
Tip: Avoid too much tape on your top paper to prevent tearing. Painter’s tape peels off the glass easily and is less likely to tear the paper.
Step 4 – Trace
Starting with an Ultra Fine Sharpie, begin gently tracing some of the lines in your photograph. Less is more – start with just a few lines and increase as you go along. To make this look like a sketch, you don’t want every single line traced. The key here is not to overthink it, just let your inner artist out and go with the flow! I used a Black marker for a clean look – but if you want to add a pop of color you may want to snag the Color Bursts Sharpies for variety.
Reminder: You can always go back over some of the lines afterwards with a thicker Sharpie if needed.

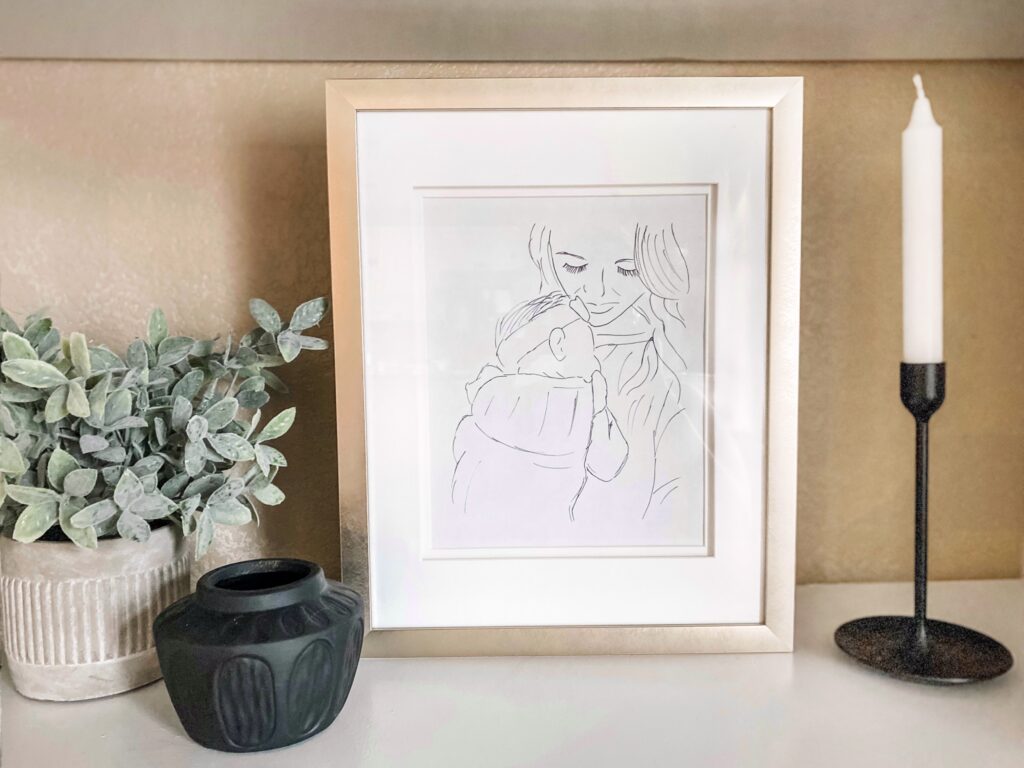
Step 5 – Frame & display
Add your paper to a frame the same way you’d put in a photo (you can carefully trim if needed to the correct size) and voila! Beautiful, unique artwork that still captures some of your favorite memories.
Bonus tip: remember to admire your work and remind your husband daily you’re an artist now!
Step 6 (Optional) – Get the kids involved!
While you have your supplies out, this can be a fun arts & crafts activity for kids! Replace the Sharpie with a magic marker and let them go to town. You might even find some extra inspiration from their creativity!
More Sharpie Crafts:
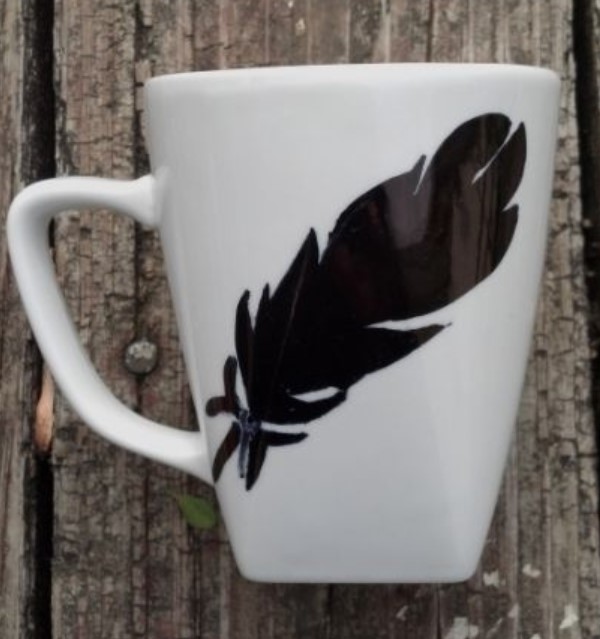
Sharpies Drawings are just the tip of the iceberg when it comes to DIYs – I’ve seen some very cute Sharpie Mugs (although you need to use Sharpie Paint pens to create a lasting design on a coffee mug). Snag the Sharpie Paint Markers here!
You can also use these permanent markers to create TIE DYE shirts and avoid all the mess.
Or do NAIL ART with Sharpies – you’ll definitely want the colorful pack for that one!
Use your Sharpies to doodle on just about any surface and add pizazz to most any crafts projects. I’d love to hear what kinds of Sharpie craft ideas you’ve enjoyed doing!
More Crafty Ideas You Might Like:
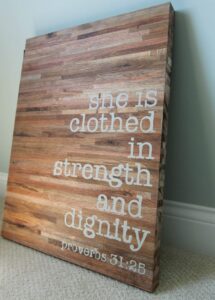
DIY Butcher Block Sign (How I saved $65 Making My Own)

DIY This Easy Board and Batten Wall


Love the Sharpie Art! I can do that with my daughters together too as a fun craft for us!
In the picture above where did you get the Frame with the date in it? So cute!
Hi Cindy! I’m not sure where that one is from, but you can find several similar ones on Etsy! 🙂 https://www.etsy.com/market/date_frame
Hope that helps! https://www.etsy.com/market/date_frame