

I’m soooooo excited about this project my smart husband tackled this week! We have a storage area in our basement that has been a disaster since we’ve moved, and while it’s not completely organized yet, we’re well on our way.

(Seriously guys, it was bad. While we’ve gotten most of the rest of the house put together after moving last summer, I’ve shoved just about everything in that storage room and it needs some serious TLC! See all that Quilted Northern? I accidentally forgot to unsubscribe to my Quilted Northern deal, and now we’re stocked up for the next few years.) 😉
For $70 and about three hours of work, my husband was able to build a huge set of storage shelves which were perfect for the new $2 tubs I found at Walmart earlier this week. The shelves are 8 feet long x 2 feet deep x roughly 8 feet tall – we could never have purchased shelves that large and that sturdy for this price! Here’s how he did it . . .
(Note: I’m not amazing at do-it-yourself instructions, so I’m hoping you can make sense of it between the pictures and his notes. If you have questions leave a comment and my wise hubby will be happy to answer them!) 🙂

Supplies
- (18) 2″ x 3″ x 8″ boards
- (6) 2″x4″x8″ boards
- (2) 4’x8′ sheets plywood
- 1 box 10D spiral shank deck nails
Directions
- Split plywood into four 2’x8′ pieces (Lowe’s did that for him.)
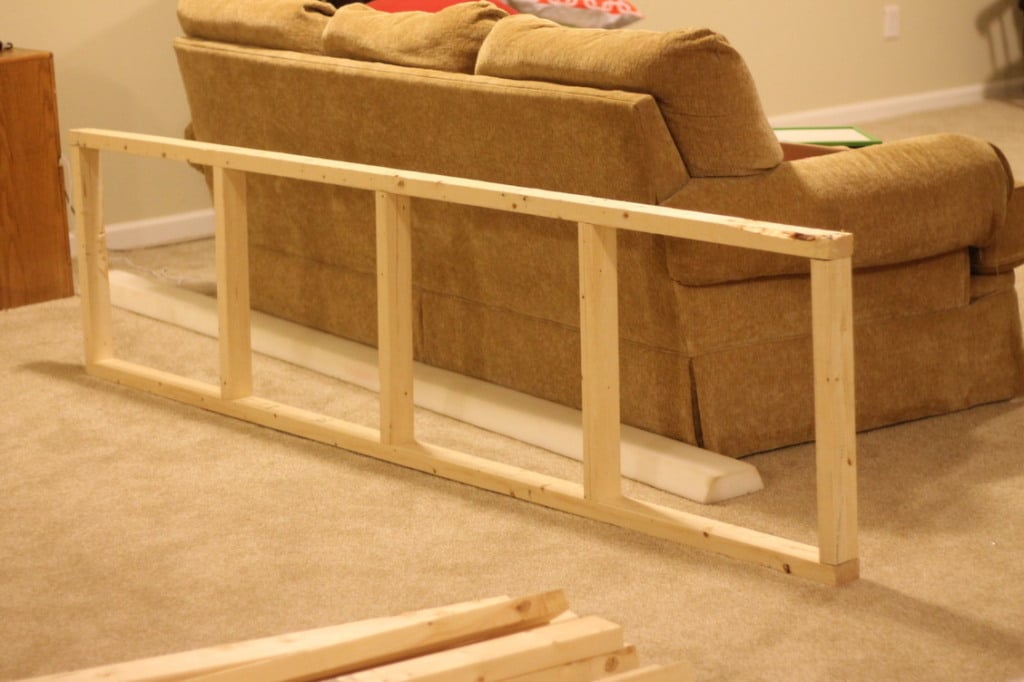
- Built (4) 8’x2′ wide frames using 2″x3″x8″ boards
- Braced the frame using 2″x3″
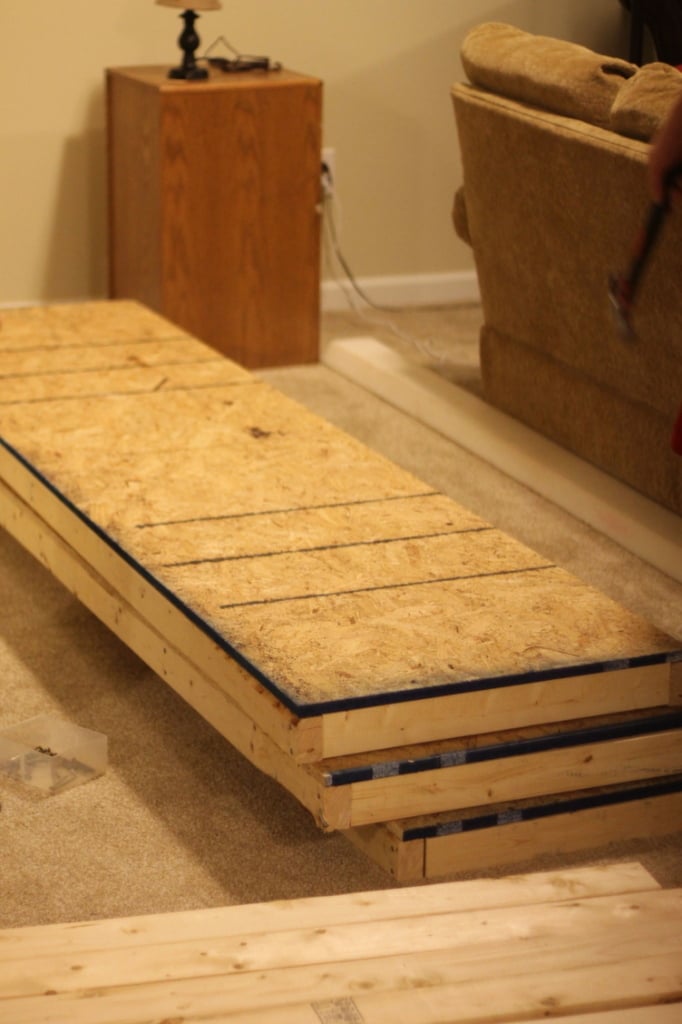
- Nailed the 2’x8′ plywood on top of the frame
- Repeat four times for the shelves (could do as many as you want)

- Use 2″x4″ boards for the legs of the shelves and nailed in the shelves 18″ apart in height order to fit the storage bins (in order to set the height of the shelf, he placed the rubbermaid container on the ground, then put a scrap piece of 2″x3″ on the rubbermaid container to give me an extra 2″ of clearance above that container. Then he nailed the shelf into the 2″x4″ supports. Once that shelf was set he removed that set and started on the next shelf.)
Note: these shelves are very sturdy (aka heavy) so you will need two people to lift the shelving into place.

We’ll be taking down all of our Christmas decorations this weekend, so I’ll have an update next week with the whole room once we’ve really finished up organizing it (for now I just put the storage bins on the shelves, but I bought this handy dandy labeler (it just dropped to $9.99!) and am hoping to get things really sorted through this week!) If you have any other smart ideas on how to organize a garage or basement storage area I’d love to hear those too. 😉
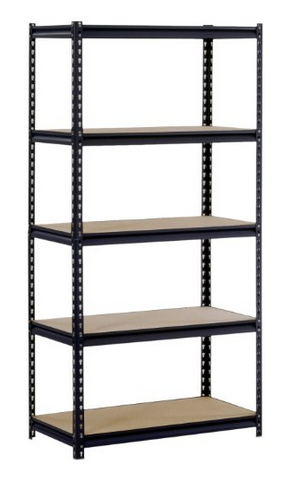
UPDATE: On the other side of the basement storage area I found these on sale at Walmart for less than the cost we could build them for. They’re not as large as the ones he built, but perfect for storing board games, Legos, etc. I just noticed they’re on sale right now at Walmart for $39 – great price while they last!
I’d love for you to join me over on Pinterest (I love that place!) If you have a blog and have done a little fluffing in your home, I’d love to see it, so leave your link in the comments section. Also, if there’s a craft you’ve seen on a website that you’re hoping to make, feel free to share that link as well (I’m always looking for new ideas!)
See previous Friday Fluff Up projects and ideas . . . and Happy Fluffing!


I printed a list of what is in the tub, plus included pictures for the outside of the tubs.
We did something similar to this but used free pallets cut in half to replace the cost of the plywood you used. They are awesome. One side complete and one more to go.
What a great idea Cheri – thanks for sharing! 🙂
Quick question about your supply list…
are the boards 8′ and not 8″?
and why use 2″ x 3″ & 2″ x 4″ could they all be 2″ x 4″s?
Hi Martin! Here’s the answer from my husband 🙂
Yes, there is a typo. it is 2”x 3”x8’ not 8”
Same with the other 8’ length in the material list on your web page.
Also, they could all be 2×4’s but wanted to use the 3” boards for the shelves because it made the overall weight lighter and also game me an extra 1” of clearance. It was purely a preference thing.
Great idea!
I did notice in your photo that your bin full of artwork to keep appears to be sitting right under a pipe. I know that it has a lid, but I lost most my kids artwork and I wouldn’t want anyone else to experience that pain and regret. Just sharing my cautious concern.
Thanks so much for the tip Dawnette – I’m rearranging shelves after Christmas and will definitely move that one (I hadn’t thought of that – I can’t imagine how upset you must have been!) 🙁
Might I suggest scanning the artwork to a thumbdrive? At some point you could have them printed into a book by shutterfly. You could label the artwork by age or date. Maybe a neat gift idea for grandparents? Or even the children when they graduate.
I ran across a post on my facebook…it was fron that web site….it showed an attic storage system that would work well in my garage. i need to locate the plans to build it. does anyone know that site and where I could get the plans? do contact me at my email above…Thank you
I love reading your make overs. When you finish at your house, could you please come to mine (and bring your husband). 🙂
If we ever finish up here we’ll head right over there Linda! 🙂
I discovered your blog today and am enjoying reading your posts.
I’m living in Australia and I’m “jealous” of your shelves !!!! (of course I’m not ….)
I recently managed to get my son-in-law to put in shelves on the small shelving frame in my garden shed, and the one sheet of wood cut into 3 pieces cost about $A35, which I consider very expensive.
Hello!! What a Great idea!! Your before picture of your stuff looks just like mine!!! I’ll have to show my Hubby this idea & let him begin…It would help alot in our storage space!! Thanks for sharing!!
Happy New Year to you and your family!!!!
Thanks Bonnie! We still have a way to go to finish cleaning it out but I was so pleased with how far it’s come already!
Thank you for posting this! This is amazing and will help me and my family get organized.